

Price Match Guarantee

In-stock parts ship the same day

365-Day Return Policy
Price Match GuaranteeGET PRO PRICING
Video & Articles: Appliance & Equipment RepairKitchenaid Microwave Sliding Arm Lever Assembly Replacement #WPW10128850 

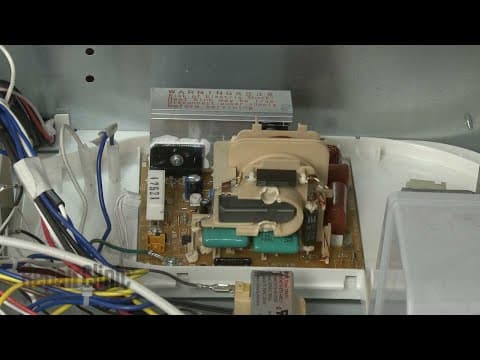
Kitchenaid Microwave Sliding Arm Lever Assembly Replacement #WPW10128850
Skill Level
Total Parts Cost
$61.55Estimated Savings
$112.5005:05
- Description
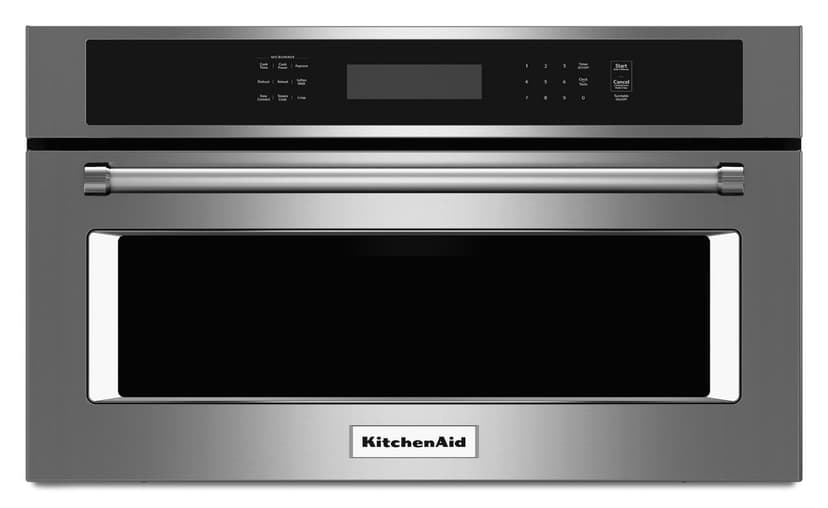
This video provides step-by-step repair instructions for replacing the sliding arm lever assembly on a Kitchenaid microwave (Model #KMBP100ESS01). The most common reason for replacing the assembly is if the door will not open or close properly.
All of the information for this microwave lever replacement video is applicable to the following brands:
Kitchenaid, Whirlpool
Tools used: multi-screwdriver
All of the information for this microwave lever replacement video is applicable to the following brands:
Kitchenaid, Whirlpool
Tools used: multi-screwdriver
Step By Step Instructions
1
Microwave Oven -Model KMBP100ESS01
2
KitchenAid Built-In Microwave Oven Door Sliding Arm Lever Replacement
3
ATTENTION: TOOLS & ASSISTANCE NEEDED:
4
"Step 1: You will need a Phillips-head screwdriver or quarter-inch nut driver, 1/8th inch drill bit, drill, and an assistant to help move heavy microwave."
5
"Step 2: Before you begin, be sure to turn off the power supply to the oven junction box. "
6
Step 3: Open the oven door and remove any racks from the oven along with the turntable and support.
7
Step 4: Now use a Phillips-head screwdriver or quarter-inch nut driver to unthread the two screws securing the mounting flanges to the cabinet.
8
Step 5: Remove the washers as well if still intact.
9
Step 6: Now have an assistant to help you pull the appliance out of the cabinet and set it on a sturdy surface.
10
Step 7: Be aware that if the conduit cable is not long enough to move the microwave oven you will need to disconnect the power and grounding wires and remove the conduit cable from the junction box.
11
Step 8: Use a Phillips-head screwdriver or a quarter-inch nut driver to unthread the four screws securing the top acces panel.
12
Step 9: Lift the panel up then slide forward to remove.
13
Step 10: Now unthread all of the screws securing right side panel.
14
Step 11: Detach the panel.
15
Step 12: Remove the sliding arm lever assembly spring.
16
"Step 13: Next, detach the sliding arm from the support. "
17
Step 14: Push the latch release rod down to detach the lever from the support.
18
Step 15: You're now ready to install the new sliding arm lever assembly.
19
"Step 16: You're now ready to install the new sliding arm assembly. With the pin facing inward, hook the new lever onto the release rod. "
20
Step 17: Now align the lever on the support peg and push the release rod down to fully seat the lever on the peg.
21
"Step 18: Open the oven door and raise the rod to insert the top of the rod into the door switch holder, then close the door to hold the rod in place. Reattach the sliding arm to the support. "
22
Step 19: Open the door to allow the latch release rod to drop then attach the spring to the support and the new lever.
23
Step 20: Realign the side panel and replace the screws.
24
Step 21: Replace the top access panel by inserting the rear edge first.
25
Step 22: Secure it with the screws.
26
"Step 23: With an assistant, return the microwave oven to the cabinet and push it into position. "
27
Step 24: Insert the washers into the holes in the flanges then thread the two screws to secure the flanges to the cabinet.
28
Step 25: Replace the support and align the turntable on the coupling.
29
Step 26: Turn on the power supply back on to the microwave.
30
Congrats! Your microwave oven is ready for use.
Description
This video provides step-by-step repair instructions for replacing the sliding arm lever assembly on a Kitchenaid microwave (Model #KMBP100ESS01). The most common reason for replacing the assembly is if the door will not open or close properly.
All of the information for this microwave lever replacement video is applicable to the following brands:
Kitchenaid, Whirlpool
Tools used: multi-screwdriver
All of the information for this microwave lever replacement video is applicable to the following brands:
Kitchenaid, Whirlpool
Tools used: multi-screwdriver
Step-By-Step Instructions
1
Microwave Oven -Model KMBP100ESS01
2
KitchenAid Built-In Microwave Oven Door Sliding Arm Lever Replacement
3
ATTENTION: TOOLS & ASSISTANCE NEEDED:
4
"Step 1: You will need a Phillips-head screwdriver or quarter-inch nut driver, 1/8th inch drill bit, drill, and an assistant to help move heavy microwave."
5
"Step 2: Before you begin, be sure to turn off the power supply to the oven junction box. "
6
Step 3: Open the oven door and remove any racks from the oven along with the turntable and support.
7
Step 4: Now use a Phillips-head screwdriver or quarter-inch nut driver to unthread the two screws securing the mounting flanges to the cabinet.
8
Step 5: Remove the washers as well if still intact.
9
Step 6: Now have an assistant to help you pull the appliance out of the cabinet and set it on a sturdy surface.
10
Step 7: Be aware that if the conduit cable is not long enough to move the microwave oven you will need to disconnect the power and grounding wires and remove the conduit cable from the junction box.
11
Step 8: Use a Phillips-head screwdriver or a quarter-inch nut driver to unthread the four screws securing the top acces panel.
12
Step 9: Lift the panel up then slide forward to remove.
13
Step 10: Now unthread all of the screws securing right side panel.
14
Step 11: Detach the panel.
15
Step 12: Remove the sliding arm lever assembly spring.
16
"Step 13: Next, detach the sliding arm from the support. "
17
Step 14: Push the latch release rod down to detach the lever from the support.
18
Step 15: You're now ready to install the new sliding arm lever assembly.
19
"Step 16: You're now ready to install the new sliding arm assembly. With the pin facing inward, hook the new lever onto the release rod. "
20
Step 17: Now align the lever on the support peg and push the release rod down to fully seat the lever on the peg.
21
"Step 18: Open the oven door and raise the rod to insert the top of the rod into the door switch holder, then close the door to hold the rod in place. Reattach the sliding arm to the support. "
22
Step 19: Open the door to allow the latch release rod to drop then attach the spring to the support and the new lever.
23
Step 20: Realign the side panel and replace the screws.
24
Step 21: Replace the top access panel by inserting the rear edge first.
25
Step 22: Secure it with the screws.
26
"Step 23: With an assistant, return the microwave oven to the cabinet and push it into position. "
27
Step 24: Insert the washers into the holes in the flanges then thread the two screws to secure the flanges to the cabinet.
28
Step 25: Replace the support and align the turntable on the coupling.
29
Step 26: Turn on the power supply back on to the microwave.
30
Congrats! Your microwave oven is ready for use.
Applicable Product Model

Related Articles & Videos




Our Story
Family-owned and operated since 1912, Burke America Parts Group is the longest-running genuine appliance, HVAC, and outdoor power equipment parts solution in North America. At Repair Clinic, we're proud to be an international brand trusted by the pros as well as the DIY community.
About Repair Clinic
© 2026 RepairClinic.com