

Price Match Guarantee

In-stock parts ship the same day

365-Day Return Policy
Price Match GuaranteeGET PRO PRICING
Video & Articles: Appliance & Equipment RepairKitchenAid Convection Gas Range Right Front Orifice Replacement #W10821182 
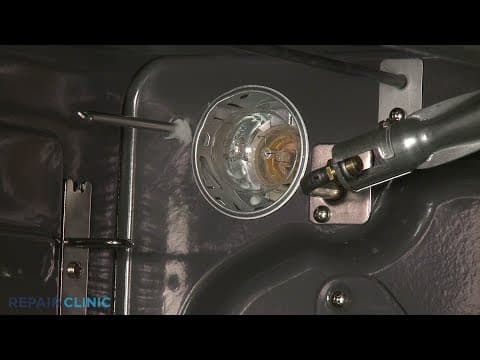
KitchenAid Convection Gas Range Right Front Orifice Replacement #W10821182
Skill Level
Total Parts Cost
$52.67Estimated Savings
$112.5001:52
- Description
This video provides step-by-step repair instructions for replacing the right front orifice on a Kitchenaid Gas Convection Range (model #KSGB900ESS01). The most common reason for replacing the orifice is if the burner will not light.
This orifice replacement video is applicable to the following brands:
Whirlpool, Kitchenaid
Don't forget to like and comment on this video and subscribe to our channel!
This orifice replacement video is applicable to the following brands:
Whirlpool, Kitchenaid
Don't forget to like and comment on this video and subscribe to our channel!
Step By Step Instructions
1
Convection gas range - ksgb900ess1
2
Kitchenaid convection gas range - Right Front Orifice Replacement
3
You will need a 7MM socket or nut driver to complete this repair.
4
Shock
5
Be sure to unplug the power cord or shut off the power supply.
6
Fire
7
Shut off the gas supply as well.
8
Heavy
9
Lift off the right side grate.
10
Remove the burner cap and lift off the burner base.
11
To help grip the orifice, place a piece of tape in a 7mm socket or nut driver.
12
You can now unthread the old orifice from the holder.
13
Install the new orifice by inserting it into the socket or nut driver then thread it into the holder.
14
Replace the burner base by aligning the notch in the base with the spark electrode.
15
Align the burner cap.
16
Reposition the grate.
17
Turn the gas supply back on.
18
Plug the power cord back in or restore the power supply.
Description
This video provides step-by-step repair instructions for replacing the right front orifice on a Kitchenaid Gas Convection Range (model #KSGB900ESS01). The most common reason for replacing the orifice is if the burner will not light.
This orifice replacement video is applicable to the following brands:
Whirlpool, Kitchenaid
Don't forget to like and comment on this video and subscribe to our channel!
This orifice replacement video is applicable to the following brands:
Whirlpool, Kitchenaid
Don't forget to like and comment on this video and subscribe to our channel!
Step-By-Step Instructions
1
Convection gas range - ksgb900ess1
2
Kitchenaid convection gas range - Right Front Orifice Replacement
3
You will need a 7MM socket or nut driver to complete this repair.
4
Shock
5
Be sure to unplug the power cord or shut off the power supply.
6
Fire
7
Shut off the gas supply as well.
8
Heavy
9
Lift off the right side grate.
10
Remove the burner cap and lift off the burner base.
11
To help grip the orifice, place a piece of tape in a 7mm socket or nut driver.
12
You can now unthread the old orifice from the holder.
13
Install the new orifice by inserting it into the socket or nut driver then thread it into the holder.
14
Replace the burner base by aligning the notch in the base with the spark electrode.
15
Align the burner cap.
16
Reposition the grate.
17
Turn the gas supply back on.
18
Plug the power cord back in or restore the power supply.
Applicable Product Model
Related Articles & Videos
09:43
Part Replacement
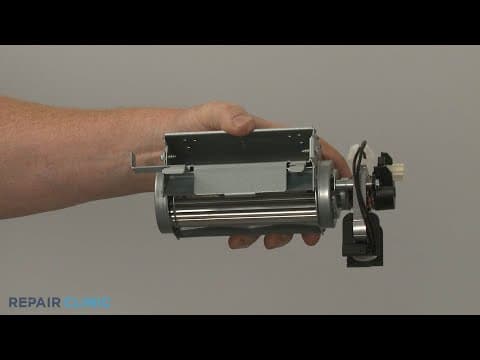
KitchenAid Convection Gas Range Cooling Fan Assembly Replacement #W11107275
08:32
Part Replacement
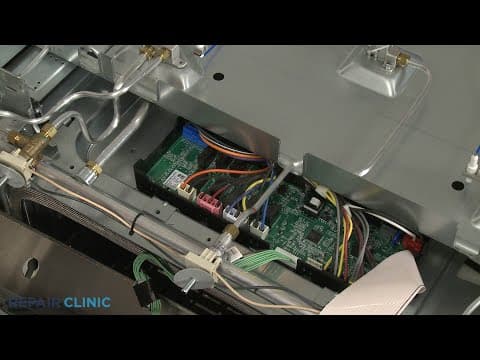
KitchenAid Convection Gas Range Main Control Board Replacement #W11100100
05:52
Part Replacement
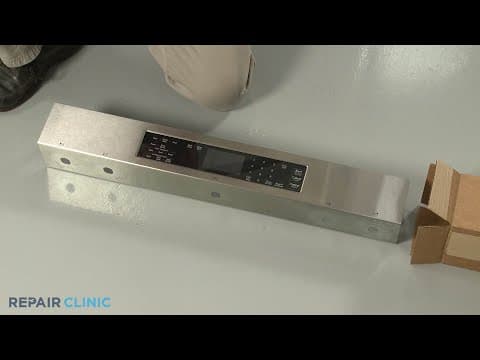
KitchenAid Convection Gas Range Control Panel Replacement #W10913685
07:53
Part Replacement
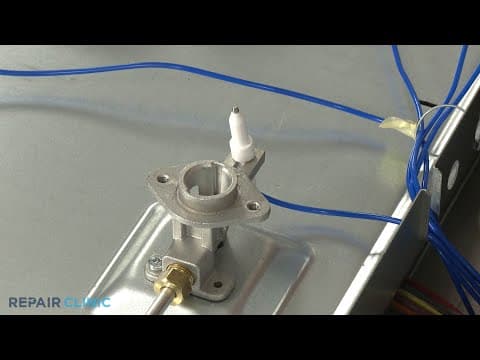
KitchenAid Convection Gas Range Right Rear Burner Spark Electrode Replacement #W11220383




Our Story
Family-owned and operated since 1912, Burke America Parts Group is the longest-running genuine appliance, HVAC, and outdoor power equipment parts solution in North America. At Repair Clinic, we're proud to be an international brand trusted by the pros as well as the DIY community.
About Repair Clinic
© 2026 RepairClinic.com