

Price Match Guarantee

In-stock parts ship the same day

365-Day Return Policy
Price Match GuaranteeGET PRO PRICING
Video & Articles: Appliance & Equipment RepairWhirlpool Electric Washer/Dryer Combo Heating Element Thermal Fuse Replacement #279769 

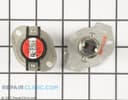
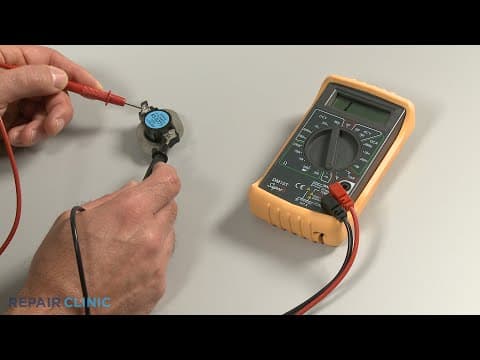
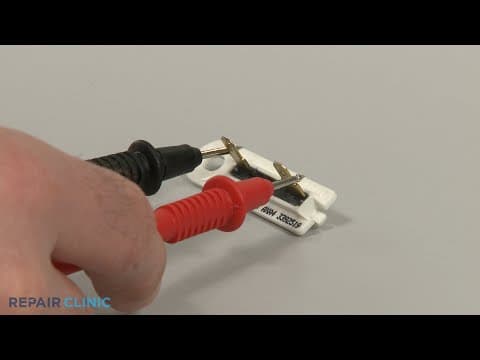
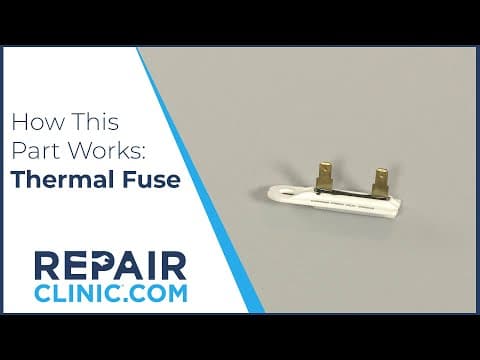
Whirlpool Electric Washer/Dryer Combo Heating Element Thermal Fuse Replacement #279769
Skill Level
Total Parts Cost
$35.94Estimated Savings
$112.5004:26
- Description
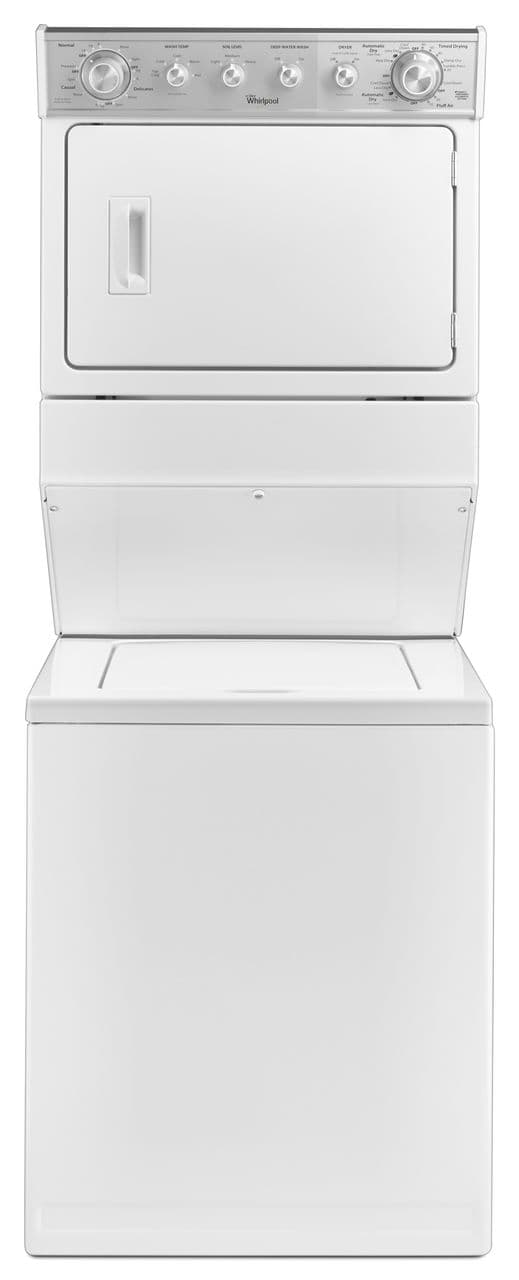
This video provides step-by-step repair instructions for replacing the heating element thermal fuse on a Whirlpool electric washer/dryer combo (model #WET4027EW0). The most common reason for replacing this part is if the dryer is not heating.
This replacement video is applicable to the following brands:
Whirlpool, Maytag, Kitchenaid
Don't forget to like and comment on this video and subscribe to our channel!
This replacement video is applicable to the following brands:
Whirlpool, Maytag, Kitchenaid
Don't forget to like and comment on this video and subscribe to our channel!
Step By Step Instructions
1
Before you replace the heating element thermal fuse in your washer / dryer combo…
2
…be sure to unplug the power cord or shut off the power supply.
3
Use a phillips-head screwdriver to unthread the screws securing the lower access panel.
4
Detach the panel and set it aside.
5
Insert a putty knife above the front access panel to release the spring clips to detach the panel.
6
Remove the lint screen.
7
Next, use a 5/16th inch socket or nut driver to unthread the screws to release the air duct.
8
Unthread the four screws securing the heater shield.
9
Detach the shield.
10
For greater ease in replacing the thermal fuse, you can detach the heating element housing.
11
Use a 5/16th inch wrench to unthread the screw securing the housing bracket to the right side support bracket.
12
Now use a quarter-inch socket or nut driver to unthread the mounting screw securing the thermal fuse.
13
Disconnect the wires.
14
Install the new thermal fuse…
15
…by first connecting the wires to the terminals.
16
Insert the fuse tab into the slot in the housing…
17
…and secure the mounting screw.
18
Reposition the housing on the rear duct and thread the screw to secure the housing bracket to the support bracket.
19
Reposition the heater shield and secure it with the four screws.
20
Realign the air duct and thread the screws to secure.
21
Replace the lint screen.
22
Align the front access panel spring clips with the slots and snap the panel into place.
23
Reposition the lower access panel and secure it with the screws.
24
Plug the power cord back in or restore the power supply…
25
…and your washer/dryer combo should be ready for use.
Description
This video provides step-by-step repair instructions for replacing the heating element thermal fuse on a Whirlpool electric washer/dryer combo (model #WET4027EW0). The most common reason for replacing this part is if the dryer is not heating.
This replacement video is applicable to the following brands:
Whirlpool, Maytag, Kitchenaid
Don't forget to like and comment on this video and subscribe to our channel!
This replacement video is applicable to the following brands:
Whirlpool, Maytag, Kitchenaid
Don't forget to like and comment on this video and subscribe to our channel!
Step-By-Step Instructions
1
Before you replace the heating element thermal fuse in your washer / dryer combo…
2
…be sure to unplug the power cord or shut off the power supply.
3
Use a phillips-head screwdriver to unthread the screws securing the lower access panel.
4
Detach the panel and set it aside.
5
Insert a putty knife above the front access panel to release the spring clips to detach the panel.
6
Remove the lint screen.
7
Next, use a 5/16th inch socket or nut driver to unthread the screws to release the air duct.
8
Unthread the four screws securing the heater shield.
9
Detach the shield.
10
For greater ease in replacing the thermal fuse, you can detach the heating element housing.
11
Use a 5/16th inch wrench to unthread the screw securing the housing bracket to the right side support bracket.
12
Now use a quarter-inch socket or nut driver to unthread the mounting screw securing the thermal fuse.
13
Disconnect the wires.
14
Install the new thermal fuse…
15
…by first connecting the wires to the terminals.
16
Insert the fuse tab into the slot in the housing…
17
…and secure the mounting screw.
18
Reposition the housing on the rear duct and thread the screw to secure the housing bracket to the support bracket.
19
Reposition the heater shield and secure it with the four screws.
20
Realign the air duct and thread the screws to secure.
21
Replace the lint screen.
22
Align the front access panel spring clips with the slots and snap the panel into place.
23
Reposition the lower access panel and secure it with the screws.
24
Plug the power cord back in or restore the power supply…
25
…and your washer/dryer combo should be ready for use.
Applicable Product Model
Parts Needed
Thermal Fuse
$35.94
Total$0.00
Related Articles & Videos
05:07
Part Replacement
Whirlpool Electric Washer/Dryer Combo Lid Switch Assembly Replacement Part # WP3355458
08:48
Part Replacement
Whirlpool Electric Washer/Dryer Combo Dryer Drive Belt Replacement #661570V




Our Story
Family-owned and operated since 1912, Burke America Parts Group is the longest-running genuine appliance, HVAC, and outdoor power equipment parts solution in North America. At Repair Clinic, we're proud to be an international brand trusted by the pros as well as the DIY community.
About Repair Clinic
© 2026 RepairClinic.com