

Price Match Guarantee

In-stock parts ship the same day

365-Day Return Policy
Price Match GuaranteeGET PRO PRICING
Video & Articles: Appliance & Equipment RepairWhirlpool Barracuda Refrigerator Drain Pan Replacement WPW10614158 

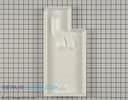
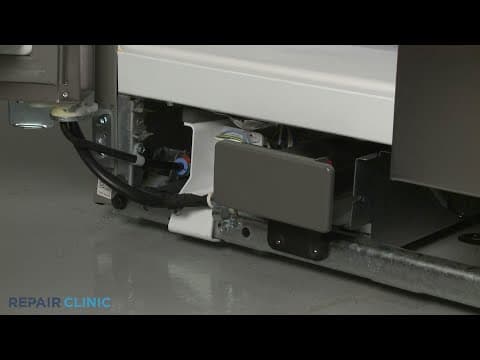
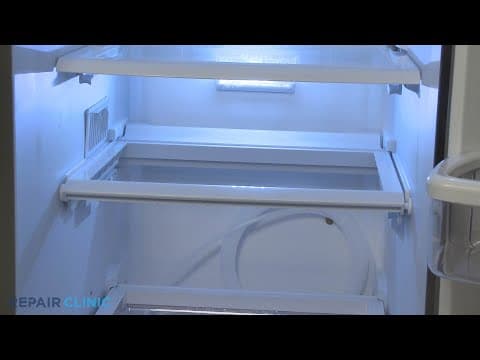
Whirlpool Barracuda Refrigerator Drain Pan Replacement WPW10614158
Skill Level
Total Parts Cost
$78.26Estimated Savings
$112.5004:18
- Description
This video provides step-by-step repair instructions for replacing the drain pan on a Whirlpool Barracuda refrigerator (Model WRS325FDAM04). The most common reason for replacing this part is if the refrigerator is leaking.
All of the information for this video is applicable to the following brands:
Whirlpool, Maytag, Amana, Kitchenaid, Kenmore
All of the information for this video is applicable to the following brands:
Whirlpool, Maytag, Amana, Kitchenaid, Kenmore
Step By Step Instructions
1
Before you replace the drain pan in your refrigerator…
2
…be sure to unplug the power cord.
3
Pull the refrigerator away from the wall so you can access the rear of the appliance.
4
Use a quarter-inch socket or nut driver to unthread the screw to release the water inlet line coupler from the lower rear access panel.
5
Unthread all of the screws to release the access panel.
6
Reach in and bend the rear drain pan retaining tab up.
7
Now open both doors…
8
…along with the water filter cover.
9
Pull the toe-kick plate free.
10
Use a 5/16th inch socket or nut driver to unthread the two mounting screws securing the filter housing.
11
Use the quarter-inch socket or nut driver to unthread the screw to release the water dispenser wire retainer from the frame.
12
Unthread the screw securing the wire connecter support bracket.
13
Now move the bracket and water filter housing out of the way…then lift out the polystyrene foam block.
14
Remove the tape securing the front drain pan retaining tab then bend the tab up.
15
You can now remove the old drain pan.
16
Install the new drain pan…
17
…by inserting it through the front of the appliance.
18
With the pan in place, bend the front retaining tab down and secure it with the tape.
19
Reposition the polystyrene foam block.
20
Reposition the filter housing and wire connecter support bracket.
21
Thread the screw to secure the bracket.
22
Rethread the screw to secure the wire retainer to the frame.
23
Secure the filter housing with the mounting screws.
24
Reinstall the toe-kick plate by aligning the clips on the plate with the brackets attached to the refrigerator frame then snap the plate into place.
25
Close the water filter cover.
26
Returning to the rear of the appliance, bend the rear retaining tab down to secure the drain pan.
27
Reinstall the access panel.
28
Be sure to secure the water inlet line coupler to the panel.
29
Plug the power cord back in…
30
…and your refrigerator should be ready for use.
Description
This video provides step-by-step repair instructions for replacing the drain pan on a Whirlpool Barracuda refrigerator (Model WRS325FDAM04). The most common reason for replacing this part is if the refrigerator is leaking.
All of the information for this video is applicable to the following brands:
Whirlpool, Maytag, Amana, Kitchenaid, Kenmore
All of the information for this video is applicable to the following brands:
Whirlpool, Maytag, Amana, Kitchenaid, Kenmore
Step-By-Step Instructions
1
Before you replace the drain pan in your refrigerator…
2
…be sure to unplug the power cord.
3
Pull the refrigerator away from the wall so you can access the rear of the appliance.
4
Use a quarter-inch socket or nut driver to unthread the screw to release the water inlet line coupler from the lower rear access panel.
5
Unthread all of the screws to release the access panel.
6
Reach in and bend the rear drain pan retaining tab up.
7
Now open both doors…
8
…along with the water filter cover.
9
Pull the toe-kick plate free.
10
Use a 5/16th inch socket or nut driver to unthread the two mounting screws securing the filter housing.
11
Use the quarter-inch socket or nut driver to unthread the screw to release the water dispenser wire retainer from the frame.
12
Unthread the screw securing the wire connecter support bracket.
13
Now move the bracket and water filter housing out of the way…then lift out the polystyrene foam block.
14
Remove the tape securing the front drain pan retaining tab then bend the tab up.
15
You can now remove the old drain pan.
16
Install the new drain pan…
17
…by inserting it through the front of the appliance.
18
With the pan in place, bend the front retaining tab down and secure it with the tape.
19
Reposition the polystyrene foam block.
20
Reposition the filter housing and wire connecter support bracket.
21
Thread the screw to secure the bracket.
22
Rethread the screw to secure the wire retainer to the frame.
23
Secure the filter housing with the mounting screws.
24
Reinstall the toe-kick plate by aligning the clips on the plate with the brackets attached to the refrigerator frame then snap the plate into place.
25
Close the water filter cover.
26
Returning to the rear of the appliance, bend the rear retaining tab down to secure the drain pan.
27
Reinstall the access panel.
28
Be sure to secure the water inlet line coupler to the panel.
29
Plug the power cord back in…
30
…and your refrigerator should be ready for use.
Applicable Product Model
Parts Needed
Drain Pan
$78.26
Total$0.00
Related Articles & Videos
04:33
Part Replacement
Whirlpool Barracuda Refrigerator Water Filter Housing Replacement W10862461
01:14
Part Replacement
Whirlpool Barracuda Refrigerator Top Liner LED Replacement WPW10515058
00:53
Part Replacement
Whirlpool Barracuda Refrigerator Meat Drawer Shelf Replacement W11223835
01:19
Part Replacement
Whirlpool Barracuda Refrigerator Crisper Shelf Frame Replacement W10914556
01:38
Part Replacement
Whirlpool Barracuda Refrigerator Beveled LED Replacement WPW10515057




Our Story
Family-owned and operated since 1912, Burke America Parts Group is the longest-running genuine appliance, HVAC, and outdoor power equipment parts solution in North America. At Repair Clinic, we're proud to be an international brand trusted by the pros as well as the DIY community.
About Repair Clinic
© 2026 RepairClinic.com