

Price Match Guarantee

In-stock parts ship the same day

365-Day Return Policy
Price Match GuaranteeGET PRO PRICING
Video & Articles: Appliance & Equipment RepairEcho Leaf Blower Carburetor Kit Installation (P033000080)


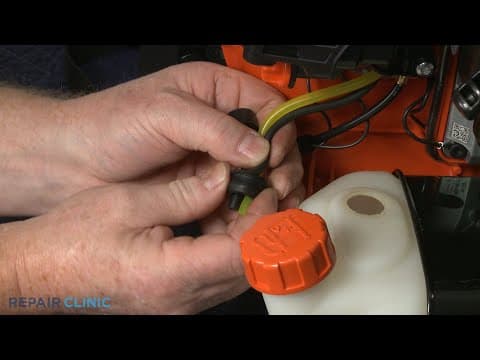
Echo Leaf Blower Carburetor Kit Installation (P033000080)
Skill Level
Total Parts Cost
$21.32Estimated Savings
$112.5005:41
- Description
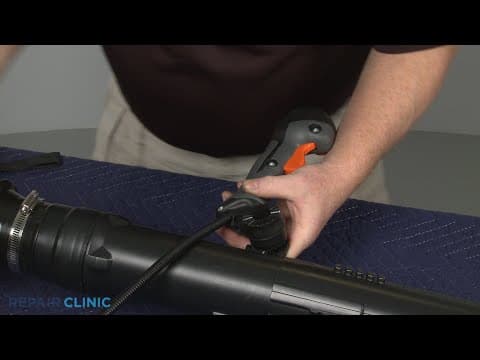
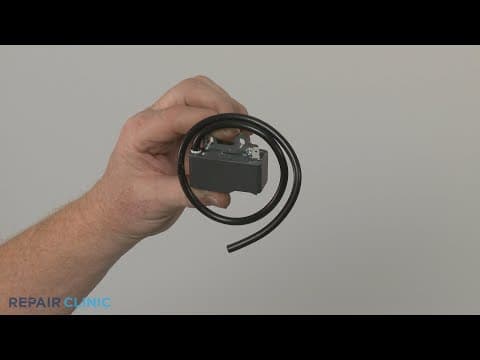
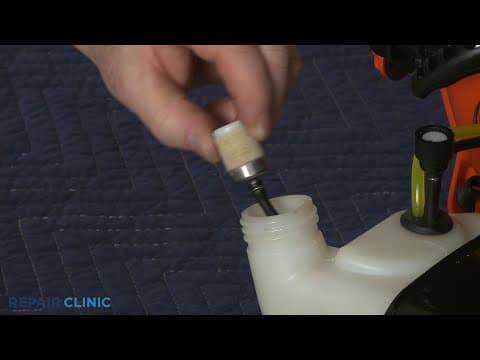
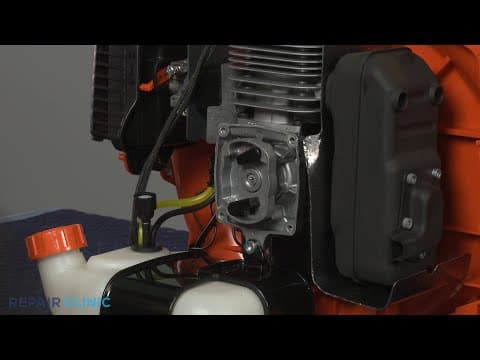
This video provides step-by-step instructions for replacing the carburetor kit on Echo leaf blowers. The most common reason for replacing the carburetor kit is if the leaf blower won't start.
All of the information in this carburetor kit replacement video is applicable to the following brands: Echo.
Tools used: T-27 Torx bit, pliers.
All of the information in this carburetor kit replacement video is applicable to the following brands: Echo.
Tools used: T-27 Torx bit, pliers.
Step By Step Instructions
1
Leaf Blower- Model PB580T
2
Leaf Blower Carbuertor Kit Installation
3
"Step 1: Make sure the engine has cooled and the on/off switch in the ""off"" position. "
4
Step 2: Perform this procedure with little or no fuel in the tank.
5
Step 3: Unthread the wing nuts counter-clockwise to detach the air filter cover.
6
Step 4: Remove the air filter.
7
Step 5: Use a T-27 Torx bit to unthread the two mounting bolts securing the filter base and carburetor.
8
Step 6: Use pliers to help detach the throttle cable.
9
Step 7: Note the orientation of the fuel lines then detach them from the carburetor ports.
10
Step 8: Use a small phillips-head screwdriver to unthreead the four screws securing the primer cover and body along with the diaphragm and gasket.
11
Step 9: Set these components aside.
12
Step 10: Unthread the screw to remove the arm and pin assembly.
13
Step 11: Remove the spring and needle as well.
14
"Step 12: Unthread the screws to release the pump cover, the pump diaphragm, and gasket."
15
Step 13: Remove the filter screen.
16
Step 14: Use carburetor cleaner to clean out the ports.
17
Step 15: Insert the new filter screen.
18
Step 16: Align the pump diaphragm and gasket.
19
Step 17: Reposition the pump cover and thread the screw to secure.
20
Step 18: Align the new needle on the new arm and pin assembly.
21
"Step 19: Realign the spring then position the arm, pin, and needle assembly and thread the screw to secure. "
22
Step 20: Align the new gasket and diaphragm.
23
Step 21: Reposition the primer body.
24
Step 22: Confirm the primer bulb is in the cover then align the cover and thread the four screws.
25
Step 23: Reinstall the carburetor by first attaching the fuel lines to the appropriate ports.
26
Step 24: Hook the throttle cable onto the lever.
27
Step 25: Realign the baffle in the air filter base.
28
Step 26: Insert the bolts.
29
Step 27: Position the carburetor intake gasket on the bolts.
30
Step 28: Align the carburetor followed by the carburetor outlet gasket.
31
Step 29: Position the assembly and thread the mounting bolts.
32
Step 30: Replace the air filter.
33
Step 31: Realign the filter cover and thread the wing nuts to secure.
34
Step 32: Refill the fuel tank if necessary.
35
Congratulations! Your leaf blower should be ready for use.
Description
This video provides step-by-step instructions for replacing the carburetor kit on Echo leaf blowers. The most common reason for replacing the carburetor kit is if the leaf blower won't start.
All of the information in this carburetor kit replacement video is applicable to the following brands: Echo.
Tools used: T-27 Torx bit, pliers.
All of the information in this carburetor kit replacement video is applicable to the following brands: Echo.
Tools used: T-27 Torx bit, pliers.
Step-By-Step Instructions
1
Leaf Blower- Model PB580T
2
Leaf Blower Carbuertor Kit Installation
3
"Step 1: Make sure the engine has cooled and the on/off switch in the ""off"" position. "
4
Step 2: Perform this procedure with little or no fuel in the tank.
5
Step 3: Unthread the wing nuts counter-clockwise to detach the air filter cover.
6
Step 4: Remove the air filter.
7
Step 5: Use a T-27 Torx bit to unthread the two mounting bolts securing the filter base and carburetor.
8
Step 6: Use pliers to help detach the throttle cable.
9
Step 7: Note the orientation of the fuel lines then detach them from the carburetor ports.
10
Step 8: Use a small phillips-head screwdriver to unthreead the four screws securing the primer cover and body along with the diaphragm and gasket.
11
Step 9: Set these components aside.
12
Step 10: Unthread the screw to remove the arm and pin assembly.
13
Step 11: Remove the spring and needle as well.
14
"Step 12: Unthread the screws to release the pump cover, the pump diaphragm, and gasket."
15
Step 13: Remove the filter screen.
16
Step 14: Use carburetor cleaner to clean out the ports.
17
Step 15: Insert the new filter screen.
18
Step 16: Align the pump diaphragm and gasket.
19
Step 17: Reposition the pump cover and thread the screw to secure.
20
Step 18: Align the new needle on the new arm and pin assembly.
21
"Step 19: Realign the spring then position the arm, pin, and needle assembly and thread the screw to secure. "
22
Step 20: Align the new gasket and diaphragm.
23
Step 21: Reposition the primer body.
24
Step 22: Confirm the primer bulb is in the cover then align the cover and thread the four screws.
25
Step 23: Reinstall the carburetor by first attaching the fuel lines to the appropriate ports.
26
Step 24: Hook the throttle cable onto the lever.
27
Step 25: Realign the baffle in the air filter base.
28
Step 26: Insert the bolts.
29
Step 27: Position the carburetor intake gasket on the bolts.
30
Step 28: Align the carburetor followed by the carburetor outlet gasket.
31
Step 29: Position the assembly and thread the mounting bolts.
32
Step 30: Replace the air filter.
33
Step 31: Realign the filter cover and thread the wing nuts to secure.
34
Step 32: Refill the fuel tank if necessary.
35
Congratulations! Your leaf blower should be ready for use.
Applicable Product Model
Parts Needed
Carburetor Repair Kit
$21.32
Total$0.00
Related Articles & Videos
05:34
Part Replacement
Echo Leaf Blower Throttle Control Assembly Replacement (P021052251)
02:41
Part Replacement
Echo Backpack Leaf Blower Fuel Tank Grommet Replacement (13211555930)




Our Story
Family-owned and operated since 1912, Burke America Parts Group is the longest-running genuine appliance, HVAC, and outdoor power equipment parts solution in North America. At Repair Clinic, we're proud to be an international brand trusted by the pros as well as the DIY community.
About Repair Clinic
© 2026 RepairClinic.com