

Price Match Guarantee

In-stock parts ship the same day

365-Day Return Policy
Price Match GuaranteeGET PRO PRICING
Video & Articles: Appliance & Equipment RepairEcho Leaf Blower Flywheel Key Replacement (90032303014)
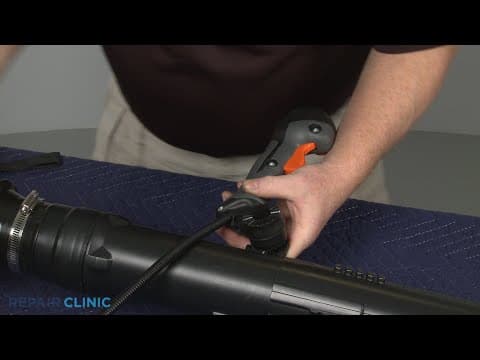
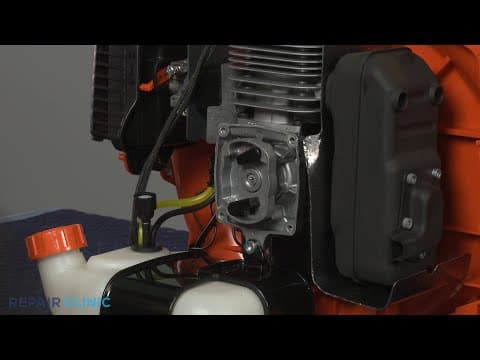
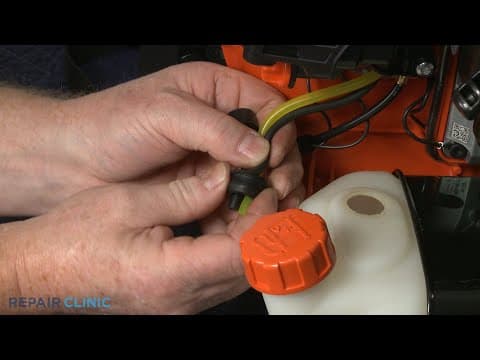
Echo Leaf Blower Flywheel Key Replacement (90032303014)
Skill Level
Total Parts Cost
$1.92Estimated Savings
$112.5006:34
- Description
This video provides step-by-step instructions for replacing the flywheel key on Echo leaf blowers.
Step By Step Instructions
1
Leaf Blower- Model PB580T
2
Leaf Blower Flywheel Key Replacement
3
"Step 1: Make sure the engine has cooled and the on/off switch is in the ""off"" position."
4
Step 2: Perform this procedure with little or no fuel in the tank.
5
Step 3: Set the leaf blower on its side.
6
Step 4: Use a T-27 Torx bit to unthread the four screws securing the fuel tank retainer.
7
Step 5: Set the fuel tank and retainer aside.
8
Step 6: Unthread the nine screws securing the two halves of the blower housing.
9
Step 7: Detach the cable and static discharge wire from the housing retaining clip.
10
Step 8: Unthread the screw to fully release the discharge wire from the engine.
11
Step 9: Separate the two halves of the blower housing.
12
Step 10: Unthread the four screws securing the blower fan.
13
Step 11: Remove the fan.
14
Step 12: Remove the wire and boot from the spark plug.
15
Step 13: Use a 3/4 inch socket or a spark plug wrench to unthread the spark plug.
16
"Step 14: Confirm the engine piston is in the ""down"" position and insert a cord into the cylinder to prevent the piston from moving."
17
Step 15: Use a 17 mm socket to unthread the flywheel mounting nut.
18
Step 16: Remove both washers.
19
"Step 17: If you don't have an appropriate-sized flywheel puller, you can rethread the nut loosely so it rests at the top of the motor shaft."
20
Step 18: Set a 19 mm or similar-sized socket on top of the motor shaft.
21
Step 19: Reposition the blower fan then thread and tighten two mounting screws until you hear the flywheel become dislodged.
22
Attention: Blower fan may be damaged when using this method.
23
Step 20: Remove the blower fan.
24
Step 21: Unthread the nut and remove the old flywheel.
25
"Step 22: If still intact, remove the old flywheel key."
26
Step 23: Install the new flywheel key by inserting it in the notch in the motor shaft.
27
Step 24: Reposition the flywheel on the motor shaft until it sets into place.
28
Step 25: Replace the two washers then thread and tighten the mounting nut.
29
Step 26: Remove the cord from the cylinder and rethread the spark plug.
30
Attention: Be careful not to damage the plug by overtightening.
31
Step 27: Reattach the wire and boot to the spark plug.
32
Step 28: Realign the blower fan.
33
Step 29: Insert four washers and thread and tighten the mounting screws.
34
Step 30: Rejoin the two halves of the blower housing.
35
Step 31: Rethread the screw to secure the static discharge wire to the engine.
36
Step 32: Secure the discharge wire and the cable in the housing retaining clip.
37
Step 33: Rethread all of the screws to secure the two halves of the blower housing.
38
Step 34: Realign the retainer on the fuel tank and reposition the assembly on the frame.
39
Step 35: Confirm the washers are in place on the screws and thread the four screws to secure the retainer.
40
Step 36: Refill the fuel tank if necessary.
41
Congratulations! Your blower should be ready for use.
Description
This video provides step-by-step instructions for replacing the flywheel key on Echo leaf blowers.
Step-By-Step Instructions
1
Leaf Blower- Model PB580T
2
Leaf Blower Flywheel Key Replacement
3
"Step 1: Make sure the engine has cooled and the on/off switch is in the ""off"" position."
4
Step 2: Perform this procedure with little or no fuel in the tank.
5
Step 3: Set the leaf blower on its side.
6
Step 4: Use a T-27 Torx bit to unthread the four screws securing the fuel tank retainer.
7
Step 5: Set the fuel tank and retainer aside.
8
Step 6: Unthread the nine screws securing the two halves of the blower housing.
9
Step 7: Detach the cable and static discharge wire from the housing retaining clip.
10
Step 8: Unthread the screw to fully release the discharge wire from the engine.
11
Step 9: Separate the two halves of the blower housing.
12
Step 10: Unthread the four screws securing the blower fan.
13
Step 11: Remove the fan.
14
Step 12: Remove the wire and boot from the spark plug.
15
Step 13: Use a 3/4 inch socket or a spark plug wrench to unthread the spark plug.
16
"Step 14: Confirm the engine piston is in the ""down"" position and insert a cord into the cylinder to prevent the piston from moving."
17
Step 15: Use a 17 mm socket to unthread the flywheel mounting nut.
18
Step 16: Remove both washers.
19
"Step 17: If you don't have an appropriate-sized flywheel puller, you can rethread the nut loosely so it rests at the top of the motor shaft."
20
Step 18: Set a 19 mm or similar-sized socket on top of the motor shaft.
21
Step 19: Reposition the blower fan then thread and tighten two mounting screws until you hear the flywheel become dislodged.
22
Attention: Blower fan may be damaged when using this method.
23
Step 20: Remove the blower fan.
24
Step 21: Unthread the nut and remove the old flywheel.
25
"Step 22: If still intact, remove the old flywheel key."
26
Step 23: Install the new flywheel key by inserting it in the notch in the motor shaft.
27
Step 24: Reposition the flywheel on the motor shaft until it sets into place.
28
Step 25: Replace the two washers then thread and tighten the mounting nut.
29
Step 26: Remove the cord from the cylinder and rethread the spark plug.
30
Attention: Be careful not to damage the plug by overtightening.
31
Step 27: Reattach the wire and boot to the spark plug.
32
Step 28: Realign the blower fan.
33
Step 29: Insert four washers and thread and tighten the mounting screws.
34
Step 30: Rejoin the two halves of the blower housing.
35
Step 31: Rethread the screw to secure the static discharge wire to the engine.
36
Step 32: Secure the discharge wire and the cable in the housing retaining clip.
37
Step 33: Rethread all of the screws to secure the two halves of the blower housing.
38
Step 34: Realign the retainer on the fuel tank and reposition the assembly on the frame.
39
Step 35: Confirm the washers are in place on the screws and thread the four screws to secure the retainer.
40
Step 36: Refill the fuel tank if necessary.
41
Congratulations! Your blower should be ready for use.
Applicable Product Model
Parts Needed
Woodruff Key
$1.92
Total$0.00
Related Articles & Videos
05:34
Part Replacement
Echo Leaf Blower Throttle Control Assembly Replacement (P021052251)
02:41
Part Replacement
Echo Backpack Leaf Blower Fuel Tank Grommet Replacement (13211555930)




Our Story
Family-owned and operated since 1912, Burke America Parts Group is the longest-running genuine appliance, HVAC, and outdoor power equipment parts solution in North America. At Repair Clinic, we're proud to be an international brand trusted by the pros as well as the DIY community.
About Repair Clinic
© 2026 RepairClinic.com