

Price Match Guarantee

In-stock parts ship the same day

365-Day Return Policy
Price Match GuaranteeGET PRO PRICING
Video & Articles: Appliance & Equipment RepairHonda Small Engine Fuel Tank Neck Seal Replacement #17514-Z0L-000


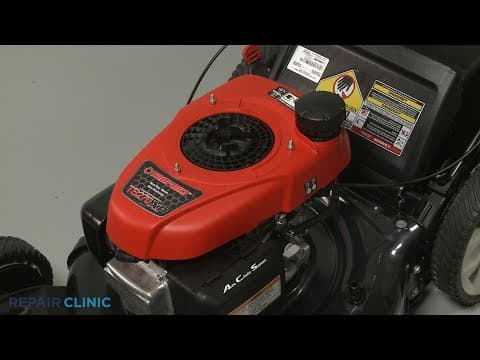
Honda Small Engine Fuel Tank Neck Seal Replacement #17514-Z0L-000
Skill Level
Total Parts Cost
$0.48Estimated Savings
$112.5001:59
- Description
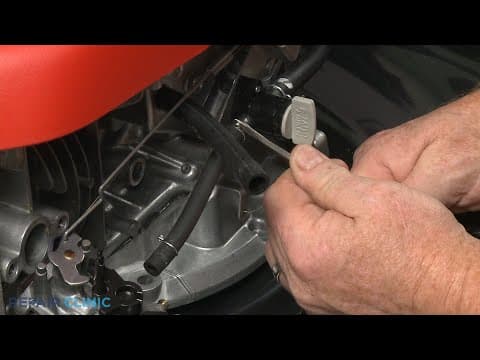
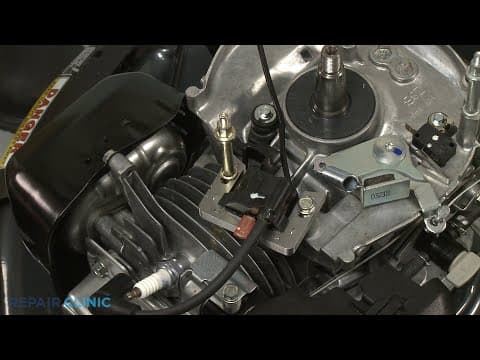
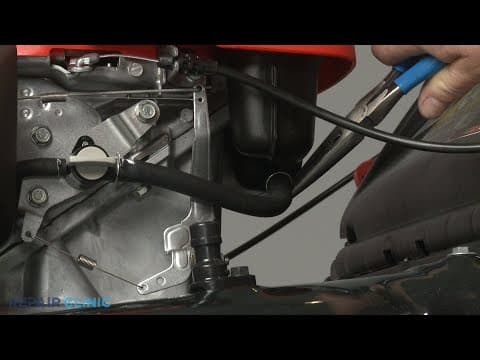
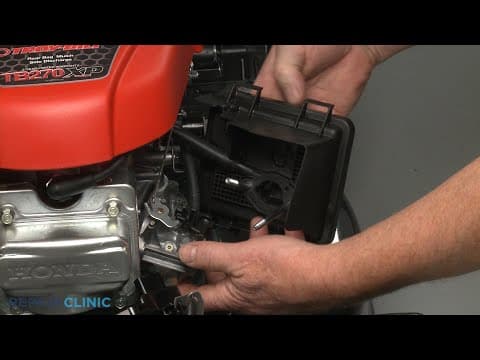
This video provides step-by-step instructions for replacing the fuel tank neck seal on Honda small engines. The most common reason for replacing this part is if it is damaged.
All of the information in this video is applicable to the following brands: Honda
All of the information in this video is applicable to the following brands: Honda
Step By Step Instructions
1
Honda Engine - Model GCV160LA0S3B
2
Honda Engine Fuel Tank Neck Seal Replacement
3
Tools Needed
4
You will need channel-lock pliers for this procedure.
5
Hot
6
Before you begin, confirm the engine has cooled.
7
Spill
8
Be sure there is little fuel in the tank.
9
Unthread the fuel tank cap and pull the retainer free to fully remove.
10
Use the channel-lock pliers to help unthread the fuel tank mounting nut.
11
Push the neck down to release the neck seal and you can remove the old seal.
12
To install the new fuel tank neck seal, align it on the tank neck with the beveled side facing downward? then fully seat it in the groove in the engine cover.
13
Rethread the fuel tank mounting nut onto the neck, and use the pliers to tighten.
14
Slide the fuel cap retainer over the fuel tank neck, then thread on the cap.
15
Refill the fuel tank if necessary.
16
Congrats! Your engine is ready for use.
Description
This video provides step-by-step instructions for replacing the fuel tank neck seal on Honda small engines. The most common reason for replacing this part is if it is damaged.
All of the information in this video is applicable to the following brands: Honda
All of the information in this video is applicable to the following brands: Honda
Step-By-Step Instructions
1
Honda Engine - Model GCV160LA0S3B
2
Honda Engine Fuel Tank Neck Seal Replacement
3
Tools Needed
4
You will need channel-lock pliers for this procedure.
5
Hot
6
Before you begin, confirm the engine has cooled.
7
Spill
8
Be sure there is little fuel in the tank.
9
Unthread the fuel tank cap and pull the retainer free to fully remove.
10
Use the channel-lock pliers to help unthread the fuel tank mounting nut.
11
Push the neck down to release the neck seal and you can remove the old seal.
12
To install the new fuel tank neck seal, align it on the tank neck with the beveled side facing downward? then fully seat it in the groove in the engine cover.
13
Rethread the fuel tank mounting nut onto the neck, and use the pliers to tighten.
14
Slide the fuel cap retainer over the fuel tank neck, then thread on the cap.
15
Refill the fuel tank if necessary.
16
Congrats! Your engine is ready for use.
Applicable Product Model
Parts Needed
Seal
$0.48


Total$0.00
Related Articles & Videos
03:57
Part Replacement
Honda Small Engine Carburetor-To-Shut-Off Fuel Line Replacement #16840-Z8B-900
01:44
Part Replacement
Honda Small Engine Shut-Off-To-Tank Fuel Line Replacement #17700-Z8B-900




Our Story
Family-owned and operated since 1912, Burke America Parts Group is the longest-running genuine appliance, HVAC, and outdoor power equipment parts solution in North America. At Repair Clinic, we're proud to be an international brand trusted by the pros as well as the DIY community.
About Repair Clinic
© 2026 RepairClinic.com