

Price Match Guarantee

In-stock parts ship the same day

365-Day Return Policy
Price Match GuaranteeGET PRO PRICING
Video & Articles: Appliance & Equipment RepairLG Refrigerator Duct Assembly #ADJ73712911


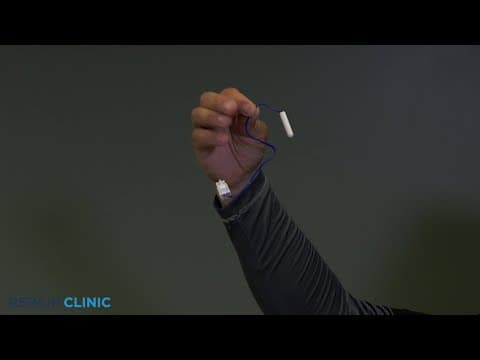
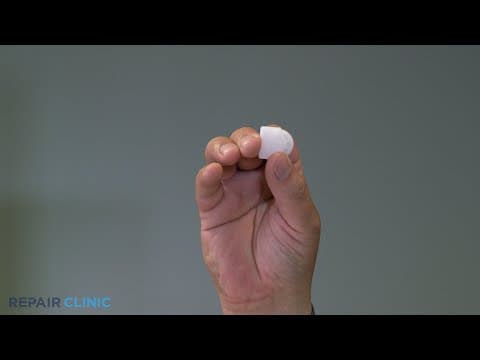
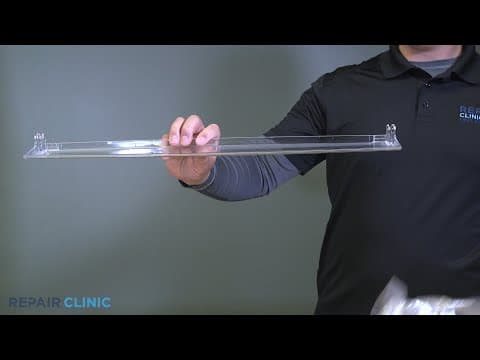
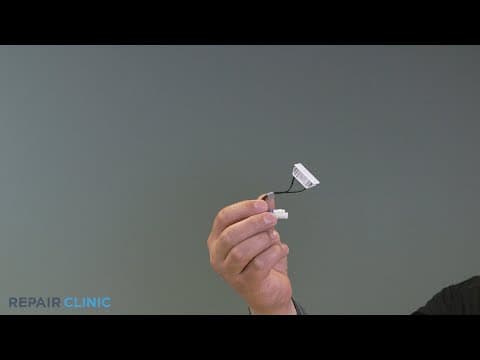
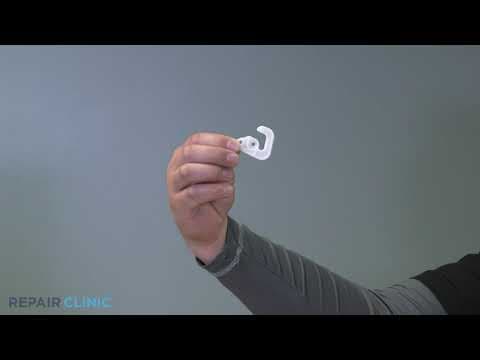
LG Refrigerator Duct Assembly #ADJ73712911
Skill Level
Total Parts Cost
$318.51Estimated Savings
$112.5006:49
- Description
This video provides step-by-step repair instructions for replacing the duct assembly in an LG Refrigerator. The most common reason for replacing the duct assembly is if it is broken.
All of the information for this duct assembly replacement video is applicable to the following brands:
LG
Tools needed: Phillips Screwdriver/Drill Driver, Jeweler's Flathead Screwdriver
All of the information for this duct assembly replacement video is applicable to the following brands:
LG
Tools needed: Phillips Screwdriver/Drill Driver, Jeweler's Flathead Screwdriver
Step By Step Instructions
1
To replace the duct assembly in this lg refrigerator…
2
You will need a jewelers flathead screwdriver, and a philips screwdriver or drill driver with a number 2 phillips bit.
3
Lift the front of the shelf assemblies up and unhook them from their slots and pull them out.
4
Pull out the crisper drawers, push up underneath the glass shelf and pull the shelf out.
5
Next, pull out the crisper drawer assembly.
6
Extend out the deli drawer and lift up to remove.
7
Using the jeweler’s screwdriver, pry out the upper and lower duct cap.
8
Take out the two screws securing the shelf holder. remove the holder by lifting it up and out.
9
Now remove the screw holding the duct assembly in place. startting at the top, unsnap the assembly and lay it down. this could take a bit of pressure.
10
Unplug the wire harness.
11
Remove the new duct assembly from the packaging.
12
Plug in the wire harness.
13
Insert the duct assembly from the bottom and snap the assembly into place.
14
Secure the duct assembly with the phiilips screw.
15
Now insert the shelf holder and secure it with the two screws.
16
Place the upper and lower duct caps in position.
17
Guide the deli drawer into its tracks and slide it in the fridge.
18
Insert the crisper drawer assembly back into the fridge cavity.
19
Insert the glass shelf horizontally and slide the crisper drawers back into place.
20
Hook the shelf assemblies into their slots and gently set them.
21
…. and the lg refrigerator should be ready for use.
Description
This video provides step-by-step repair instructions for replacing the duct assembly in an LG Refrigerator. The most common reason for replacing the duct assembly is if it is broken.
All of the information for this duct assembly replacement video is applicable to the following brands:
LG
Tools needed: Phillips Screwdriver/Drill Driver, Jeweler's Flathead Screwdriver
All of the information for this duct assembly replacement video is applicable to the following brands:
LG
Tools needed: Phillips Screwdriver/Drill Driver, Jeweler's Flathead Screwdriver
Step-By-Step Instructions
1
To replace the duct assembly in this lg refrigerator…
2
You will need a jewelers flathead screwdriver, and a philips screwdriver or drill driver with a number 2 phillips bit.
3
Lift the front of the shelf assemblies up and unhook them from their slots and pull them out.
4
Pull out the crisper drawers, push up underneath the glass shelf and pull the shelf out.
5
Next, pull out the crisper drawer assembly.
6
Extend out the deli drawer and lift up to remove.
7
Using the jeweler’s screwdriver, pry out the upper and lower duct cap.
8
Take out the two screws securing the shelf holder. remove the holder by lifting it up and out.
9
Now remove the screw holding the duct assembly in place. startting at the top, unsnap the assembly and lay it down. this could take a bit of pressure.
10
Unplug the wire harness.
11
Remove the new duct assembly from the packaging.
12
Plug in the wire harness.
13
Insert the duct assembly from the bottom and snap the assembly into place.
14
Secure the duct assembly with the phiilips screw.
15
Now insert the shelf holder and secure it with the two screws.
16
Place the upper and lower duct caps in position.
17
Guide the deli drawer into its tracks and slide it in the fridge.
18
Insert the crisper drawer assembly back into the fridge cavity.
19
Insert the glass shelf horizontally and slide the crisper drawers back into place.
20
Hook the shelf assemblies into their slots and gently set them.
21
…. and the lg refrigerator should be ready for use.
Applicable Product Model
Parts Needed
Damper Control Assembly
$318.51
Total$0.00
Related Articles & Videos




Our Story
Family-owned and operated since 1912, Burke America Parts Group is the longest-running genuine appliance, HVAC, and outdoor power equipment parts solution in North America. At Repair Clinic, we're proud to be an international brand trusted by the pros as well as the DIY community.
About Repair Clinic
© 2026 RepairClinic.com