

Price Match Guarantee

In-stock parts ship the same day

365-Day Return Policy
Price Match GuaranteeGET PRO PRICING
Video & Articles: Appliance & Equipment RepairCarrier/Gree ETAC Heat Pump Discharge Air Temperature Sensor Replacement 390001982 

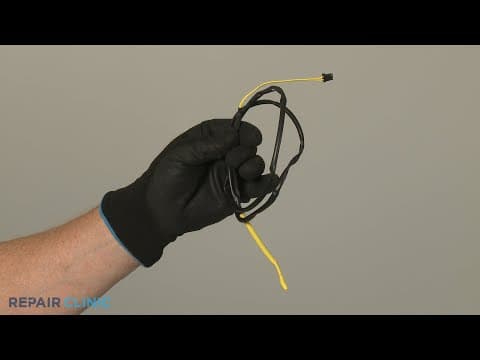
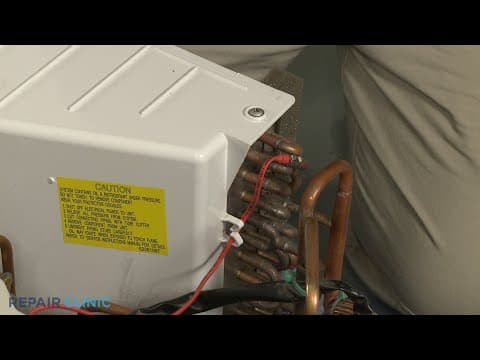
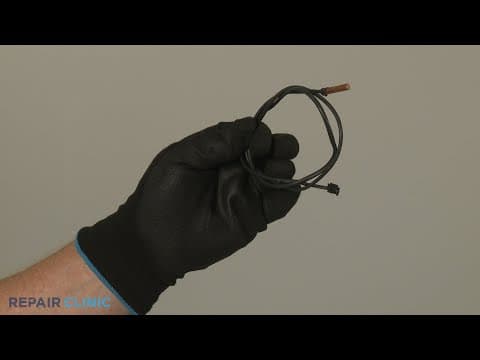
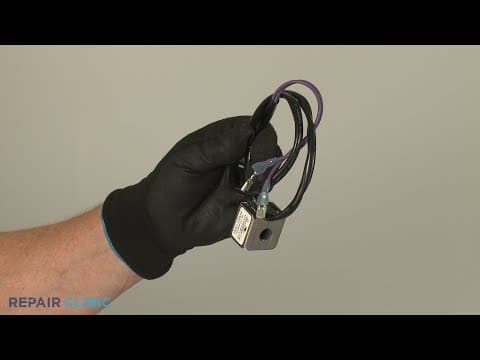
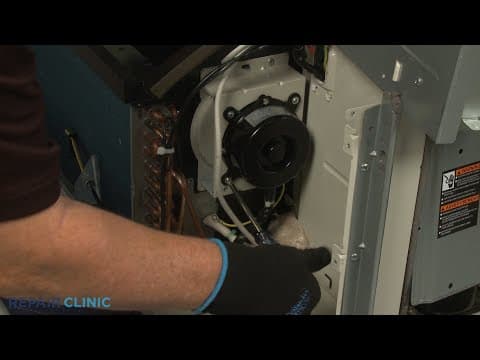
Carrier/Gree ETAC Heat Pump Discharge Air Temperature Sensor Replacement 390001982
Skill Level
Total Parts Cost
$56.36Estimated Savings
$112.5011:30
- Description
This video provides step-by-step instructions for replacing the discharge air temperature sensor on a Carrier/Gree ETAC Heat Pump Unit. The most common reason for replacing this part is if the unit is not cooling or heating to the proper temperature.
All of the information in this video is applicable to the following brands: Carrier, Gree
All of the information in this video is applicable to the following brands: Carrier, Gree
Step By Step Instructions
1
To replace the discharge air temperature sensor in this carrier/gree etac heat pump unit…
2
… you will need a #2 phillips-head screwdriver, wire cutters, zip-ties, and a power drill with a 5/16th inch socket.
3
Before you begin, be sure to turn the unit off…
4
…and disconnect the power supply.
5
When performing this procedure, you will need to fully uninstall the unit from the wall.
6
To do this…
7
… remove the unit’s front panel by pulling the bottom of the panel out to release it from the tabs…then lift up.
8
If applicable, disconnect the wall thermostat wire connecter and the energy management wire connecter.
9
Using the power drill with the 5/16th inch socket, unthread the four mounting screws securing the unit to the wall sleeve.
10
Now have an assistant help you to slide the unit out of the sleeve…
11
… and set it on a towel or blanket.
12
Use the #2 phillips-head screwdriver to unthread the screw securing the control panel.
13
Detach the control panel.
14
Now unthread the lower right screw securing the junction box cover.
15
Unthread the three screws securing the junction box itself.
16
Pull back the cover to fully detach the junction box from the power cord.
17
Disconnect the power cord wire connecter.
18
Next, unthread the six screws securing the control box’s side access cover.
19
Remove the cover.
20
Unthread the four screws to release the left access cover.
21
Now unthread the five screws securing the middle access cover.
22
Disconnect the relay board and transformer wire connecters from the main control board for better access to the board.
23
Use the wire cutters to cut the zip-tie bundling the wires together.
24
Disconnect the discharge air temperature sensor wire connecter from the control board.
25
Next, unthread the six screws securing the discharge air screen.
26
Set the screen aside.
27
Unthread the screws to detach the two support brackets securing the fan housing.
28
Now unthread the remaining four screws to release the indoor blower cover.
29
Cut the zip-tie securing the discharge air temperature sensor wire… remove the sensor from its sleeve…
30
… and pull the wire through the holes in the side of the control box and the indoor air housing.
31
To install the new discharge air temperature sensor…
32
… feed the wire through the holes in the side of the control box and the indoor air housing.
33
Insert the sensor into the sleeve…
34
… and use a new zip-tie to secure the wire to the housing.
35
Realign the baffle on the blower housing…
36
… then reposition the indoor blower cover.
37
Rethread the screws.
38
Realign the two fan housing support brackets…
39
… and secure them with the screws.
40
Reposition the discharge air screen and rethread the six screws to secure.
41
Connect the sensor wire to the control board.
42
Use a new zip-tie to bundle the wires together.
43
Reconnect the relay board and transformer wire connecters to the main control board…
44
… then realign the middle access cover and thread the five screws.
45
Reposition the left access cover…
46
… and rethread the screws.
47
Realign the side access cover…
48
… and thread the screws to secure.
49
Reconnect the power cord wire connecter…
50
… then reposition the junction box and rethread the screws.
51
Rethread the lower right screw to fully secure the cover.
52
Realign the control panel and thread the screw to secure.
53
Reinstall the unit by sliding it into the wall sleeve until the seal rests against the front of the sleeve.
54
Rethread the mounting screws to secure the unit.
55
Avoid over-tightening the screws.
56
Reconnect the wall thermostat and energy management wire connecters if applicable.
57
Reinstall the front panel by aligning the tabs over the top rail then push the bottom of the panel in until it snaps into place.
58
Restore power to the unit…
59
… and the etac heat pump system should be ready for use.
Description
This video provides step-by-step instructions for replacing the discharge air temperature sensor on a Carrier/Gree ETAC Heat Pump Unit. The most common reason for replacing this part is if the unit is not cooling or heating to the proper temperature.
All of the information in this video is applicable to the following brands: Carrier, Gree
All of the information in this video is applicable to the following brands: Carrier, Gree
Step-By-Step Instructions
1
To replace the discharge air temperature sensor in this carrier/gree etac heat pump unit…
2
… you will need a #2 phillips-head screwdriver, wire cutters, zip-ties, and a power drill with a 5/16th inch socket.
3
Before you begin, be sure to turn the unit off…
4
…and disconnect the power supply.
5
When performing this procedure, you will need to fully uninstall the unit from the wall.
6
To do this…
7
… remove the unit’s front panel by pulling the bottom of the panel out to release it from the tabs…then lift up.
8
If applicable, disconnect the wall thermostat wire connecter and the energy management wire connecter.
9
Using the power drill with the 5/16th inch socket, unthread the four mounting screws securing the unit to the wall sleeve.
10
Now have an assistant help you to slide the unit out of the sleeve…
11
… and set it on a towel or blanket.
12
Use the #2 phillips-head screwdriver to unthread the screw securing the control panel.
13
Detach the control panel.
14
Now unthread the lower right screw securing the junction box cover.
15
Unthread the three screws securing the junction box itself.
16
Pull back the cover to fully detach the junction box from the power cord.
17
Disconnect the power cord wire connecter.
18
Next, unthread the six screws securing the control box’s side access cover.
19
Remove the cover.
20
Unthread the four screws to release the left access cover.
21
Now unthread the five screws securing the middle access cover.
22
Disconnect the relay board and transformer wire connecters from the main control board for better access to the board.
23
Use the wire cutters to cut the zip-tie bundling the wires together.
24
Disconnect the discharge air temperature sensor wire connecter from the control board.
25
Next, unthread the six screws securing the discharge air screen.
26
Set the screen aside.
27
Unthread the screws to detach the two support brackets securing the fan housing.
28
Now unthread the remaining four screws to release the indoor blower cover.
29
Cut the zip-tie securing the discharge air temperature sensor wire… remove the sensor from its sleeve…
30
… and pull the wire through the holes in the side of the control box and the indoor air housing.
31
To install the new discharge air temperature sensor…
32
… feed the wire through the holes in the side of the control box and the indoor air housing.
33
Insert the sensor into the sleeve…
34
… and use a new zip-tie to secure the wire to the housing.
35
Realign the baffle on the blower housing…
36
… then reposition the indoor blower cover.
37
Rethread the screws.
38
Realign the two fan housing support brackets…
39
… and secure them with the screws.
40
Reposition the discharge air screen and rethread the six screws to secure.
41
Connect the sensor wire to the control board.
42
Use a new zip-tie to bundle the wires together.
43
Reconnect the relay board and transformer wire connecters to the main control board…
44
… then realign the middle access cover and thread the five screws.
45
Reposition the left access cover…
46
… and rethread the screws.
47
Realign the side access cover…
48
… and thread the screws to secure.
49
Reconnect the power cord wire connecter…
50
… then reposition the junction box and rethread the screws.
51
Rethread the lower right screw to fully secure the cover.
52
Realign the control panel and thread the screw to secure.
53
Reinstall the unit by sliding it into the wall sleeve until the seal rests against the front of the sleeve.
54
Rethread the mounting screws to secure the unit.
55
Avoid over-tightening the screws.
56
Reconnect the wall thermostat and energy management wire connecters if applicable.
57
Reinstall the front panel by aligning the tabs over the top rail then push the bottom of the panel in until it snaps into place.
58
Restore power to the unit…
59
… and the etac heat pump system should be ready for use.
Applicable Product Model
Parts Needed
Temperature Sensor
$56.36
Total$0.00
Related Articles & Videos
08:46
Part Replacement
Carrier/Gree ETAC Heat Pump Ambient Temperature Sensor Replacement 3900012123
10:01
Part Replacement
Carrier/Gree ETAC Heat Pump Outdoor Coil Temperature Sensor Replacement 390000372
08:31
Part Replacement
Carrier/Gree ETAC Heat Pump Indoor Coil Temperature Sensor Replacement 390000596
12:27
Part Replacement
Carrier/Gree ETAC Heat Pump Indoor Fan Motor Replacement 1501180211




Our Story
Family-owned and operated since 1912, Burke America Parts Group is the longest-running genuine appliance, HVAC, and outdoor power equipment parts solution in North America. At Repair Clinic, we're proud to be an international brand trusted by the pros as well as the DIY community.
About Repair Clinic
© 2026 RepairClinic.com