

Price Match Guarantee

In-stock parts ship the same day

365-Day Return Policy
Price Match GuaranteeGET PRO PRICING
Video & Articles: Appliance & Equipment RepairCarrier/Gree ETAC Heat Pump Discharge Air Grille Replacement 22411023 

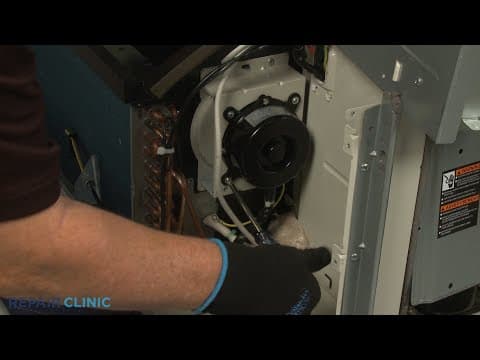
Carrier/Gree ETAC Heat Pump Discharge Air Grille Replacement 22411023
Skill Level
Total Parts Cost
$43.36Estimated Savings
$112.5002:43
- Description
This video provides step-by-step instructions for replacing the discharge air grille on a Carrier/Gree ETAC Heat Pump Unit. The most common reason for replacing this part is if it is damaged.
All of the information in this video is applicable to the following brands: Carrier, Gree
All of the information in this video is applicable to the following brands: Carrier, Gree
Step By Step Instructions
1
To replace the discharge air grill on this Carrier-Gree E-Tac heat pump unit, you will need a number two Phillips-head screwdriver.
2
Before you begin, be sure to turn the unit off and disconnect the power supply.
3
Remove the unit's front panel by pulling the bottom of the panel out to release it from the tabs, then lift up.
4
Set the panel down on a towel or blanket.
5
Since the discharge air grill can be installed with the fins angled upward or downward, note the orientation of the old grille.
6
Then use the number two Phillips head screwdriver to unthread the seven screws securing the grille to the panel.
7
With the screws unthreaded, you can remove the old grille.
8
To install the new discharge air grill, align it in the panel with the fins tilted at the desired angle and thread the seven screws to secure.
9
Reinstall the front panel by aligning the tabs over the top rail, then push the bottom of the panel in until it snaps into place.
10
Restore power to the unit and the E-Tac heat pump system should be ready for use.
Description
This video provides step-by-step instructions for replacing the discharge air grille on a Carrier/Gree ETAC Heat Pump Unit. The most common reason for replacing this part is if it is damaged.
All of the information in this video is applicable to the following brands: Carrier, Gree
All of the information in this video is applicable to the following brands: Carrier, Gree
Step-By-Step Instructions
1
To replace the discharge air grill on this Carrier-Gree E-Tac heat pump unit, you will need a number two Phillips-head screwdriver.
2
Before you begin, be sure to turn the unit off and disconnect the power supply.
3
Remove the unit's front panel by pulling the bottom of the panel out to release it from the tabs, then lift up.
4
Set the panel down on a towel or blanket.
5
Since the discharge air grill can be installed with the fins angled upward or downward, note the orientation of the old grille.
6
Then use the number two Phillips head screwdriver to unthread the seven screws securing the grille to the panel.
7
With the screws unthreaded, you can remove the old grille.
8
To install the new discharge air grill, align it in the panel with the fins tilted at the desired angle and thread the seven screws to secure.
9
Reinstall the front panel by aligning the tabs over the top rail, then push the bottom of the panel in until it snaps into place.
10
Restore power to the unit and the E-Tac heat pump system should be ready for use.
Applicable Product Model
Related Articles & Videos
08:46
Part Replacement
Carrier/Gree ETAC Heat Pump Ambient Temperature Sensor Replacement 3900012123
10:01
Part Replacement
Carrier/Gree ETAC Heat Pump Outdoor Coil Temperature Sensor Replacement 390000372
08:31
Part Replacement
Carrier/Gree ETAC Heat Pump Indoor Coil Temperature Sensor Replacement 390000596
12:27
Part Replacement
Carrier/Gree ETAC Heat Pump Indoor Fan Motor Replacement 1501180211




Our Story
Family-owned and operated since 1912, Burke America Parts Group is the longest-running genuine appliance, HVAC, and outdoor power equipment parts solution in North America. At Repair Clinic, we're proud to be an international brand trusted by the pros as well as the DIY community.
About Repair Clinic
© 2026 RepairClinic.com