

Price Match Guarantee

In-stock parts ship the same day

365-Day Return Policy
Price Match GuaranteeGET PRO PRICING
Video & Articles: Appliance & Equipment RepairKitchenAid Refrigerator Crisper Drawer Glide Trim Replacement W10467415 

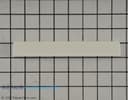
KitchenAid Refrigerator Crisper Drawer Glide Trim Replacement W10467415
Skill Level
Total Parts Cost
$49.65Estimated Savings
$112.5004:08
- Description
This video provides step-by-step repair instructions for replacing the crisper drawer glide trim on a KitchenAid Refrigerator (Model KRFF507HPS02). The most common reason for replacing this part is if it is damaged or missing.
All of the information for this video is applicable to the following brands: KitchenAid
All of the information for this video is applicable to the following brands: KitchenAid
Step By Step Instructions
1
To replace one of the crisper drawer glide trims in this kitchenaid refrigerator, you will need a small flat-head screwdriver.
2
Your first step is to remove all four glass shelves by lifting the front of each shelf up then detach the bracket tabs from the shelf support to remove.
3
Next, pull the platter shelf forward and lift the platter shelf glass up from underneath to remove.
4
Open both crisper drawers, reach in and push the crisper cover glass up and forward from underneath.
5
Close the drawers and remove the glass.
6
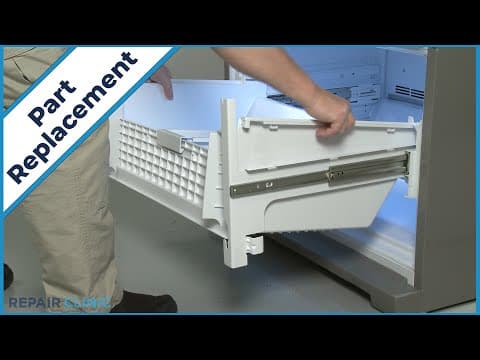
Now fully uninstall both crisper drawers by pulling them forward then hold the side support brackets as you push the drawers back to fully detach.
7
You can now lift up the entire platter shelf and crisper cover assembly and pull forward to remove.
8
Next, lift up the front of the crisper drawer glide assembly and pull forward to detach.
9
Use the small flat-head screwdriver to depress the retaining tabs to release the drawer glide trim, if still intact.
10
To install the new glide trim, align it on the glide and snap it into place.
11
Now reposition the glide assembly’s rear notch on the liner’s rear mounting post then lower the front of the assembly onto the front mounting post.
12
Fully reposition the platter shelf and crisper cover assembly in the refrigerator.
13
To reinstall the crisper drawers, pull the slide rails out then insert the support bracket tabs into the slots in the side channels of the drawers and push the drawers in.
14
Reinsert the crisper cover glass in the space between the platter shelf and crisper cover and push back until the glass is fully seated in the cover.
15
Realign the platter shelf glass in the frame.
16
Finally, reinstall the glass shelves by hooking the upper bracket tabs into the appropriate slots in the shelf support then lower the front of the shelves.
Description
This video provides step-by-step repair instructions for replacing the crisper drawer glide trim on a KitchenAid Refrigerator (Model KRFF507HPS02). The most common reason for replacing this part is if it is damaged or missing.
All of the information for this video is applicable to the following brands: KitchenAid
All of the information for this video is applicable to the following brands: KitchenAid
Step-By-Step Instructions
1
To replace one of the crisper drawer glide trims in this kitchenaid refrigerator, you will need a small flat-head screwdriver.
2
Your first step is to remove all four glass shelves by lifting the front of each shelf up then detach the bracket tabs from the shelf support to remove.
3
Next, pull the platter shelf forward and lift the platter shelf glass up from underneath to remove.
4
Open both crisper drawers, reach in and push the crisper cover glass up and forward from underneath.
5
Close the drawers and remove the glass.
6
Now fully uninstall both crisper drawers by pulling them forward then hold the side support brackets as you push the drawers back to fully detach.
7
You can now lift up the entire platter shelf and crisper cover assembly and pull forward to remove.
8
Next, lift up the front of the crisper drawer glide assembly and pull forward to detach.
9
Use the small flat-head screwdriver to depress the retaining tabs to release the drawer glide trim, if still intact.
10
To install the new glide trim, align it on the glide and snap it into place.
11
Now reposition the glide assembly’s rear notch on the liner’s rear mounting post then lower the front of the assembly onto the front mounting post.
12
Fully reposition the platter shelf and crisper cover assembly in the refrigerator.
13
To reinstall the crisper drawers, pull the slide rails out then insert the support bracket tabs into the slots in the side channels of the drawers and push the drawers in.
14
Reinsert the crisper cover glass in the space between the platter shelf and crisper cover and push back until the glass is fully seated in the cover.
15
Realign the platter shelf glass in the frame.
16
Finally, reinstall the glass shelves by hooking the upper bracket tabs into the appropriate slots in the shelf support then lower the front of the shelves.
Applicable Product Model
Parts Needed
Trim Piece
$49.65
Total$0.00
Related Articles & Videos
02:47
Part Replacement
KitchenAid Refrigerator Lower Freezer Drawer Replacement W10594047
10:40
Part Replacement
KitchenAid Refrigerator Evaporator Fan Motor Replacement W11224591
04:12
Part Replacement
KitchenAid Refrigerator Upper Access Panel LED Light Assembly Replacement W11484839




Our Story
Family-owned and operated since 1912, Burke America Parts Group is the longest-running genuine appliance, HVAC, and outdoor power equipment parts solution in North America. At Repair Clinic, we're proud to be an international brand trusted by the pros as well as the DIY community.
About Repair Clinic
© 2026 RepairClinic.com