

Price Match Guarantee

In-stock parts ship the same day

365-Day Return Policy
Price Match GuaranteeGET PRO PRICING
Video & Articles: Appliance & Equipment RepairGE Washer Tub Cover Replacement WH44X24150
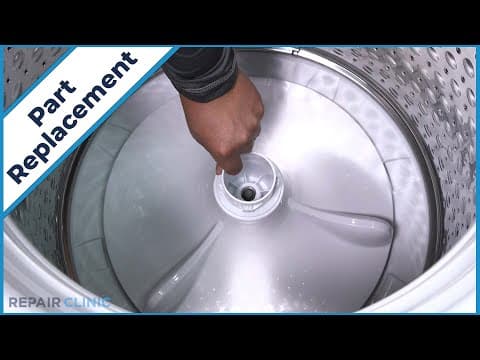
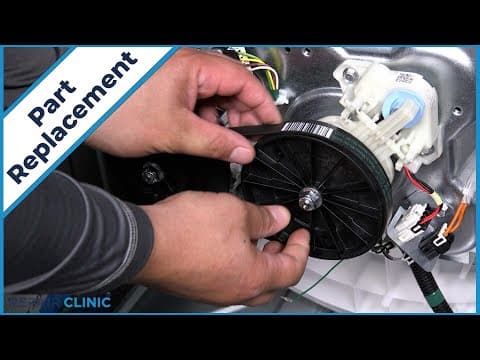
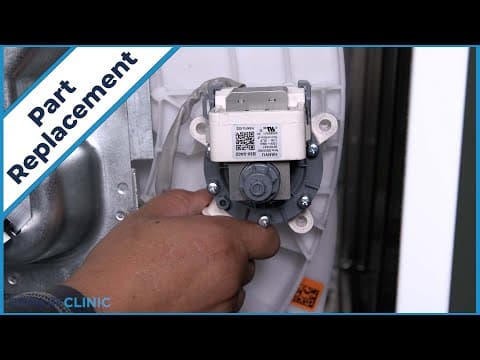
This video provides step-by-step repair instructions for replacing the tub cover in a GE washer (Model GTW465ASN2WW). The most common reason for replacing this part is if it's missing or broken.
This replacement video is applicable to the following brands:
GE
Screws affiliated with washer-
Don't forget to like and comment on this video and subscribe to our channel!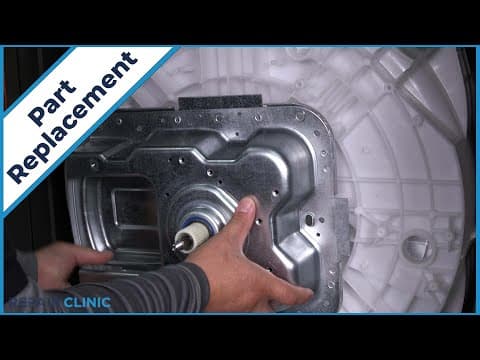
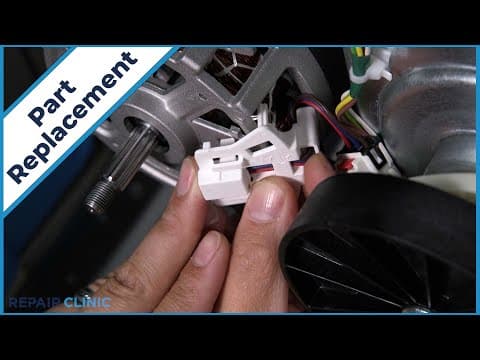
GE Washer Tub Cover Replacement WH44X24150
Skill Level
Total Parts Cost
$49.60Estimated Savings
$112.5007:20
- Description
This video provides step-by-step repair instructions for replacing the tub cover in a GE washer (Model GTW465ASN2WW). The most common reason for replacing this part is if it's missing or broken.
This replacement video is applicable to the following brands:
GE
Screws affiliated with washer-
Don't forget to like and comment on this video and subscribe to our channel!
Step By Step Instructions
1
To replace the tub cover in your ge washer, you will need a drill driver with a 1/4” bit, pliers, a putty knife, and needlenose pliers.
2
Unplug the power to the washer.
3
Shut off the water supply
4
Remove the drain line from the wall
5
Remove the hot and cold-water supply lines from the inlet valves, be prepared for water to spill out.
6
Unthread the two screws on the panel. any missing screws can be ordered through the links in the description below.
7
Pull the panel out from the bottom and slide it to the right to free it from the backsplash.
8
Slide the backsplash back and tilt forward
9
Pull up the capacitor to release it from the bracket.
10
Noting the orientation, unplug all the harnesses on the circuit board except for the switch harness.
11
Remove the hose.
12
Depress the tab on the data port and push down to remove it.
13
Unthread the ground screw to the main harness.
14
Now remove the two ¼” screws.
15
Insert the putty knife approximatly 8 ½ “
16
From the edge on both sides and press in firmly to release the spring clips from the panel.
17
Lift off the top panel and remove the wire harness retainer.
18
Noting the orientation, unhook the eight tabs around the tub cover and lift it out.
19
To install the new tub cover, align the tub cover with the lip of the tub and snap the eight tabs into place.
20
Set the top back on the washer and attach the harness retainer.
21
Firmly press down on the front of the top panel to secure it in place.
22
Rethread the two ¼” screws.
23
Rethread the ground screw to secure the ground wire to the top of the panel.
24
Place the backsplash back on the appliance.
25
Push the hose over the sensor.
26
Now plug in all the harnesses into their designated spots on the control board.
27
Insert the data port.
28
Align the capacitor with its groove and push down to secure it.
29
Tilt the backsplash upright and insert the tabs into the slots.
30
Insert the panel tabs into the slots on the backsplash then slide it left to secure it.
31
Rethread the two screws.
32
Reattach the hot and cold-water supply lines.
33
Insert the drain hose back into the wall drain.
34
Turn on the water supply
35
Plug in the power, and your washer should be ready for use.
Description
This video provides step-by-step repair instructions for replacing the tub cover in a GE washer (Model GTW465ASN2WW). The most common reason for replacing this part is if it's missing or broken.
This replacement video is applicable to the following brands:
GE
Screws affiliated with washer-
Don't forget to like and comment on this video and subscribe to our channel!
This video provides step-by-step repair instructions for replacing the tub cover in a GE washer (Model GTW465ASN2WW). The most common reason for replacing this part is if it's missing or broken.
This replacement video is applicable to the following brands:
GE
Screws affiliated with washer-
Don't forget to like and comment on this video and subscribe to our channel!
Step-By-Step Instructions
1
To replace the tub cover in your ge washer, you will need a drill driver with a 1/4” bit, pliers, a putty knife, and needlenose pliers.
2
Unplug the power to the washer.
3
Shut off the water supply
4
Remove the drain line from the wall
5
Remove the hot and cold-water supply lines from the inlet valves, be prepared for water to spill out.
6
Unthread the two screws on the panel. any missing screws can be ordered through the links in the description below.
7
Pull the panel out from the bottom and slide it to the right to free it from the backsplash.
8
Slide the backsplash back and tilt forward
9
Pull up the capacitor to release it from the bracket.
10
Noting the orientation, unplug all the harnesses on the circuit board except for the switch harness.
11
Remove the hose.
12
Depress the tab on the data port and push down to remove it.
13
Unthread the ground screw to the main harness.
14
Now remove the two ¼” screws.
15
Insert the putty knife approximatly 8 ½ “
16
From the edge on both sides and press in firmly to release the spring clips from the panel.
17
Lift off the top panel and remove the wire harness retainer.
18
Noting the orientation, unhook the eight tabs around the tub cover and lift it out.
19
To install the new tub cover, align the tub cover with the lip of the tub and snap the eight tabs into place.
20
Set the top back on the washer and attach the harness retainer.
21
Firmly press down on the front of the top panel to secure it in place.
22
Rethread the two ¼” screws.
23
Rethread the ground screw to secure the ground wire to the top of the panel.
24
Place the backsplash back on the appliance.
25
Push the hose over the sensor.
26
Now plug in all the harnesses into their designated spots on the control board.
27
Insert the data port.
28
Align the capacitor with its groove and push down to secure it.
29
Tilt the backsplash upright and insert the tabs into the slots.
30
Insert the panel tabs into the slots on the backsplash then slide it left to secure it.
31
Rethread the two screws.
32
Reattach the hot and cold-water supply lines.
33
Insert the drain hose back into the wall drain.
34
Turn on the water supply
35
Plug in the power, and your washer should be ready for use.
Applicable Product Model


Related Articles & Videos




Our Story
Family-owned and operated since 1912, Burke America Parts Group is the longest-running genuine appliance, HVAC, and outdoor power equipment parts solution in North America. At Repair Clinic, we're proud to be an international brand trusted by the pros as well as the DIY community.
About Repair Clinic
© 2026 RepairClinic.com