

Price Match Guarantee

In-stock parts ship the same day

365-Day Return Policy
Price Match GuaranteeGET PRO PRICING
Video & Articles: Appliance & Equipment RepairFrigidaire Top Load Washer Trunnion Nut Replacement #131545101

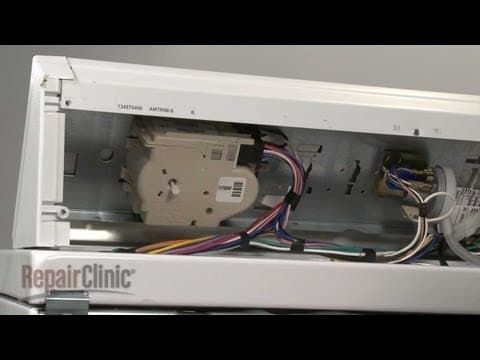
Frigidaire Top Load Washer Trunnion Nut Replacement #131545101
Skill Level
Total Parts Cost
$128.41Estimated Savings
$112.5003:40
- Description
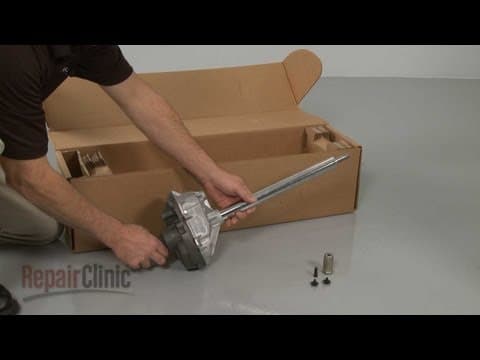
This video provides step-by-step repair instructions for replacing the trunnion nut on a top-loading Frigidaire washing machine. The most common reasons for replacing the trunnion nut are when it is worn-out, rusted, or loose.
All of the information for this leveling leg replacement video is applicable to the following brands:
Frigidaire, Westinghouse, Kenmore, Universal, Gibson, Kelvinator, Tappan, Crosley, Electrolux, Montgomery Ward
All of the information for this leveling leg replacement video is applicable to the following brands:
Frigidaire, Westinghouse, Kenmore, Universal, Gibson, Kelvinator, Tappan, Crosley, Electrolux, Montgomery Ward
Step By Step Instructions
1
As with any repair, you should unplug the appliance before beginning.
2
To replace the trunnion on your washer, you should first secure the lid with tape.
3
Now insert a putty knife under the main top to release the two spring clips.
4
Lift up the main top and support it.
5
Next, remove the mounting screws at the bottom of the front panel.
6
Push the panel down and pull it away from the frame.
7
Next, pull off the dispenser cover and cup.
8
Use a half-inch socket to remove the agitator bolt and lift off the agitator.
9
This may require some effort.
10
Detach the pressure switch tube from the tub cover.
11
Use a flathead screwdriver to help release the tabs to remove the tub cover.
12
Use the half-inch socket to remove the mounting bolts securing the inner tub to the trunnion.
13
Pull the inner tub out.
14
Use the half-inch socket to remove the trunnion block mounting bolts and pull the block off.
15
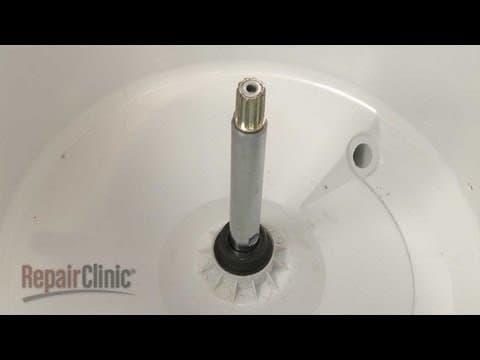
You can now pull the old trunnion off of the drive tube.
16
Install the new trunnion by sliding it onto the drive tube.
17
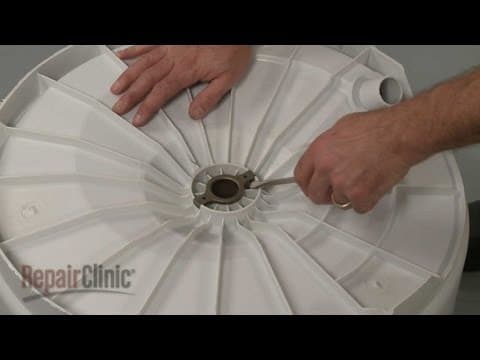
Realign the trunnion block on the spin tube slot and secure with the mounting bolts.
18
Replace the inner tub and secure it to the new trunnion with the bolts.
19
Align the tabs on the tub cover with the catches on the outer tub and snap the tub cover into place.
20
Reattach the pressure switch tube.
21
Slide the agitator onto the drive block and secure with the bolt.
22
Replace the dispenser cup and cover.
23
Replace the front panel by aligning the tabs on the panel with the slots in the frame then lift the panel up.
24
Replace the mounting screws to secure.
25
Remove the support lower the main top and snap it into place.
26
Then remove the tape securing the lid.
27
You’re now ready to plug the power cord back in and confirm that the washer is functioning properly.
Description
This video provides step-by-step repair instructions for replacing the trunnion nut on a top-loading Frigidaire washing machine. The most common reasons for replacing the trunnion nut are when it is worn-out, rusted, or loose.
All of the information for this leveling leg replacement video is applicable to the following brands:
Frigidaire, Westinghouse, Kenmore, Universal, Gibson, Kelvinator, Tappan, Crosley, Electrolux, Montgomery Ward
All of the information for this leveling leg replacement video is applicable to the following brands:
Frigidaire, Westinghouse, Kenmore, Universal, Gibson, Kelvinator, Tappan, Crosley, Electrolux, Montgomery Ward
Step-By-Step Instructions
1
As with any repair, you should unplug the appliance before beginning.
2
To replace the trunnion on your washer, you should first secure the lid with tape.
3
Now insert a putty knife under the main top to release the two spring clips.
4
Lift up the main top and support it.
5
Next, remove the mounting screws at the bottom of the front panel.
6
Push the panel down and pull it away from the frame.
7
Next, pull off the dispenser cover and cup.
8
Use a half-inch socket to remove the agitator bolt and lift off the agitator.
9
This may require some effort.
10
Detach the pressure switch tube from the tub cover.
11
Use a flathead screwdriver to help release the tabs to remove the tub cover.
12
Use the half-inch socket to remove the mounting bolts securing the inner tub to the trunnion.
13
Pull the inner tub out.
14
Use the half-inch socket to remove the trunnion block mounting bolts and pull the block off.
15
You can now pull the old trunnion off of the drive tube.
16
Install the new trunnion by sliding it onto the drive tube.
17
Realign the trunnion block on the spin tube slot and secure with the mounting bolts.
18
Replace the inner tub and secure it to the new trunnion with the bolts.
19
Align the tabs on the tub cover with the catches on the outer tub and snap the tub cover into place.
20
Reattach the pressure switch tube.
21
Slide the agitator onto the drive block and secure with the bolt.
22
Replace the dispenser cup and cover.
23
Replace the front panel by aligning the tabs on the panel with the slots in the frame then lift the panel up.
24
Replace the mounting screws to secure.
25
Remove the support lower the main top and snap it into place.
26
Then remove the tape securing the lid.
27
You’re now ready to plug the power cord back in and confirm that the washer is functioning properly.
Applicable Product Model

Related Articles & Videos




Our Story
Family-owned and operated since 1912, Burke America Parts Group is the longest-running genuine appliance, HVAC, and outdoor power equipment parts solution in North America. At Repair Clinic, we're proud to be an international brand trusted by the pros as well as the DIY community.
About Repair Clinic
© 2026 RepairClinic.com