

Price Match Guarantee

In-stock parts ship the same day

365-Day Return Policy
Price Match GuaranteeGET PRO PRICING
Video & Articles: Appliance & Equipment RepairWhirlpool Top Load Washer Replace Leveling Leg #W10568619

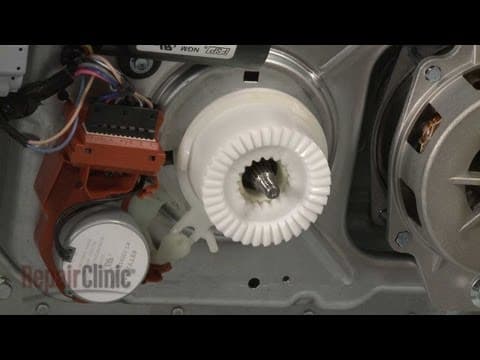
Whirlpool Top Load Washer Replace Leveling Leg #W10568619
Skill Level
Total Parts Cost
$13.54Estimated Savings
$112.5001:29
- Description
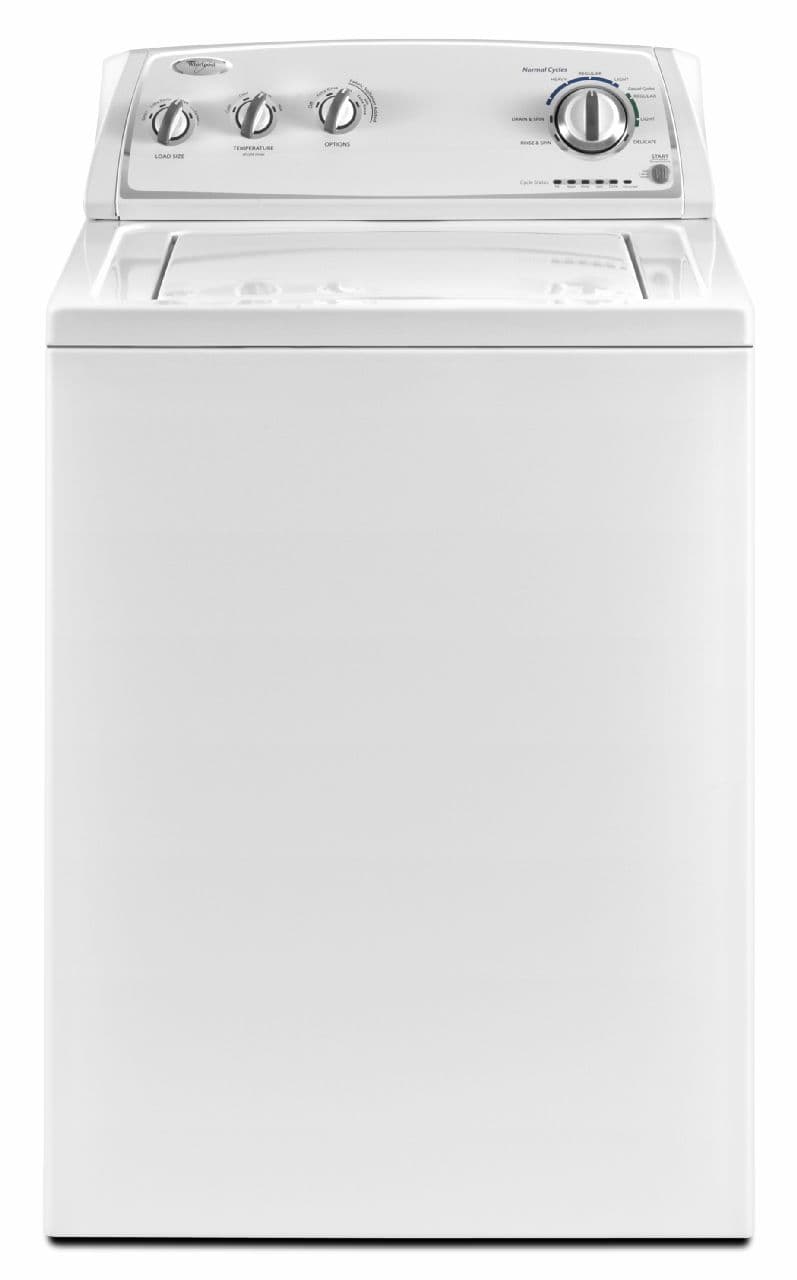
This video provides step-by-step repair instructions for replacing the leveling leg on a Whirlpool top-loading washing machine. The most common reason for replacing the leveling leg is when the washer is shaking or vibrating.
All of the information for this leveling leg replacement video is applicable to the following brands:
Whirlpool, Kenmore, Maytag, Crosley, Amana, Inglis, Roper
All of the information for this leveling leg replacement video is applicable to the following brands:
Whirlpool, Kenmore, Maytag, Crosley, Amana, Inglis, Roper
Step By Step Instructions
1
To replace a leveling leg on your washer, carefully tip the washer forward or back and use a wood block, or a comparable sturdy object, to support it.
2
Use a wrench to loosen the leg nut then unscrew the old leg.
3
Install the new leveling leg by first positioning the leg nut as close to the rubber foot as possible.
4
Now screw the leg into the base of the washer until the leg nut is flush against it then tighten the nut.
5
Remove the support and gently lower the appliance to the floor.
6
Determine if your washer is level.
7
If it isn’t support the washer as you adjust the leg accordingly.
8
Repeat this procedure until you can confirm that the washer is level and ready for use.
Description
This video provides step-by-step repair instructions for replacing the leveling leg on a Whirlpool top-loading washing machine. The most common reason for replacing the leveling leg is when the washer is shaking or vibrating.
All of the information for this leveling leg replacement video is applicable to the following brands:
Whirlpool, Kenmore, Maytag, Crosley, Amana, Inglis, Roper
All of the information for this leveling leg replacement video is applicable to the following brands:
Whirlpool, Kenmore, Maytag, Crosley, Amana, Inglis, Roper
Step-By-Step Instructions
1
To replace a leveling leg on your washer, carefully tip the washer forward or back and use a wood block, or a comparable sturdy object, to support it.
2
Use a wrench to loosen the leg nut then unscrew the old leg.
3
Install the new leveling leg by first positioning the leg nut as close to the rubber foot as possible.
4
Now screw the leg into the base of the washer until the leg nut is flush against it then tighten the nut.
5
Remove the support and gently lower the appliance to the floor.
6
Determine if your washer is level.
7
If it isn’t support the washer as you adjust the leg accordingly.
8
Repeat this procedure until you can confirm that the washer is level and ready for use.
Applicable Product Model

Related Articles & Videos
09:15
Part Replacement
Whirlpool Top-Load Washer Leaks? Replace Tub Seal Part # W10324647




Our Story
Family-owned and operated since 1912, Burke America Parts Group is the longest-running genuine appliance, HVAC, and outdoor power equipment parts solution in North America. At Repair Clinic, we're proud to be an international brand trusted by the pros as well as the DIY community.
About Repair Clinic
© 2026 RepairClinic.com