Price Match Guarantee
Craftsman Tiller Parts
- Adhesive
- Agitator
- Alternator, Battery & Charger
- Auger
- Axle, Roller, Shaft, Wheel
- Bag
- Bearing
- Belt
- Blade
- Blower Wheel & Fan Blade
- Bracket & Flange
- Cap, Lid & Cover
- Carburetor
- Chain & Bar
- Control Cable
- Deflector & Chute
- Dipstick
- Duct & Venting
- Engine
- Fastener
- Filter
- Gasket & Seal
- Handle
- Hinge
- Hose, Tube & Fitting
- Ignition Controls
- Knob, Dial & Button
- Latch
- Lubricant
- Manuals, Care Guides & Literature
- Miscellaneous
- Motor
- Muffler
- Oil Plug
- Panel
- Pedal
- Power Cord
- Pulley
- Shear Pin
- Spark Plug
- Spring
- Starter
- Steering
- Suspension & Shock Absorption
- Switch
- Tank & Container
- Tire & Rim
- Tool
- Transmission, Brake & Clutch
- Trim
- Tune-Up Maintenance Kit
- Valve & Float
- Wire, Receptacle & Wire Connector
Find the right part faster
Multiple models matched. Select your model to confirm fit.




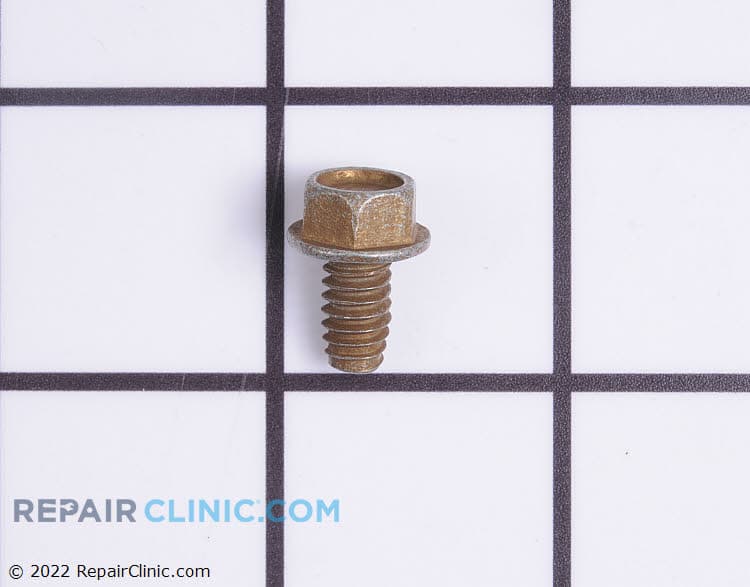
Screw, 1/4-20 x .5

Tecumseh air cleaner.
RC Item #1604621
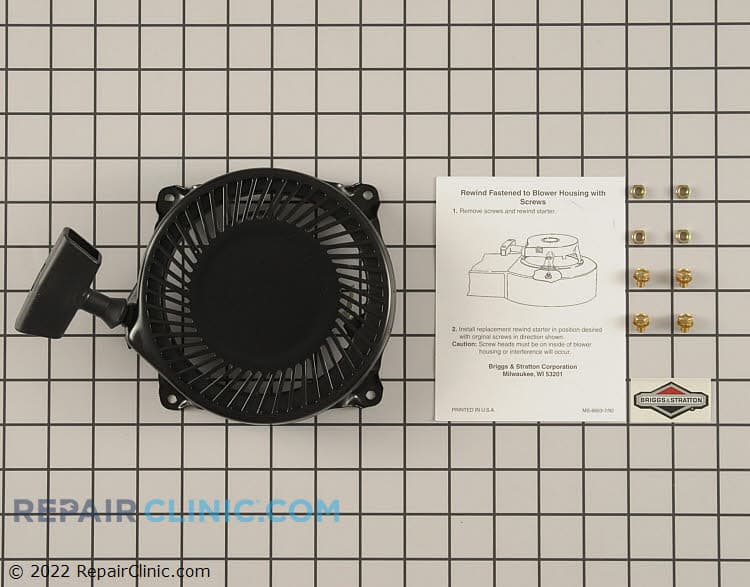
Recoil starter assembly

Valve cover gasket
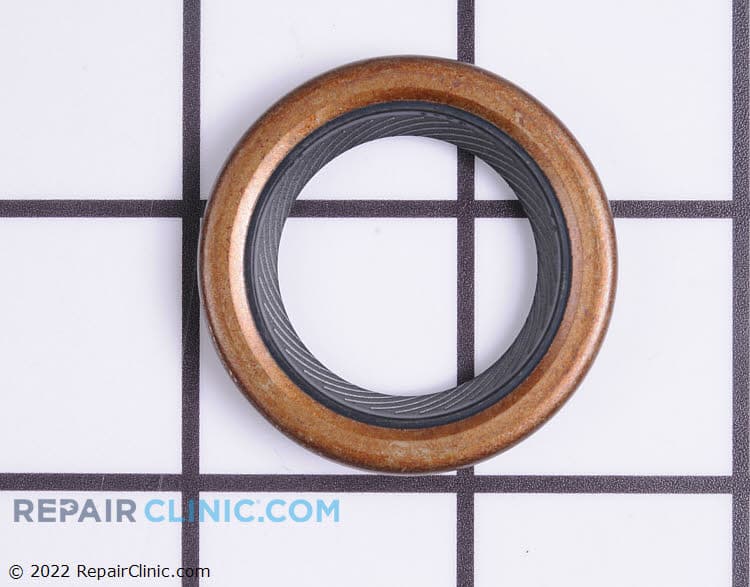
Oil seal

Recoil Pulley, 5-16 HP
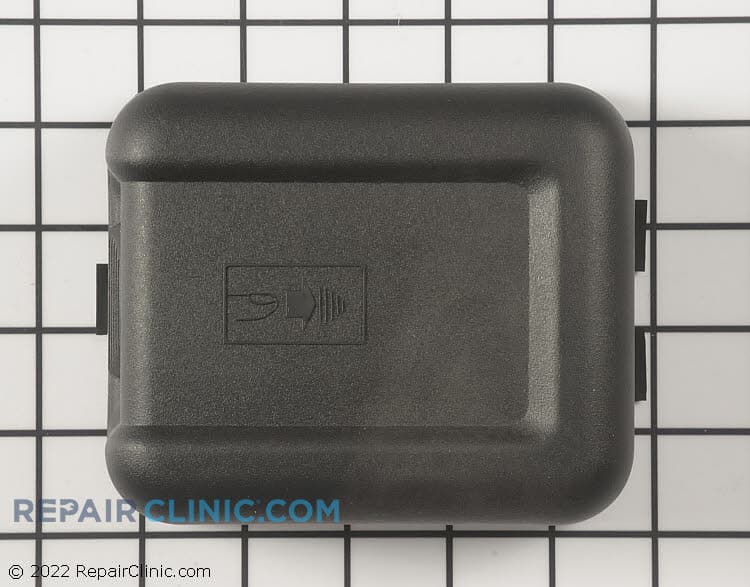
Air cleaner cover
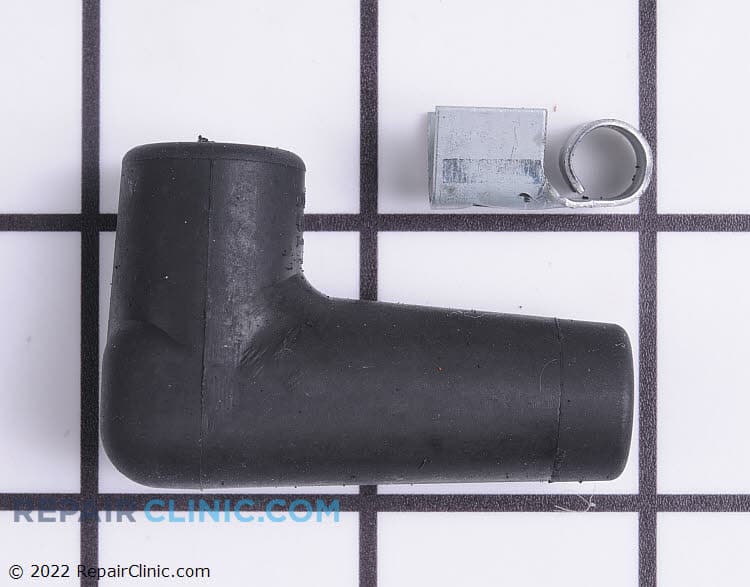
Plug cover
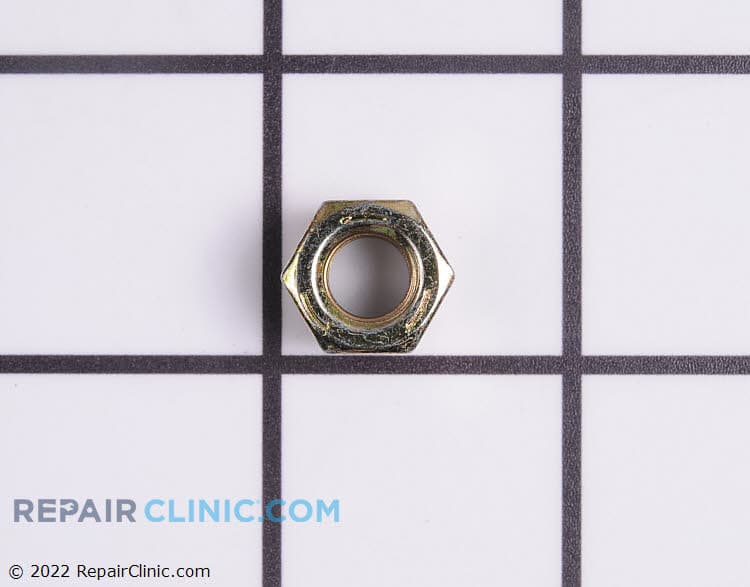
Hex nut, 5/16-18 Thd.
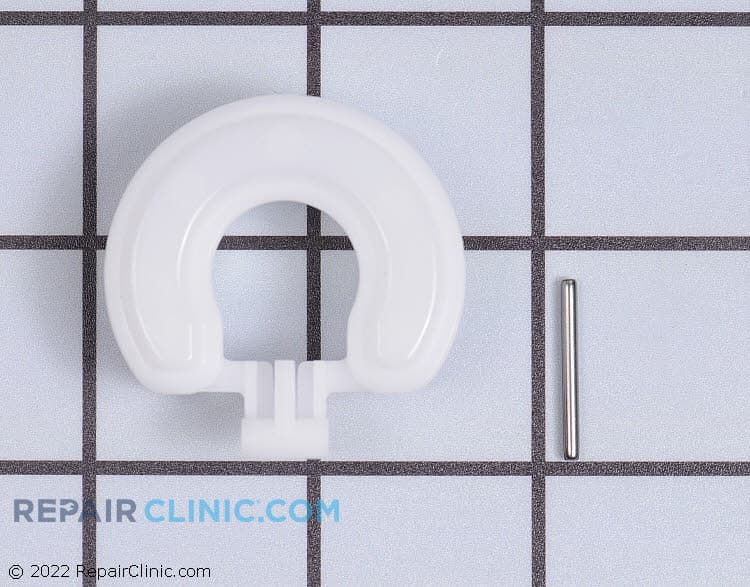
Fuel float kit for carburetor
O ring
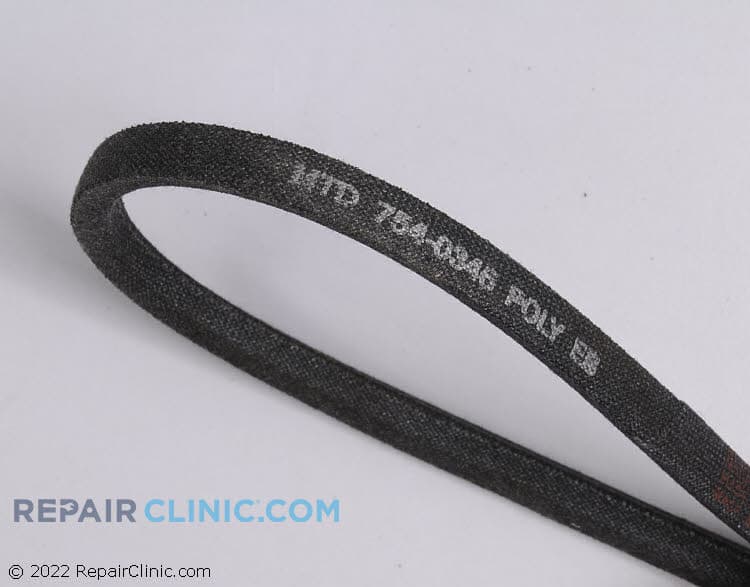
Drive belt. Width: 3/8 " Length: 30 1/4 "
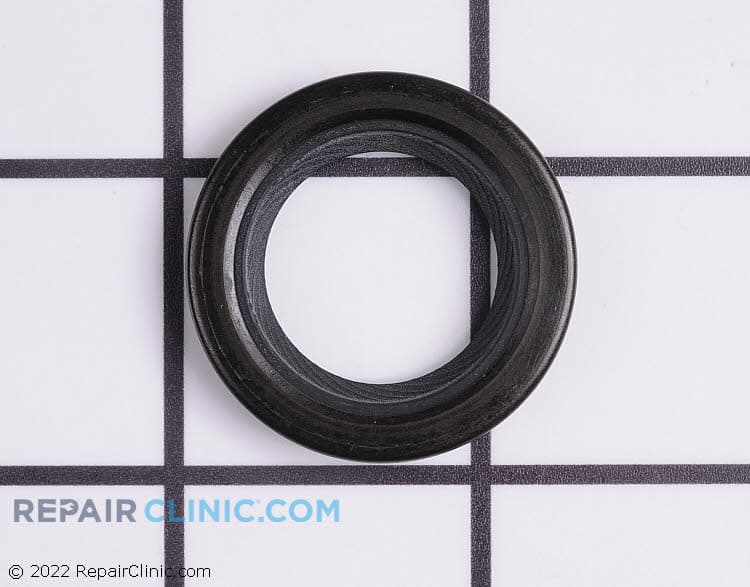
Oil seal
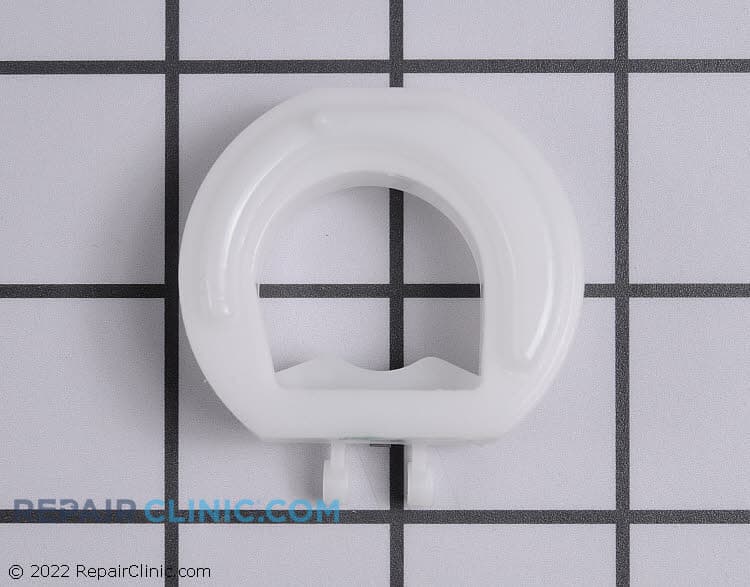
Carburetor float
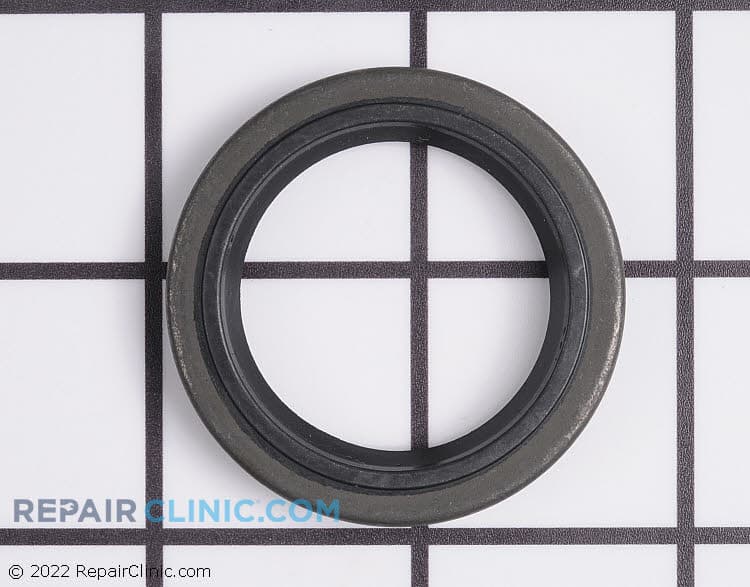
Oil seal, magneto side


Craftsman Tiller Parts You Need When Your Tiller Won't Till
Craftsman tillers are built to break ground season after season, but when the tines stop turning or the engine won't start, you need the right OEM parts fast. Whether you're running a front-tine cultivator or a rear-tine beast, Repair Clinic carries genuine Craftsman tiller parts — from carburetors and drive belts to tine assemblies and spark plugs.
Common tiller failures come down to a handful of parts. A seized or damaged carburetor from stale fuel is the most frequent culprit. Worn or bent tines lose their bite in hard soil. Drive belts slip or snap, and shear pins break — which is actually a safety feature doing its job when you hit a buried rock. We stock OEM replacements for every major Craftsman tiller model, and our model number lookup tool finds the exact part you need in seconds.
- Carburetor won't fuel the engine: hard start, runs rough, or quits mid-season; ethanol damage to jets and float
- Drive belt slips or snaps: tiller won't self-propel or tines won't engage; V-belt must match model width and length
- Tines bent or worn flat: poor soil penetration; front and rear tine sets have different configurations
- Shear pins sheared: safety feature stops tines when you hit an obstacle; always buy extras and keep them handy
- Recoil starter won't pull or won't catch: pull cord stuck or spring broken inside
Popular Craftsman Tiller Models
Related Craftsman Tiller Parts
- Craftsman Tiller Fastener Parts
- Craftsman Tiller Miscellaneous Parts
- Craftsman Tiller Gasket & Seal Parts
- Craftsman Tiller Engine Parts
- Craftsman Tiller Spring Parts
- Craftsman Tiller Cap, Lid & Cover Parts
- Craftsman Tiller Carburetor Parts
- Craftsman Tiller Bearing Parts
- Craftsman Tiller Bracket & Flange Parts
- Craftsman Tiller Starter Parts
- Craftsman Tiller Handle Parts
- Craftsman Tiller Axle, Roller, Shaft, Wheel Parts
- Craftsman Tiller Filter Parts
- Craftsman Tiller Transmission, Brake & Clutch Parts
- Craftsman Tiller Hose, Tube & Fitting Parts
- Craftsman Tiller Pulley Parts
- Craftsman Tiller Belt Parts
- Craftsman Tiller Blade Parts
- Craftsman Tiller Manuals, Care Guides & Literature
- Craftsman Tiller Knob, Dial & Button Parts
- Craftsman Tiller Spark Plug Parts
- Craftsman Tiller Control Cable Parts
- Craftsman Tiller Wire, Receptacle & Wire Connector Parts
- Craftsman Tiller Tool
- Craftsman Tiller Muffler Parts
- Craftsman Tiller Ignition Controls Parts
- Craftsman Tiller Valve & Float Parts
- Craftsman Tiller Dipstick Parts
- Craftsman Tiller Switch Parts
- Craftsman Tiller Oil Plug Parts
- Craftsman Tiller Panel Parts
- Craftsman Tiller Latch Parts
- Craftsman Tiller Tank & Container Parts
- Craftsman Tiller Motor Parts
- Craftsman Tiller Tire & Rim Parts
- Craftsman Tiller Chain & Bar Parts
- Craftsman Tiller Blower Wheel & Fan Blade Parts
- Craftsman Tiller Suspension & Shock Absorption Parts
- Craftsman Tiller Lubricant
- Craftsman Tiller Trim Parts
- Craftsman Tiller Auger Parts
- Craftsman Tiller Duct & Venting Parts
- Craftsman Tiller Shear Pin Parts
- Craftsman Tiller Adhesive
- Craftsman Tiller Agitator Parts
- Craftsman Tiller Alternator, Battery & Charger Parts
- Craftsman Tiller Bag Parts
- Craftsman Tiller Deflector & Chute Parts
- Craftsman Tiller Hinge Parts
- Craftsman Tiller Pedal Parts
- Craftsman Tiller Power Cord Parts
- Craftsman Tiller Steering Parts
- Craftsman Tiller Tune-Up Maintenance Kit
Craftsman Tiller Questions & Answers
What's the most common Craftsman tiller repair?
A carburetor clogged from old fuel is the #1 reason a Craftsman tiller won't start or runs rough. Ethanol in modern fuel gums up the carb jets and float. A carburetor rebuild kit is often the fix, especially if the tiller sat all winter. If the engine still won't start after cleaning the carb, check your spark plug and fuel line next.
How do I find my Craftsman tiller model number?
Your model number is stamped on the frame or engine block — usually a 6-digit code starting with "CMXG" (Craftsman's garden equipment prefix). Look near the engine, under the handlebar, or on the main chassis. Once you have it, enter it into our model lookup tool and you'll see every part that fits your exact tiller, plus diagrams showing where each part goes.
Can I replace just the tines, or do I need new tine shafts?
Most of the time, you can replace just the tine set. Tines bolt to the shaft assembly. Bent or dulled tines lose their digging power fast — replacing them restores your tiller's ability to break hard soil. If the shaft itself is bent or the bearings are worn, you'll need to replace the tine shaft assembly, but that's less common.
Why do shear pins keep breaking?
Shear pins are designed to break when the tines jam on rocks or roots. That's a safety feature — it protects the transmission from catastrophic failure. Every time one breaks, you're doing the job right. Buy a 5-pack of OEM shear pins and keep them in your garage so you're never stuck. If pins break constantly, check for rocks or roots in your soil and clear them first.
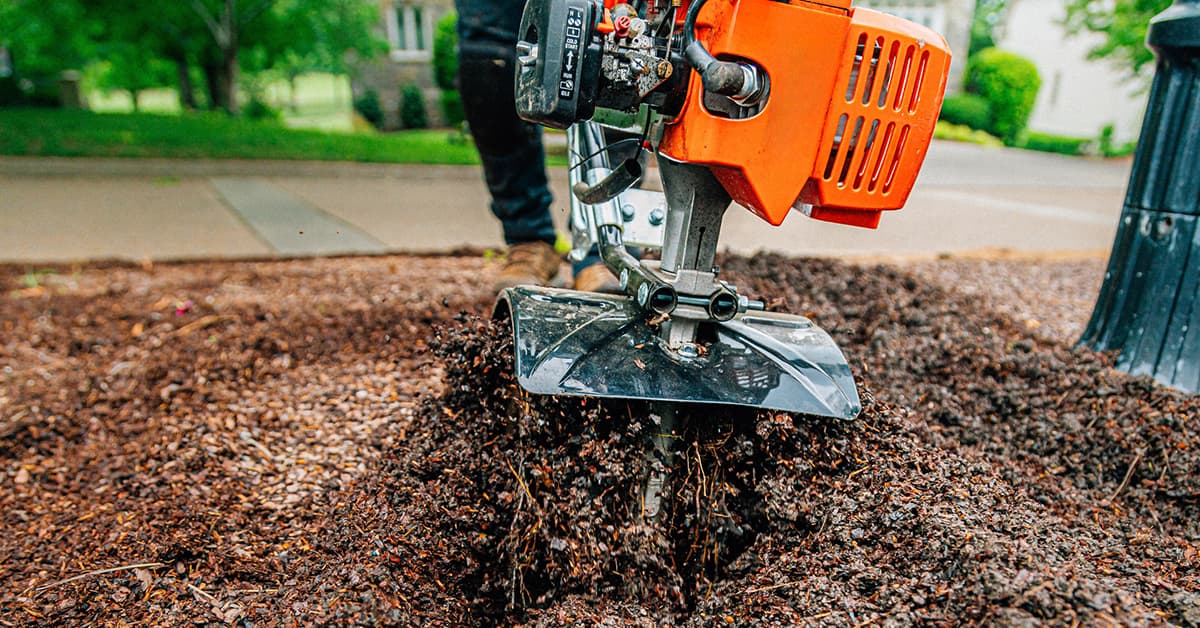
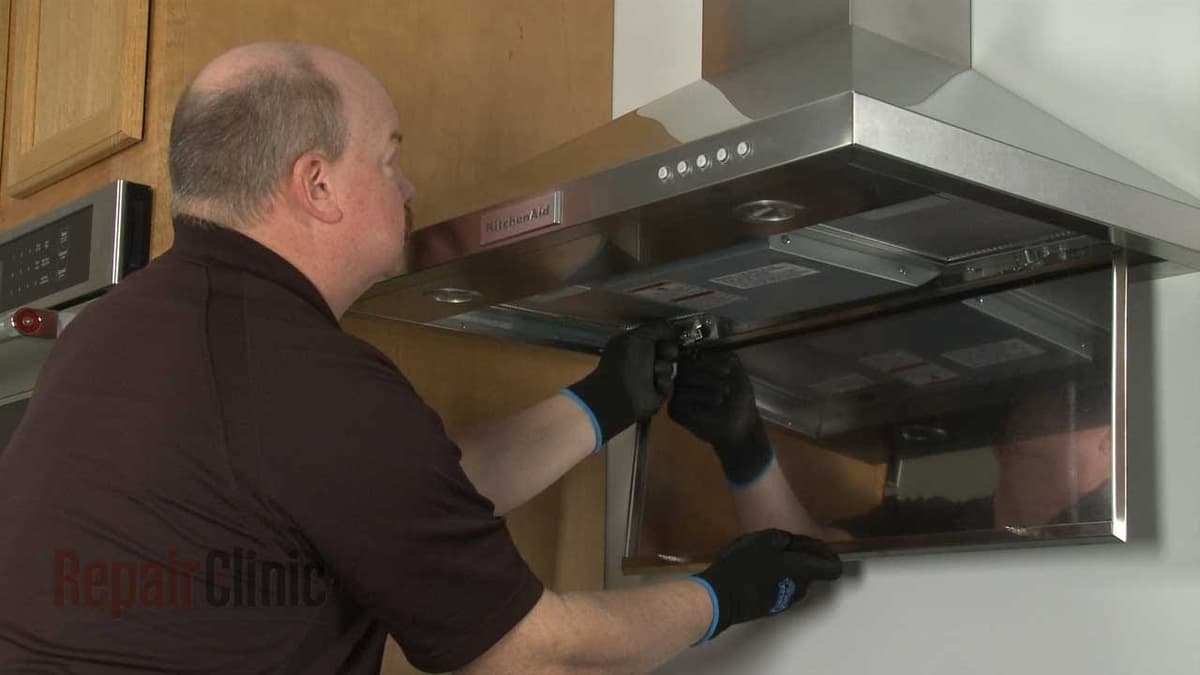
Order Craftsman Tiller Parts Online
Ordering Craftsman tiller parts online is simple and helps you find genuine OEM parts for your unit. With same-day shipping on most in-stock items, you'll have your replacement part fast, minimizing downtime. Our model/part number lookup finds the exact OEM part for your unit, and every order is backed by our 365-day return policy and price-match guarantee. Browse our repair help section for troubleshooting tips, part testing guides, and step-by-step installation videos for your specific product.
Craftsman Tiller Model Number: Where to Look
On Craftsman tillers, look for the model number stamped on the frame or engine block. Check around the engine, beneath the handlebar, and along the main chassis for a label or metal plate. Clean off dirt or grease if the numbers are hard to read, and record the complete model number, including any letters and punctuation. Enter that number in the model lookup to narrow the full Craftsman tiller parts catalog to parts matched to your unit. This applies across the tiller, so you can identify compatible engine, tine, belt, control, and maintenance parts without sorting through unrelated models. Matching by model first saves time and helps prevent ordering parts that do not fit.

Craftsman Tiller Repair Videos and Written Guides
Solid diagnostic work is what makes a Craftsman Tiller repair go quickly, and Repair Clinic's online library was built for exactly that. Symptom articles, part testing videos, wiring diagrams, and step-by-step written guides give owners and technicians the reference material to isolate the failed part. Look up your model number to match the right OEM part, then follow the installation video.
Related Articles: Small Engine Parts





Family-owned and operated since 1912, Burke America Parts Group is the longest-running genuine appliance, HVAC, and outdoor power equipment parts solution in North America. At Repair Clinic, we're proud to be an international brand trusted by the pros as well as the DIY community.
About Repair Clinic