


 Price Match Guarantee
Hoover Vacuum Cleaner Dirt cup Parts





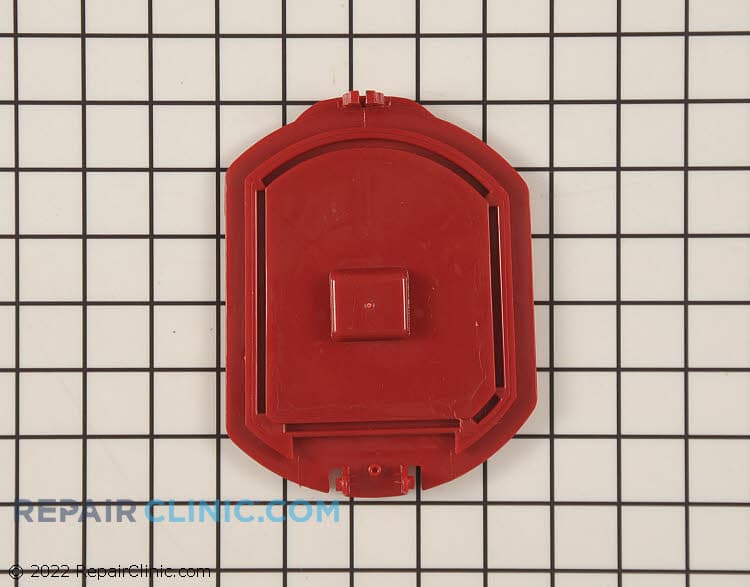
Dirt cup bottom plate


Repair Clinic's Genuine Hoover Vacuum Cleaner Dust Cup Parts
For your Hoover vacuum cleaner, maintaining the dirt cup with genuine OEM replacement parts is essential for optimal performance. A well-sealed dirt cup prevents debris from escaping, ensuring your vacuum cleaner efficiently collects dust. Visit Repair Clinic to find precise-fitting Hoover vacuum cleaner parts, designed to help support proper fit and performance. Whether you face issues like a poorly sealed cup, reduced suction, or frequent clogs, our genuine dirt cup parts will resolve these problems. Browse Hoover deflector chute parts for more improvements. Access our replacement parts page to order replacement repair parts for all your needs.
FAQs about Hoover Vacuum Cleaner Dirt Cup Parts
Browse the most common questions related to Hoover vacuum cleaner dirt cup parts, including costs, model identification, and specific replacement tips.
How do I identify my Hoover vacuum model for replacement parts?
Locate the model number on a label or sticker, typically found on the vacuum's base or beneath the dirt cup. Use this number to search for replacement parts for Hoover vacuum cleaners online.
How do I replace the Hoover vacuum dirt cup?
To replace your Hoover vacuum dirt cup, ensure the vacuum is turned off and unplugged. Remove the existing cup by releasing any securing latches, then align the new cup and securely attach it, ensuring a tight fit to maintain suction.
What should I do if my Hoover dirt cup isn't capturing debris effectively?
First, check for blockages in the cup, filters, and air paths. Ensure the cup is seated correctly and inspect the deflector parts for damage. Replace filters or dirt cup if issues persist. Purchase genuine Hoover parts from Repair Clinic for the best performance.
Order Hoover Vacuum Cleaner Dirt Cup Parts Online
Keep your Hoover vacuum cleaner in top condition by easily ordering high-quality dirt cup parts online. Finding original Hoover vacuum dirt cup parts has never been simpler—use our site to search by model or part number. Benefits include same-day shipping, so you don't have to wait long to restore your vacuum's full performance. Plus, enjoy peace of mind with our No-Hassle 365-Day Returns and competitive price match. Support your repair skills and save money by shopping for Hoover vacuum cleaner parts online. Find more solutions at our Vacuum Cleaner Repair Help section.
Don't miss out on related parts for improving your cleaner's efficiency. If you need compatible brush rolls or belts for your Hoover, visit Hoover Vacuum Cleaner Bracket Parts. Stay proactive with your vacuum maintenance by addressing common issues such as clogged filters to ensure optimal suction and flawless cleaning results.
Find the Model Number on Your Hoover Vacuum Cleaner
Hoover usually places the model number on a label along the vacuum cleaner's rear body, bottom, or beneath the dirt cup. Unplug the vacuum, turn it over if needed, and check for a sticker or plate showing the model and serial information. Copy the model number exactly, including letters, numbers, and hyphens. Enter it in the search bar to filter the catalog to parts that fit your Hoover vacuum cleaner, not just the dirt cup or another single part. Starting with the complete model number helps match every associated part to your unit, so you can skip compatibility guesswork and order with confidence.

Online Diagnostic and Repair Help for Hoover Vacuum Cleaner
Repair Clinic's online resources cover Hoover Vacuum Cleaner diagnostic work, part testing, and installation in one place. Symptom articles help you understand what is likely going wrong, video walkthroughs show the disassembly and reassembly, and step-by-step written repair guides let you follow along in your own time. Use the model number lookup to confirm the exact OEM part, and wiring diagrams support the more involved jobs.
Related Articles: Vacuum Cleaner Repair

5 Reasons Why Your Vacuum Cleaner Has Lost Its Suction
Find out the five most common causes of lost suction in your vacuum cleaner and how to troubleshoot each from clogged filters and full bags to blockages, fan obstructions, or a failing blower motor.
Three Reasons Why Your Vacuum Cleaner's Motor Isn't Working
Find out three common reasons why your vacuum cleaner motor is not working—seized bearings in the suction or brushroll motor, or damaged motor brushes—and how to check and address each issue.
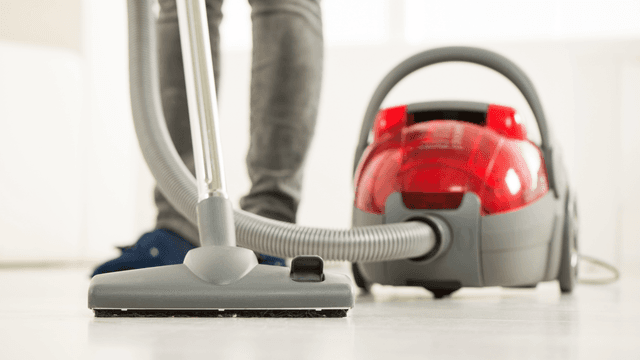
How It Works: Vacuum Cleaner
Learn how a vacuum cleaner creates suction using a motor-driven fan to draw air and debris through filters or bags and into a canister or bag for collection based on fundamental pressure differences and airflow design.




Family-owned and operated since 1912, Burke America Parts Group is the longest-running genuine appliance, HVAC, and outdoor power equipment parts solution in North America. At Repair Clinic, we're proud to be an international brand trusted by the pros as well as the DIY community.
About Repair Clinic