

Price Match Guarantee

In-stock parts ship the same day

365-Day Return Policy
Price Match GuaranteeGET PRO PRICING
Video & Articles: Appliance & Equipment RepairYork Furnace Gas Valve Assembly Replacement #S1-32544123000


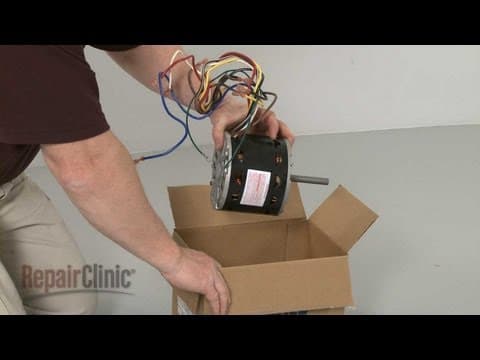
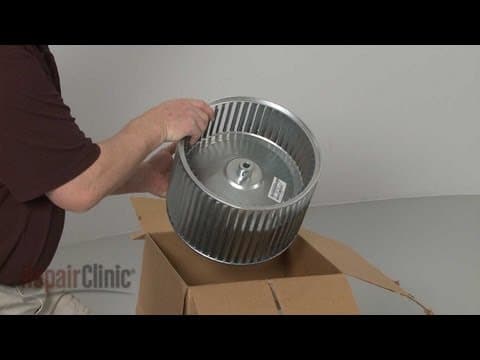
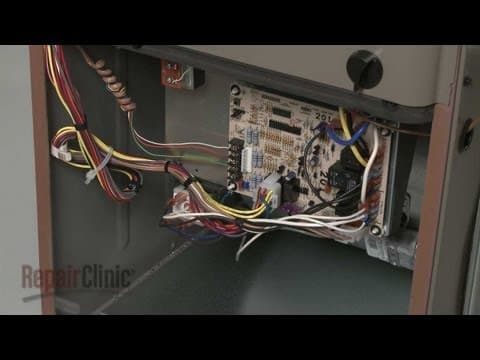
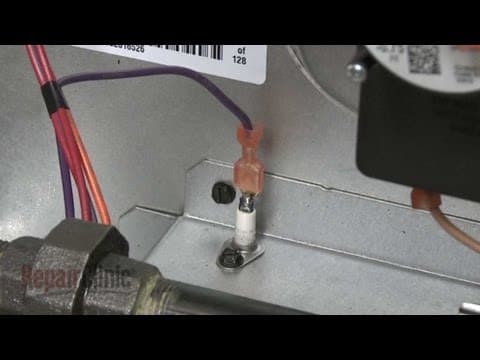
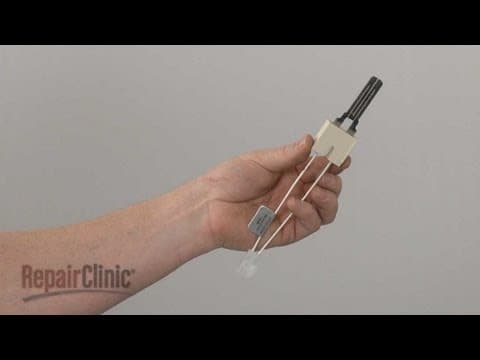
York Furnace Gas Valve Assembly Replacement #S1-32544123000
Skill Level
Total Parts Cost
$205.51Estimated Savings
$112.5004:47
- Description
This video provides step-by-step instructions for replacing the gas valve assembly on York, Luxaire, and Coleman furnaces. The most common reason for replacing the gas valve assembly is if the gas valve does not open, making the furnace unable to heat the house.
All of the information in this gas valve assembly replacement video is applicable to the following brands: York, Luxaire, Coleman
All of the information in this gas valve assembly replacement video is applicable to the following brands: York, Luxaire, Coleman
Step By Step Instructions
1
To replace the gas valve assembly on your furnace first turn off the power to the furnace
2
Shut off the gas supply.
3
Next, rotate the knobs securing the combustion chamber panel and pull the panel off.
4
Now use wrenches to separate the gas supply pipe union.
5
Unthread the gas inlet pipe from the gas valve.
6
Disconnect the gas valve wires.
7
Disconnect the wires from the flame rollout limit switches.
8
Remove the mounting screws to release the manifold.
9
You can now use wrenches to unthread the old gas valve assembly from the manifold.
10
This may require some effort.
11
Prepare the new gas valve assembly for installation by removing the cap and plug.
12
Apply some sealant to the threads on the manifold.
13
Now thread the new assembly onto the manifold and use the wrenches to tighten.
14
Make sure the gas valve coil is facing outward then realign the manifold with the burner tubes and secure the manifold with the mounting screws.
15
Reconnect the wires to the flame rollout limit switches.
16
Connect the wires to the new gas valve.
17
Apply sealant to the threads of the gas valve pipe then thread the pipe into the new gas valve assembly.
18
Align the gas pipes and secure the union.
19
After installation, manufacturers recommend that you confirm the inlet and outlet gas pressure of the new valve.
20
To do this, use a 3/32 inch Allen wrench to loosen the inlet test port screw.
21
Attach one end of the provided tube to the inlet test port and the other to a manometer.
22
Reset the meter to zero
23
Turn the gas supply back on and confirm that the inlet gas pressure reading is between 4.5 and 10.5.
24
If not, you will need to contact your local gas company.
25
Turn the gas supply off remove the tube and tighten the inlet test port screw.
26
Now loosen the outlet test port screw attach the tube and reset the manometer to zero.
27
Restore power to the furnace turn the gas supply back on and turn the thermostat up.
28
When the gas valve switches on, the outlet gas pressure reading should be 3.5.
29
If not, the regulator may need to be adjusted to provide the correct amount of pressure.
30
When the test is completed, turn off the gas supply and the power to the furnace.
31
Remove the tube and tighten the outlet test port screw.
32
Reposition the combustion chamber panel and rotate the knobs to secure.
33
You can now turn the gas supply back on and restore power to the furnace.
Description
This video provides step-by-step instructions for replacing the gas valve assembly on York, Luxaire, and Coleman furnaces. The most common reason for replacing the gas valve assembly is if the gas valve does not open, making the furnace unable to heat the house.
All of the information in this gas valve assembly replacement video is applicable to the following brands: York, Luxaire, Coleman
All of the information in this gas valve assembly replacement video is applicable to the following brands: York, Luxaire, Coleman
Step-By-Step Instructions
1
To replace the gas valve assembly on your furnace first turn off the power to the furnace
2
Shut off the gas supply.
3
Next, rotate the knobs securing the combustion chamber panel and pull the panel off.
4
Now use wrenches to separate the gas supply pipe union.
5
Unthread the gas inlet pipe from the gas valve.
6
Disconnect the gas valve wires.
7
Disconnect the wires from the flame rollout limit switches.
8
Remove the mounting screws to release the manifold.
9
You can now use wrenches to unthread the old gas valve assembly from the manifold.
10
This may require some effort.
11
Prepare the new gas valve assembly for installation by removing the cap and plug.
12
Apply some sealant to the threads on the manifold.
13
Now thread the new assembly onto the manifold and use the wrenches to tighten.
14
Make sure the gas valve coil is facing outward then realign the manifold with the burner tubes and secure the manifold with the mounting screws.
15
Reconnect the wires to the flame rollout limit switches.
16
Connect the wires to the new gas valve.
17
Apply sealant to the threads of the gas valve pipe then thread the pipe into the new gas valve assembly.
18
Align the gas pipes and secure the union.
19
After installation, manufacturers recommend that you confirm the inlet and outlet gas pressure of the new valve.
20
To do this, use a 3/32 inch Allen wrench to loosen the inlet test port screw.
21
Attach one end of the provided tube to the inlet test port and the other to a manometer.
22
Reset the meter to zero
23
Turn the gas supply back on and confirm that the inlet gas pressure reading is between 4.5 and 10.5.
24
If not, you will need to contact your local gas company.
25
Turn the gas supply off remove the tube and tighten the inlet test port screw.
26
Now loosen the outlet test port screw attach the tube and reset the manometer to zero.
27
Restore power to the furnace turn the gas supply back on and turn the thermostat up.
28
When the gas valve switches on, the outlet gas pressure reading should be 3.5.
29
If not, the regulator may need to be adjusted to provide the correct amount of pressure.
30
When the test is completed, turn off the gas supply and the power to the furnace.
31
Remove the tube and tighten the outlet test port screw.
32
Reposition the combustion chamber panel and rotate the knobs to secure.
33
You can now turn the gas supply back on and restore power to the furnace.
Applicable Product Model
Parts Needed
Gas Valve Assembly
$205.51
Recommended Tools and Accessories
Gas Valve Assembly
$96.12
Total$0.00
Related Articles & Videos




Our Story
Family-owned and operated since 1912, Burke America Parts Group is the longest-running genuine appliance, HVAC, and outdoor power equipment parts solution in North America. At Repair Clinic, we're proud to be an international brand trusted by the pros as well as the DIY community.
About Repair Clinic
© 2026 RepairClinic.com