

Price Match Guarantee

In-stock parts ship the same day

365-Day Return Policy
Price Match GuaranteeGET PRO PRICING
Video & Articles: Appliance & Equipment RepairHonda Pressure Washer Won't Start? Ignition Coil 30500-Z0J-004

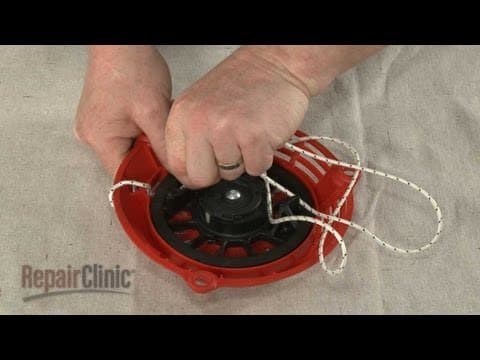
Honda Pressure Washer Won't Start? Ignition Coil 30500-Z0J-004
Skill Level
Total Parts Cost
$20.99Estimated Savings
$112.5003:01
- Description
This video provides step-by-step repair instructions for replacing the ignition coil on a Honda small engine (which is commonly found in lawn mowers, riding tractors, zero-turn radius mowers, wheeled edgers, pressure washers, and generators). The most common reason for replacing the ignition coil is when the engine won’t start or is hard to start.
All of the information for this ignition coil replacement video is applicable to the following brands:
Honda
Tools needed: socket wrench, open-end wrench
All of the information for this ignition coil replacement video is applicable to the following brands:
Honda
Tools needed: socket wrench, open-end wrench
Step By Step Instructions
1
Before you begin the repair, make sure the engine has cooled remove the wire and boot from the spark plug and turn the fuel valve off
2
Your first step is to remove the nuts securing the recoil starter to the mounting bolts
3
Pull the starter off and set it aside.
4
Now lift off the shroud and gas tank. Be aware some gasoline may spill out.
5
Disconnect the engine shut-off wire.
6
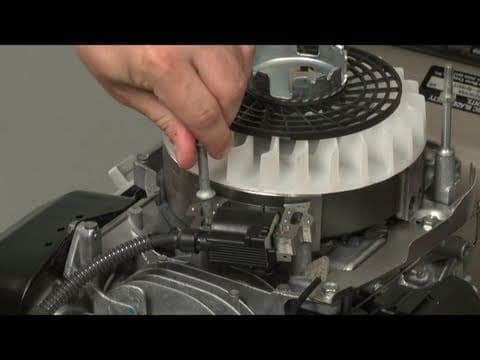
Use a 10 millimeter socket to remove the first ignition coil mounting bolt.
7
Use a 10 millimeter deep well socket or wrench to remove the second mounting bolt and pull the old ignition coil out. You’re now ready to install the new ignition coil.
8
Use a business card to help position the coil the correct distance from the flywheel and insert the mounting bolts.
9
Adjust the coil as necessary and tighten the bolts.
10
You can use a feeler gauge to confirm that the gap is set to manufacturer specifications.
11
Connect the engine shut-off wire and reposition the shroud and gas tank on the mounting bolts.
12
Align the recoil starter on the bolts and secure the nuts.
13
Turn the fuel valve back on and reattach the spark plug wire and boot.
Description
This video provides step-by-step repair instructions for replacing the ignition coil on a Honda small engine (which is commonly found in lawn mowers, riding tractors, zero-turn radius mowers, wheeled edgers, pressure washers, and generators). The most common reason for replacing the ignition coil is when the engine won’t start or is hard to start.
All of the information for this ignition coil replacement video is applicable to the following brands:
Honda
Tools needed: socket wrench, open-end wrench
All of the information for this ignition coil replacement video is applicable to the following brands:
Honda
Tools needed: socket wrench, open-end wrench
Step-By-Step Instructions
1
Before you begin the repair, make sure the engine has cooled remove the wire and boot from the spark plug and turn the fuel valve off
2
Your first step is to remove the nuts securing the recoil starter to the mounting bolts
3
Pull the starter off and set it aside.
4
Now lift off the shroud and gas tank. Be aware some gasoline may spill out.
5
Disconnect the engine shut-off wire.
6
Use a 10 millimeter socket to remove the first ignition coil mounting bolt.
7
Use a 10 millimeter deep well socket or wrench to remove the second mounting bolt and pull the old ignition coil out. You’re now ready to install the new ignition coil.
8
Use a business card to help position the coil the correct distance from the flywheel and insert the mounting bolts.
9
Adjust the coil as necessary and tighten the bolts.
10
You can use a feeler gauge to confirm that the gap is set to manufacturer specifications.
11
Connect the engine shut-off wire and reposition the shroud and gas tank on the mounting bolts.
12
Align the recoil starter on the bolts and secure the nuts.
13
Turn the fuel valve back on and reattach the spark plug wire and boot.
Applicable Product Model
Parts Needed
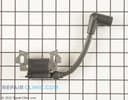
Ignition Coil
$20.99
Total$0.00
Related Articles & Videos




Our Story
Family-owned and operated since 1912, Burke America Parts Group is the longest-running genuine appliance, HVAC, and outdoor power equipment parts solution in North America. At Repair Clinic, we're proud to be an international brand trusted by the pros as well as the DIY community.
About Repair Clinic
© 2026 RepairClinic.com