

Price Match Guarantee

In-stock parts ship the same day

365-Day Return Policy
Price Match GuaranteeGET PRO PRICING
Video & Articles: Appliance & Equipment RepairMantis Tiller Worm Gear Replacement #429

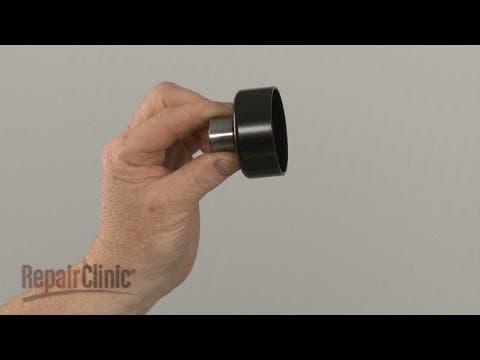
Mantis Tiller Worm Gear Replacement #429
Skill Level
Total Parts Cost
$116.92Estimated Savings
$112.5003:47
- Description
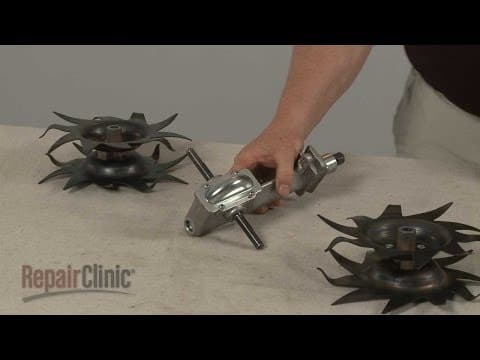
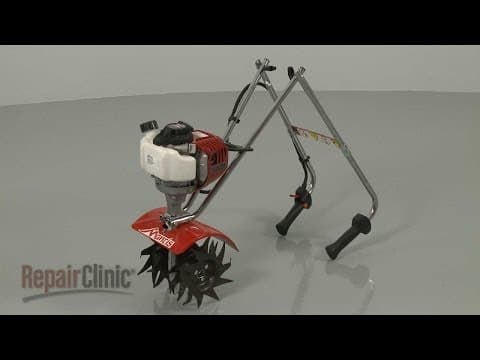
This video provides step-by-step repair instructions for replacing the worm gear on a Mantis tiller. The most common reason for replacing the worm gear is when it is stripped from lack of lubrication.
All of the information for this worm gear replacement video is applicable to the following brands:
Mantis
Tools needed: adjustable wrench, Phillips-head screwdriver, hammer, flathead screwdriver
All of the information for this worm gear replacement video is applicable to the following brands:
Mantis
Tools needed: adjustable wrench, Phillips-head screwdriver, hammer, flathead screwdriver
Step By Step Instructions
1
Before you replace the worm gear in your tiller make sure the engine has cooled and the on-off switch is in the “off” position.
2
We recommend performing this procedure with little or no fuel in the tank.
3
Now tip the tiller forward so it rests on the fuel tank and tine guard.
4
Note the orientation of the tines then remove the retaining pins and pull off both tine assemblies.
5
Next, use an adjustable wrench to rotate the tine drive shaft counter-clockwise to unthread it.
6
You can use a hammer to help fully remove the drive shaft along with the left side retainer, seal and bearing.
7
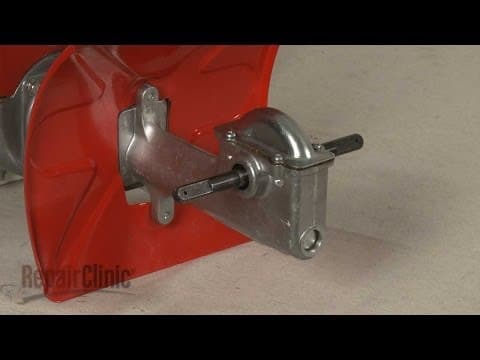
Use a phillips-head screwdriver to unthread the screws securing the transmission housing cover then pull the cover off.
8
Lift out the old worm gear.
9
Install the new worm gear by inserting it into the transmission housing.
10
Apply some additional grease and confirm that the gasket is in place then realign the cover and secure it with the screws.
11
Rethread the tine drive shaft clockwise into the left side of the transmission housing.
12
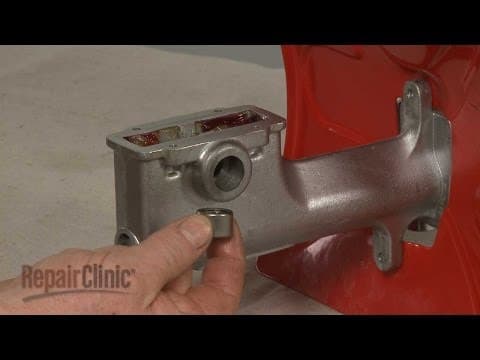
Align the worm gear bearing on the shaft and fully seat it in the housing.
13
The bearing should be recessed approximately a quarter-inch.
14
Replace the seal.
15
Align the retainer and fully seat it.
16
Properly align each tine assembly on the tine shaft and secure them with the retaining pins.
17
With the repair completed return the tiller to its upright position.
Description
This video provides step-by-step repair instructions for replacing the worm gear on a Mantis tiller. The most common reason for replacing the worm gear is when it is stripped from lack of lubrication.
All of the information for this worm gear replacement video is applicable to the following brands:
Mantis
Tools needed: adjustable wrench, Phillips-head screwdriver, hammer, flathead screwdriver
All of the information for this worm gear replacement video is applicable to the following brands:
Mantis
Tools needed: adjustable wrench, Phillips-head screwdriver, hammer, flathead screwdriver
Step-By-Step Instructions
1
Before you replace the worm gear in your tiller make sure the engine has cooled and the on-off switch is in the “off” position.
2
We recommend performing this procedure with little or no fuel in the tank.
3
Now tip the tiller forward so it rests on the fuel tank and tine guard.
4
Note the orientation of the tines then remove the retaining pins and pull off both tine assemblies.
5
Next, use an adjustable wrench to rotate the tine drive shaft counter-clockwise to unthread it.
6
You can use a hammer to help fully remove the drive shaft along with the left side retainer, seal and bearing.
7
Use a phillips-head screwdriver to unthread the screws securing the transmission housing cover then pull the cover off.
8
Lift out the old worm gear.
9
Install the new worm gear by inserting it into the transmission housing.
10
Apply some additional grease and confirm that the gasket is in place then realign the cover and secure it with the screws.
11
Rethread the tine drive shaft clockwise into the left side of the transmission housing.
12
Align the worm gear bearing on the shaft and fully seat it in the housing.
13
The bearing should be recessed approximately a quarter-inch.
14
Replace the seal.
15
Align the retainer and fully seat it.
16
Properly align each tine assembly on the tine shaft and secure them with the retaining pins.
17
With the repair completed return the tiller to its upright position.



Related Articles & Videos




Our Story
Family-owned and operated since 1912, Burke America Parts Group is the longest-running genuine appliance, HVAC, and outdoor power equipment parts solution in North America. At Repair Clinic, we're proud to be an international brand trusted by the pros as well as the DIY community.
About Repair Clinic
© 2026 RepairClinic.com