

Price Match Guarantee

In-stock parts ship the same day

365-Day Return Policy
Price Match GuaranteeGET PRO PRICING
Video & Articles: Appliance & Equipment RepairHonda Lawn Mower Won't Self Propel? Replace Belt #22431-VL0-B00

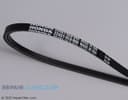
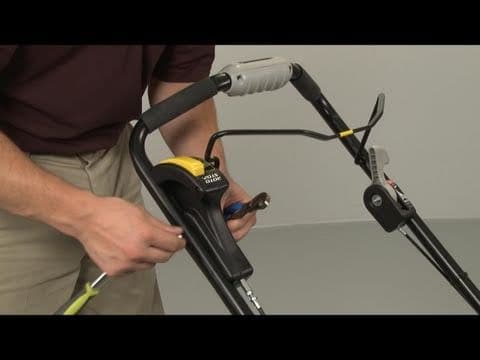
Honda Lawn Mower Won't Self Propel? Replace Belt #22431-VL0-B00
Skill Level
Total Parts Cost
$11.15Estimated Savings
$112.5004:16
- Description
This video provides step-by-step instructions for replacing the belt on Honda lawn mowers. The most common reason to replace the belt is when the mower’s wheels don’t turn.
All of the information in this belt replacement video is applicable to the following brands: Honda.
Tools needed: socket wrench, flat-head screwdriver, snap ring pliers, open-end wrench
All of the information in this belt replacement video is applicable to the following brands: Honda.
Tools needed: socket wrench, flat-head screwdriver, snap ring pliers, open-end wrench
Step By Step Instructions
1
Before you begin the repair, make sure the mower’s engine has cooled remove the wire and boot from the spark plug. and turn off the fuel valve.
2
Now carefully set the mower on its side.
3
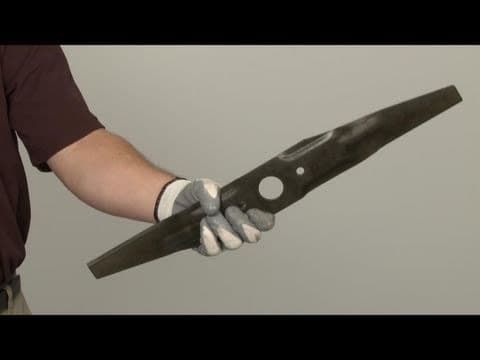
Use a support to secure the blade or blades.
4
Use a 14 millimeter socket to remove the bolts and washers and pull the blade or blades off.
5
Using a socket, apply a sharp strong motion to loosen the bolt securing the lower roto-stop assembly.
6
Remove the bolt and pull the lower assembly off.
7
Use a flathead screwdriver to assist in detaching the roto-stop spring.
8
Use pliers to release the clutch cable from the upper roto-stop assembly.
9
Now pull the upper assembly off.
10
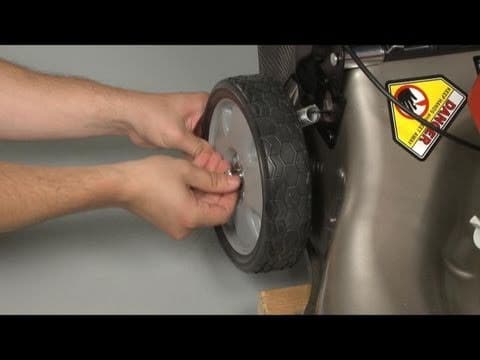
You will now need to remove the two debris shields by uninstalling the retaining screws. Be aware that in order to release the first debris shield you will need to adjust the rear wheels to the lowest setting to access one of the screws.
11
Once the first shield is removed, uninstall the screws to release the second debris shield and set both shields aside.
12
Now use an adjustable wrench to help rotate the transmission to release the old belt if still intact and pull the belt off of the crankshaft drive pulley.
13
Use pliers to disconnect the tension spring on the transmission.
14
You can now remove the old belt.
15
Install the new belt by threading it onto the drive pulley mounted on the transmission.
16
Use a long flathead screwdriver to help reconnect the tension spring.
17
Release the tension on the transmission and loop the new belt onto the crankshaft drive pulley.
18
Reinstall the second debris shield and secure the screws.
19
Position the first debris shield and secure it with the screws.
20
Readjust the rear wheels to their appropriate position.
21
Reinstall the upper roto-stop assembly and reconnect the clutch cable.
22
Use the screwdriver to reattach the roto-stop spring.
23
Position the lower roto-stop assembly and secure it with the bolt.
24
Align the high-lift blade with the mulching blade if applicable then position the blade or blades on the roto-stop and secure the bolts and washers.
25
Torque the bolts to manufacturer specifications.
26
Remove the support and carefully set the mower upright.
27
Turn the fuel valve back on and reattach the spark plug wire and boot.
Description
This video provides step-by-step instructions for replacing the belt on Honda lawn mowers. The most common reason to replace the belt is when the mower’s wheels don’t turn.
All of the information in this belt replacement video is applicable to the following brands: Honda.
Tools needed: socket wrench, flat-head screwdriver, snap ring pliers, open-end wrench
All of the information in this belt replacement video is applicable to the following brands: Honda.
Tools needed: socket wrench, flat-head screwdriver, snap ring pliers, open-end wrench
Step-By-Step Instructions
1
Before you begin the repair, make sure the mower’s engine has cooled remove the wire and boot from the spark plug. and turn off the fuel valve.
2
Now carefully set the mower on its side.
3
Use a support to secure the blade or blades.
4
Use a 14 millimeter socket to remove the bolts and washers and pull the blade or blades off.
5
Using a socket, apply a sharp strong motion to loosen the bolt securing the lower roto-stop assembly.
6
Remove the bolt and pull the lower assembly off.
7
Use a flathead screwdriver to assist in detaching the roto-stop spring.
8
Use pliers to release the clutch cable from the upper roto-stop assembly.
9
Now pull the upper assembly off.
10
You will now need to remove the two debris shields by uninstalling the retaining screws. Be aware that in order to release the first debris shield you will need to adjust the rear wheels to the lowest setting to access one of the screws.
11
Once the first shield is removed, uninstall the screws to release the second debris shield and set both shields aside.
12
Now use an adjustable wrench to help rotate the transmission to release the old belt if still intact and pull the belt off of the crankshaft drive pulley.
13
Use pliers to disconnect the tension spring on the transmission.
14
You can now remove the old belt.
15
Install the new belt by threading it onto the drive pulley mounted on the transmission.
16
Use a long flathead screwdriver to help reconnect the tension spring.
17
Release the tension on the transmission and loop the new belt onto the crankshaft drive pulley.
18
Reinstall the second debris shield and secure the screws.
19
Position the first debris shield and secure it with the screws.
20
Readjust the rear wheels to their appropriate position.
21
Reinstall the upper roto-stop assembly and reconnect the clutch cable.
22
Use the screwdriver to reattach the roto-stop spring.
23
Position the lower roto-stop assembly and secure it with the bolt.
24
Align the high-lift blade with the mulching blade if applicable then position the blade or blades on the roto-stop and secure the bolts and washers.
25
Torque the bolts to manufacturer specifications.
26
Remove the support and carefully set the mower upright.
27
Turn the fuel valve back on and reattach the spark plug wire and boot.
Applicable Product Model
Parts Needed
V-Belt
$11.15


Total$0.00
Related Articles & Videos




Our Story
Family-owned and operated since 1912, Burke America Parts Group is the longest-running genuine appliance, HVAC, and outdoor power equipment parts solution in North America. At Repair Clinic, we're proud to be an international brand trusted by the pros as well as the DIY community.
About Repair Clinic
© 2026 RepairClinic.com