

Price Match Guarantee

In-stock parts ship the same day

365-Day Return Policy
Price Match GuaranteeGET PRO PRICING
Video & Articles: Appliance & Equipment RepairWhirlpool Front Load Washer Replace Door Boot Seal #8182119



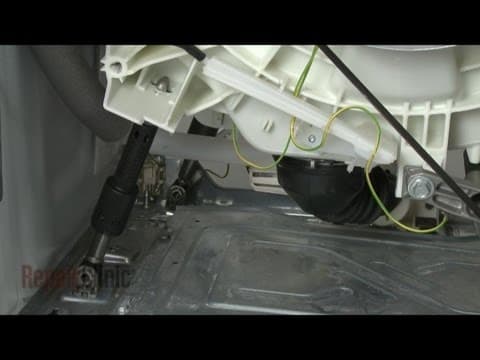
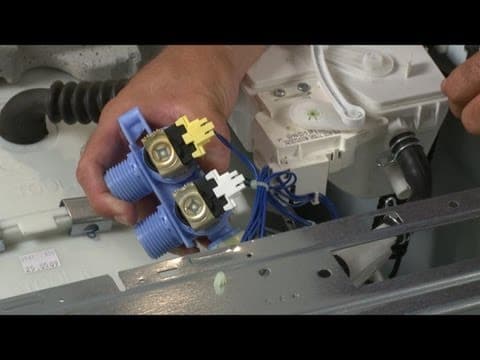
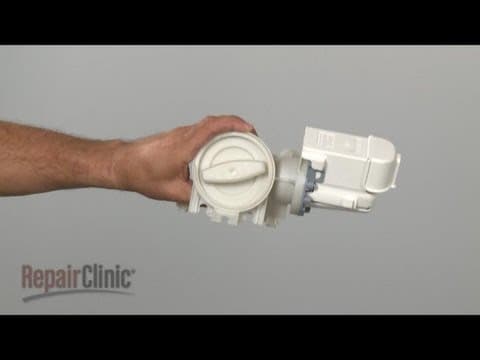
Whirlpool Front Load Washer Replace Door Boot Seal #8182119
Skill Level
Total Parts Cost
$123.99Estimated Savings
$112.5005:06
- Description
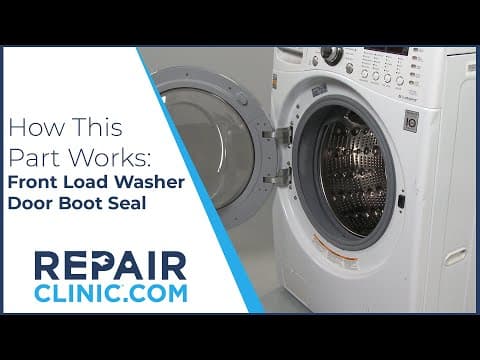
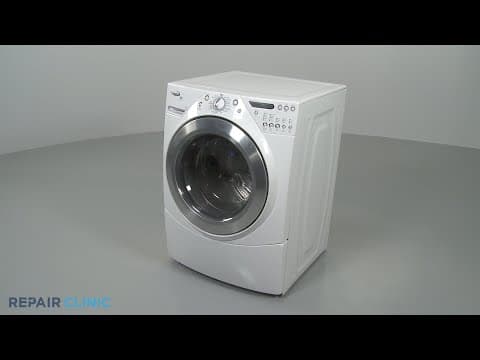
This video provides step-by-step instructions for replacing the boot seal (also called the bellow) on Whirlpool Duet, Kenmore HE3, Maytag, KitchenAid, and Amana front-load washing machines. The most common reason for replacing the boot seal is when the washer is leaking water.
All of the information in this seal replacement video is applicable to the following brands: Whirlpool, Kenmore, KitchenAid, Maytag, Amana
Tools used: multi-screwdriver, nutdriver bit, flat-head bit, Phillips head bit
RepairClinic has millions of replacement parts for appliances, lawn equipment, power tools, and heating & cooling equipment including washers, dryers, dishwashers, refrigerators, lawn mowers, snowblowers, furnaces, and air conditioners. We guarantee the fastest shipping possible—all in-stock parts ship the same business day. Return any part for any reason with our generous 365-day return policy.
In addition to providing replacement parts, RepairClinic.com offers free online troubleshooting information and DIY repair videos. Use our website to choose from a series of problems to discover the likely causes and the correct replacement part(s) for your particular model. Once you’ve determined the solution, our expertly-produced video tutorials will guide you through every step of the repair.
At RepairClinic, we make fixing things easy!
Step By Step Instructions
1
As with any repair, be sure you've unplugged the appliance before beginning.
2
Your first step is to remove the front lower access panel by uninstalling the mounting screws and pulling the panel down and away.
3
Next, remove the screws at the rear of the top panel and pull the panel off.
4
Now, carefully pull off the trim ring.
5
Be aware, this will probably require some effort.
6
Pull out the dispenser drawer, depress the locking tab, and remove the drawer from the control panel.
7
Remove the mounting screws from the dispenser housing.
8
Now, use a flat head screwdriver to assist in prying loose the control panel and move the panel out of the way.
9
Your next step is to use a small screwdriver to help remove the spring clamp from the old door boot seal.
10
Pull the seal off of the loop of the front panel and remove the front panel mounting screws at the bottom, then at the top, and slide the front panel out and away from the cabinet.
11
Disconnect the latch assembly wires and set the front panel and door aside.
12
Next, pull the dispenser tube free from the boot, loosen the screw on the clamps securing the boot seal to the top, and pull off the clamp in the old boot seal.
13
You're now ready to install the new door boot seal.
14
With the tab on the seal pointing upward, push the boot's grooved edge over the lip of the tub and work your way around the tub opening.
15
Replace the clamp and tighten the screw.
16
Insert the dispenser tube into the seal, replace the front panel indoor by first reconnecting the latch assembly wires, then slide the panel up under the control panel bracket and secure the mounting screws at the top and bottom.
17
Position the new boot seal over the lip of the front panel, replace the spring clamp to secure the seal, making sure the spring is at the bottom.
18
Reposition the control panel and snap it into place.
19
Reinstall the screws in the dispenser housing, replace the dispenser drawer, align the trim ring, and snap it into place.
20
Reposition the top panel and secure the screws.
21
Replace the front lower access panel and secure it with the screws.
22
You are now ready to plug the appliance back in to make sure it's functioning properly.
Description
This video provides step-by-step instructions for replacing the boot seal (also called the bellow) on Whirlpool Duet, Kenmore HE3, Maytag, KitchenAid, and Amana front-load washing machines. The most common reason for replacing the boot seal is when the washer is leaking water.
All of the information in this seal replacement video is applicable to the following brands: Whirlpool, Kenmore, KitchenAid, Maytag, Amana
Tools used: multi-screwdriver, nutdriver bit, flat-head bit, Phillips head bit
RepairClinic has millions of replacement parts for appliances, lawn equipment, power tools, and heating & cooling equipment including washers, dryers, dishwashers, refrigerators, lawn mowers, snowblowers, furnaces, and air conditioners. We guarantee the fastest shipping possible—all in-stock parts ship the same business day. Return any part for any reason with our generous 365-day return policy.
In addition to providing replacement parts, RepairClinic.com offers free online troubleshooting information and DIY repair videos. Use our website to choose from a series of problems to discover the likely causes and the correct replacement part(s) for your particular model. Once you’ve determined the solution, our expertly-produced video tutorials will guide you through every step of the repair.
At RepairClinic, we make fixing things easy!
All of the information in this seal replacement video is applicable to the following brands: Whirlpool, Kenmore, KitchenAid, Maytag, Amana
Tools used: multi-screwdriver, nutdriver bit, flat-head bit, Phillips head bit
RepairClinic has millions of replacement parts for appliances, lawn equipment, power tools, and heating & cooling equipment including washers, dryers, dishwashers, refrigerators, lawn mowers, snowblowers, furnaces, and air conditioners. We guarantee the fastest shipping possible—all in-stock parts ship the same business day. Return any part for any reason with our generous 365-day return policy.
In addition to providing replacement parts, RepairClinic.com offers free online troubleshooting information and DIY repair videos. Use our website to choose from a series of problems to discover the likely causes and the correct replacement part(s) for your particular model. Once you’ve determined the solution, our expertly-produced video tutorials will guide you through every step of the repair.
At RepairClinic, we make fixing things easy!
Step-By-Step Instructions
1
As with any repair, be sure you've unplugged the appliance before beginning.
2
Your first step is to remove the front lower access panel by uninstalling the mounting screws and pulling the panel down and away.
3
Next, remove the screws at the rear of the top panel and pull the panel off.
4
Now, carefully pull off the trim ring.
5
Be aware, this will probably require some effort.
6
Pull out the dispenser drawer, depress the locking tab, and remove the drawer from the control panel.
7
Remove the mounting screws from the dispenser housing.
8
Now, use a flat head screwdriver to assist in prying loose the control panel and move the panel out of the way.
9
Your next step is to use a small screwdriver to help remove the spring clamp from the old door boot seal.
10
Pull the seal off of the loop of the front panel and remove the front panel mounting screws at the bottom, then at the top, and slide the front panel out and away from the cabinet.
11
Disconnect the latch assembly wires and set the front panel and door aside.
12
Next, pull the dispenser tube free from the boot, loosen the screw on the clamps securing the boot seal to the top, and pull off the clamp in the old boot seal.
13
You're now ready to install the new door boot seal.
14
With the tab on the seal pointing upward, push the boot's grooved edge over the lip of the tub and work your way around the tub opening.
15
Replace the clamp and tighten the screw.
16
Insert the dispenser tube into the seal, replace the front panel indoor by first reconnecting the latch assembly wires, then slide the panel up under the control panel bracket and secure the mounting screws at the top and bottom.
17
Position the new boot seal over the lip of the front panel, replace the spring clamp to secure the seal, making sure the spring is at the bottom.
18
Reposition the control panel and snap it into place.
19
Reinstall the screws in the dispenser housing, replace the dispenser drawer, align the trim ring, and snap it into place.
20
Reposition the top panel and secure the screws.
21
Replace the front lower access panel and secure it with the screws.
22
You are now ready to plug the appliance back in to make sure it's functioning properly.
Applicable Product Model
Parts Needed
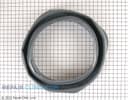
Door Boot Seal
$123.99
Recommended Tools and Accessories
Boot Seal Retaining Ring
$30.10
Boot Seal Retaining Ring
$29.50
Cleaner
$7.62
Total$0.00
Related Articles & Videos




Our Story
Family-owned and operated since 1912, Burke America Parts Group is the longest-running genuine appliance, HVAC, and outdoor power equipment parts solution in North America. At Repair Clinic, we're proud to be an international brand trusted by the pros as well as the DIY community.
About Repair Clinic
© 2026 RepairClinic.com