

Price Match Guarantee

In-stock parts ship the same day

365-Day Return Policy
Price Match GuaranteeGET PRO PRICING
Video & Articles: Appliance & Equipment RepairKitchenaid Double Oven Gas Range Lower Oven Bake Tube Replacement #W10342661 

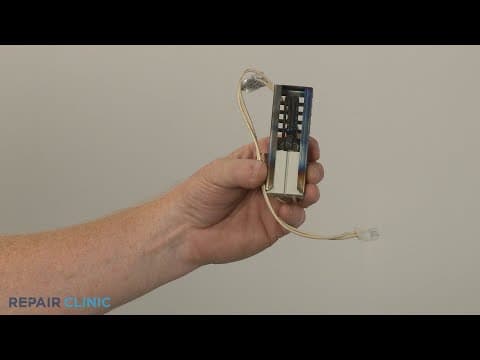
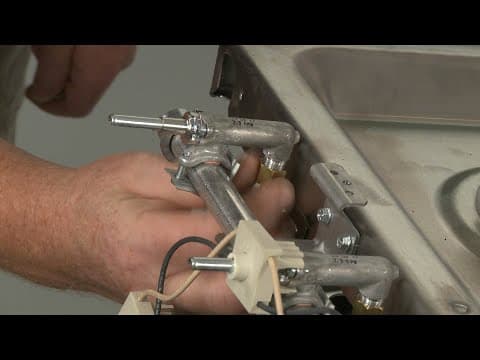
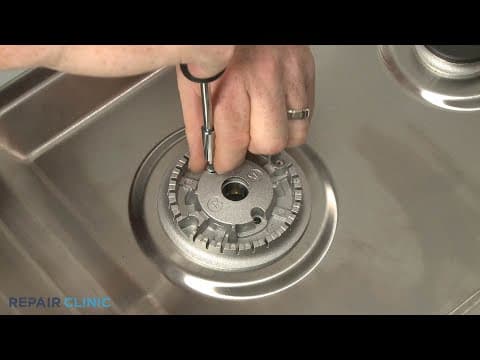
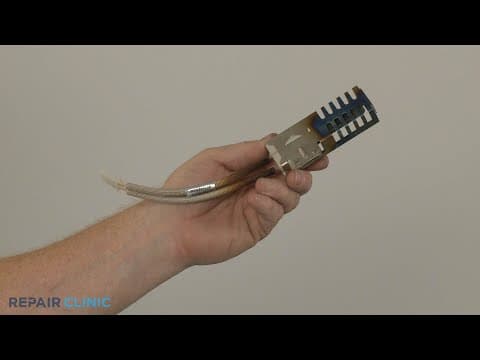
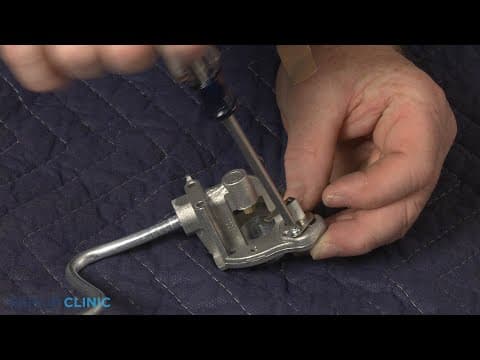
Kitchenaid Double Oven Gas Range Lower Oven Bake Tube Replacement #W10342661
Skill Level
Total Parts Cost
$92.94Estimated Savings
$112.5007:51
- Description
This video provides step-by-step instructions for replacing the lower oven bake tube on a Kitchenaid double oven gas range (model #KFGD500ESS04). The most common reason for replacing the tube is if the lower oven will not light.
All of the information in this tube replacement video is applicable to the following brands: Maytag, Amana, Magic Chef, Whirlpool, Tappan, Estate, Kitchenaide
All of the information in this tube replacement video is applicable to the following brands: Maytag, Amana, Magic Chef, Whirlpool, Tappan, Estate, Kitchenaide
Step By Step Instructions
1
KitchenAid Double Oven Gas Range - KFGD500ESS04
2
Gas Range Lower Oven Bake Tube Replacement
3
Tools needed: Phillips-head screwdriver or a quarter-inch nut driver, 15/16th inch socket, 5/8th inch wrench or an adjustable wrench
4
Shock
5
Be sure to unplug the power cord or shut off the power supply.
6
Fire
7
Shut off the gas supply as well.
8
Pull the range away from the wall so you can access the rear of the appliance.
9
Use a Phillips-head screwdriver or a quarter-inch nut driver to unthread all of the screws securing the lower rear access panel.
10
Sharp
11
Lift the panel up and out to remove.
12
Now lift up the front of the appliance and support it in the center.
13
Now unthread the two lower screws securing the door retaining brackets to the frame.
14
Open the door and unthread the upper screws securing the door retaining brackets.
15
Rotate the hinge locks back
16
Loosen the brackets and use tape to help secure them to the door.
17
Heavy
18
Partially close the door, then lift and pull the door toward you to remove.
19
Remove the support and lower the range.
20
Remove the oven racks.
21
Sharp
22
Slide the bake burner tube cover to the left and lift up to remove.
23
Unthread the wing nut and remove the shields.
24
Unthread the screw securing the orifice cover and remove the cover.
25
Next, unthread the burner tube mounting screw.
26
Now slide the burner assembly to the right and lift up the front of the tube to detach.
27
Use a 15/16th inch socket to unthread the nut securing the bake tube to the mounting bracket.
28
Returning to the rear of the appliance, unthread the three screws to release the lower access covers.
29
You can use a 5/8th inch wrench or an adjustable wrench to unthread the nut securing the bake tube to the safety valve.
30
Remove the old tube ? this may require some effort to free the orifice fitting from the mounting bracket.
31
Install the new lower oven bake tube by inserting the end with the orifice through the rear of the oven and position the end in the mounting bracket.
32
Insert the opposite end into the safety valve then thread the nut ? be careful not to damage the tube by overtightening the nut.
33
Confirm that the orifice end is fully seated in the mounting bracket then thread the nut to secure ? again, avoid overtightening.
34
Realign the burner tube on the orifice as you insert the tube?s front tab into the slot in the base.
35
Slide the assembly to the left, then thread the burner tube mounting screw.
36
Reposition the orifice cover and secure it with the screw.
37
Realign the shields then thread the wing nut.
38
Reposition the bake burner cover and slide it to the right to lock it into place.
39
Replace the oven racks.
40
Support the front of the range.
41
Reinstall the door by inserting the door hinges into the hinge slots.
42
Reposition the retaining brackets and rotate the hinge locks forward.
43
Rethread the upper screws to secure the brackets.
44
Close the door.
45
Thread the two lower screws to fully secure the retaining brackets.
46
Remove the support and lower the range.
47
Align the access covers and secure them with the screws.
48
Reposition the rear access panel.
49
Thread and tighten the screws to secure.
50
Turn the gas supply back on, plug the power cord back in or restore the power supply and the gas range should be ready for use.
Description
This video provides step-by-step instructions for replacing the lower oven bake tube on a Kitchenaid double oven gas range (model #KFGD500ESS04). The most common reason for replacing the tube is if the lower oven will not light.
All of the information in this tube replacement video is applicable to the following brands: Maytag, Amana, Magic Chef, Whirlpool, Tappan, Estate, Kitchenaide
All of the information in this tube replacement video is applicable to the following brands: Maytag, Amana, Magic Chef, Whirlpool, Tappan, Estate, Kitchenaide
Step-By-Step Instructions
1
KitchenAid Double Oven Gas Range - KFGD500ESS04
2
Gas Range Lower Oven Bake Tube Replacement
3
Tools needed: Phillips-head screwdriver or a quarter-inch nut driver, 15/16th inch socket, 5/8th inch wrench or an adjustable wrench
4
Shock
5
Be sure to unplug the power cord or shut off the power supply.
6
Fire
7
Shut off the gas supply as well.
8
Pull the range away from the wall so you can access the rear of the appliance.
9
Use a Phillips-head screwdriver or a quarter-inch nut driver to unthread all of the screws securing the lower rear access panel.
10
Sharp
11
Lift the panel up and out to remove.
12
Now lift up the front of the appliance and support it in the center.
13
Now unthread the two lower screws securing the door retaining brackets to the frame.
14
Open the door and unthread the upper screws securing the door retaining brackets.
15
Rotate the hinge locks back
16
Loosen the brackets and use tape to help secure them to the door.
17
Heavy
18
Partially close the door, then lift and pull the door toward you to remove.
19
Remove the support and lower the range.
20
Remove the oven racks.
21
Sharp
22
Slide the bake burner tube cover to the left and lift up to remove.
23
Unthread the wing nut and remove the shields.
24
Unthread the screw securing the orifice cover and remove the cover.
25
Next, unthread the burner tube mounting screw.
26
Now slide the burner assembly to the right and lift up the front of the tube to detach.
27
Use a 15/16th inch socket to unthread the nut securing the bake tube to the mounting bracket.
28
Returning to the rear of the appliance, unthread the three screws to release the lower access covers.
29
You can use a 5/8th inch wrench or an adjustable wrench to unthread the nut securing the bake tube to the safety valve.
30
Remove the old tube ? this may require some effort to free the orifice fitting from the mounting bracket.
31
Install the new lower oven bake tube by inserting the end with the orifice through the rear of the oven and position the end in the mounting bracket.
32
Insert the opposite end into the safety valve then thread the nut ? be careful not to damage the tube by overtightening the nut.
33
Confirm that the orifice end is fully seated in the mounting bracket then thread the nut to secure ? again, avoid overtightening.
34
Realign the burner tube on the orifice as you insert the tube?s front tab into the slot in the base.
35
Slide the assembly to the left, then thread the burner tube mounting screw.
36
Reposition the orifice cover and secure it with the screw.
37
Realign the shields then thread the wing nut.
38
Reposition the bake burner cover and slide it to the right to lock it into place.
39
Replace the oven racks.
40
Support the front of the range.
41
Reinstall the door by inserting the door hinges into the hinge slots.
42
Reposition the retaining brackets and rotate the hinge locks forward.
43
Rethread the upper screws to secure the brackets.
44
Close the door.
45
Thread the two lower screws to fully secure the retaining brackets.
46
Remove the support and lower the range.
47
Align the access covers and secure them with the screws.
48
Reposition the rear access panel.
49
Thread and tighten the screws to secure.
50
Turn the gas supply back on, plug the power cord back in or restore the power supply and the gas range should be ready for use.
Applicable Product Model

Related Articles & Videos
07:46
Part Replacement
Kitchenaid Double Oven Gas Range Bake Burner Tube Igniter Replacement #WP7432P143-60
05:37
Part Replacement
Kitchenaid Double Oven Gas Range Left Front Burner Valve Replacement #W10718180
01:31
Part Replacement
Kitchenaid Double Oven Gas Range Left Front Burner Base Replacement #WPW10406878
04:10
Part Replacement
Kitchenaid Double Oven Gas Range Broil Igniter Replacement #WPW10324738
06:05
Part Replacement
Kitchenaid Double Oven Gas Range Surface Igniter Replacement #W11208293




Our Story
Family-owned and operated since 1912, Burke America Parts Group is the longest-running genuine appliance, HVAC, and outdoor power equipment parts solution in North America. At Repair Clinic, we're proud to be an international brand trusted by the pros as well as the DIY community.
About Repair Clinic
© 2026 RepairClinic.com