

Price Match Guarantee

In-stock parts ship the same day

365-Day Return Policy
Price Match GuaranteeGET PRO PRICING
Video & Articles: Appliance & Equipment RepairWhirlpool Gas Range Anti-Tip Bracket Replacement #W10838686 

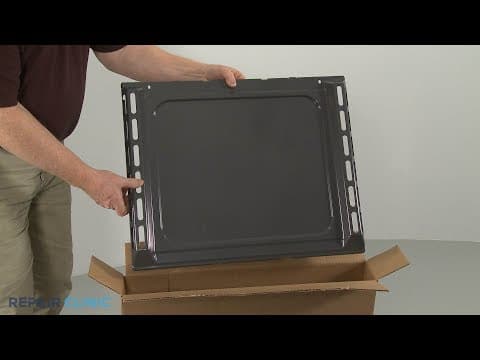
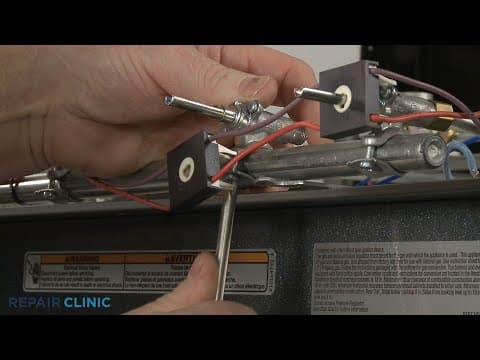
Whirlpool Gas Range Anti-Tip Bracket Replacement #W10838686
Skill Level
Total Parts Cost
$20.15Estimated Savings
$112.5002:32
- Description
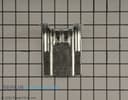
This video provides step-by-step repair instructions for replacing the anti-tip bracket on a Whirlpool gas range. The most common reason for replacing this part is if it is damaged or missing.
All of the information for this part replacement video is applicable to the following brands:
Whirlpool
All of the information for this part replacement video is applicable to the following brands:
Whirlpool
Step By Step Instructions
1
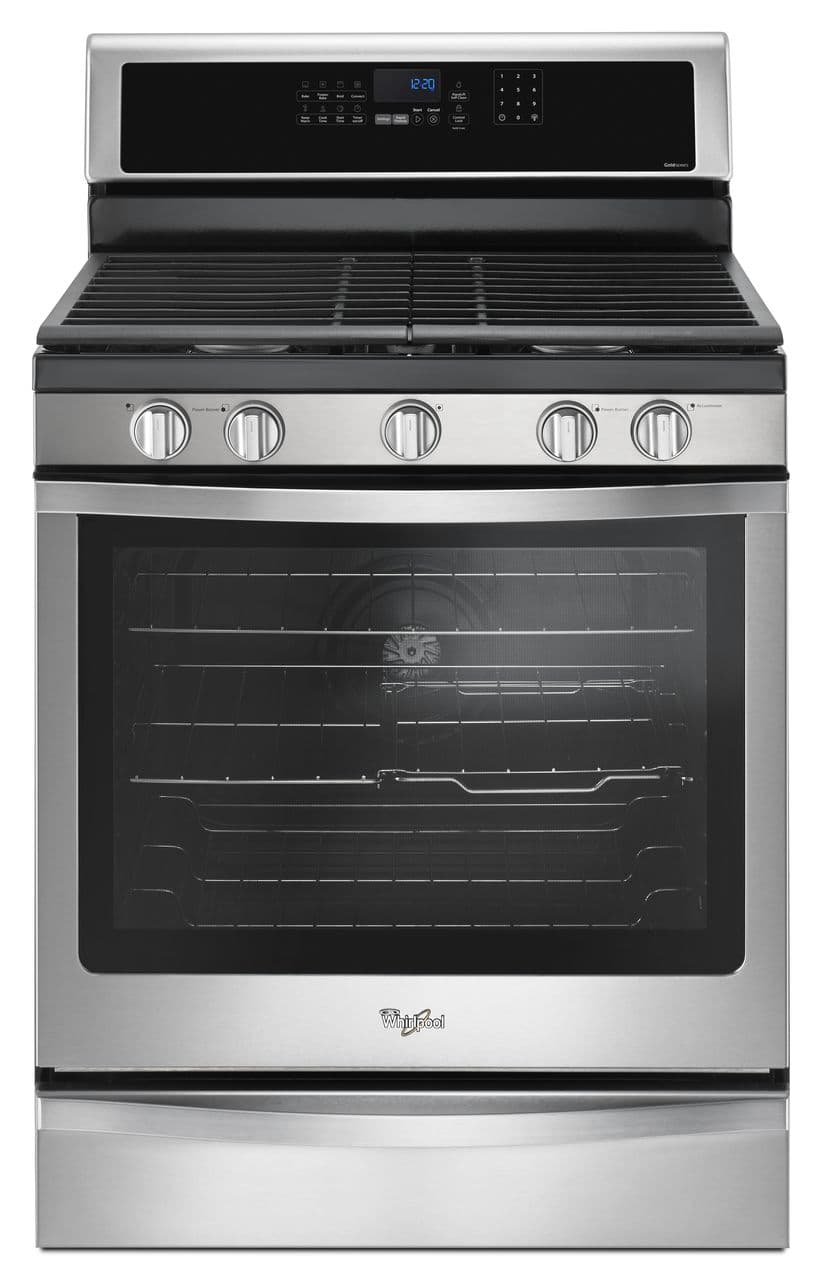
Whirlpool Gas Range - WFG745H0FS1
2
Gas Range Anti-Tip Bracket Installation
3
Tools needed: 1/8th inch diameter drill bit, power drill, measuring tape, Phillips-head screwdriver, 2 #12 x 1??? inch screws
4
Shock Hazard
5
Make sure the power cord is unplugged and the range has been moved out of the way.
6
Fire Hazard
7
Be aware, you may need to shut off the gas supply as well and disconnect the gas supply line if there is not enough slack in the gas line to move the appliance.
8
We recommend placing the range on a piece of cardboard so the appliance can be easily moved.
9
The bracket can be mounted to the wall or the floor.
10
Using measuring tape, determine where the center of the recessed wall opening is and mark it.
11
Position the bracket so the v-notch is exactly twelve-and-nine-sixteenth inches to the left or right of the centerline.
12
Mark the appropritate bracket holes for floor or wall mounting.
13
Using a 1/8th inch diameter drill bit, drill the holes where marked.
14
Align the anti-tip bracket and secure it with two #12 x 1??? inch screws.
15
Gently move the range close to its final location then remove the cardboard from underneath the appliance.
16
Plug the range power cord in and connect the gas supply line to the regulator valve if necessary.
17
Now gently push the range into its final location, making sure the rear leg slides into the anti-tip bracket.
18
To confirm this, place a foot against the storage drawer and, grasping the side of the control panel, attempt to tilt the range forward.
19
The bracket should immediately prevent the appliance from tipping forward.
Description
This video provides step-by-step repair instructions for replacing the anti-tip bracket on a Whirlpool gas range. The most common reason for replacing this part is if it is damaged or missing.
All of the information for this part replacement video is applicable to the following brands:
Whirlpool
All of the information for this part replacement video is applicable to the following brands:
Whirlpool
Step-By-Step Instructions
1
Whirlpool Gas Range - WFG745H0FS1
2
Gas Range Anti-Tip Bracket Installation
3
Tools needed: 1/8th inch diameter drill bit, power drill, measuring tape, Phillips-head screwdriver, 2 #12 x 1??? inch screws
4
Shock Hazard
5
Make sure the power cord is unplugged and the range has been moved out of the way.
6
Fire Hazard
7
Be aware, you may need to shut off the gas supply as well and disconnect the gas supply line if there is not enough slack in the gas line to move the appliance.
8
We recommend placing the range on a piece of cardboard so the appliance can be easily moved.
9
The bracket can be mounted to the wall or the floor.
10
Using measuring tape, determine where the center of the recessed wall opening is and mark it.
11
Position the bracket so the v-notch is exactly twelve-and-nine-sixteenth inches to the left or right of the centerline.
12
Mark the appropritate bracket holes for floor or wall mounting.
13
Using a 1/8th inch diameter drill bit, drill the holes where marked.
14
Align the anti-tip bracket and secure it with two #12 x 1??? inch screws.
15
Gently move the range close to its final location then remove the cardboard from underneath the appliance.
16
Plug the range power cord in and connect the gas supply line to the regulator valve if necessary.
17
Now gently push the range into its final location, making sure the rear leg slides into the anti-tip bracket.
18
To confirm this, place a foot against the storage drawer and, grasping the side of the control panel, attempt to tilt the range forward.
19
The bracket should immediately prevent the appliance from tipping forward.
Applicable Product Model
Parts Needed
Anti-Tip Bracket
$20.15
Total$0.00
Related Articles & Videos




Our Story
Family-owned and operated since 1912, Burke America Parts Group is the longest-running genuine appliance, HVAC, and outdoor power equipment parts solution in North America. At Repair Clinic, we're proud to be an international brand trusted by the pros as well as the DIY community.
About Repair Clinic
© 2026 RepairClinic.com