

Price Match Guarantee

In-stock parts ship the same day

365-Day Return Policy
Price Match GuaranteeGET PRO PRICING
Video & Articles: Appliance & Equipment RepairElectrolux Dishwasher Top Rack Rail Rollers Replacement 405540568 
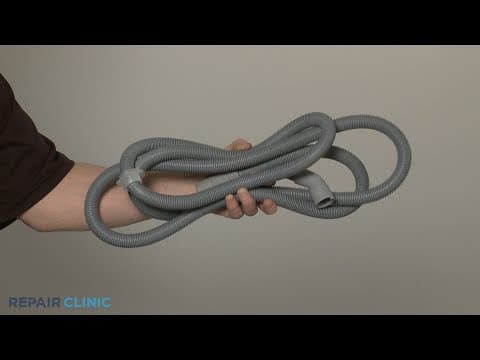
Electrolux Dishwasher Top Rack Rail Rollers Replacement 405540568
Skill Level
Total Parts Cost
$22.91Estimated Savings
$112.5005:53
- Description
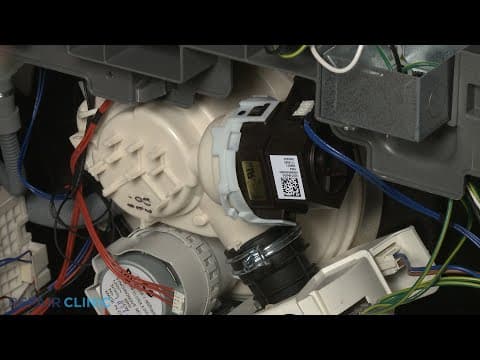
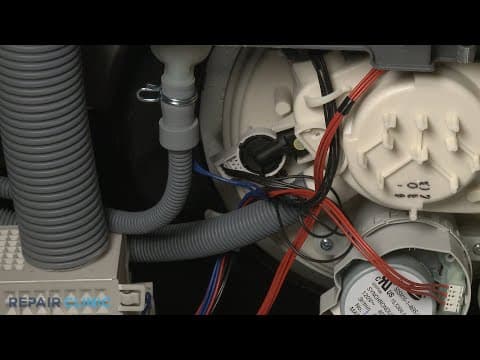
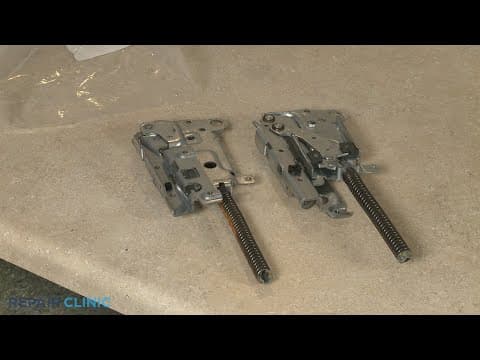
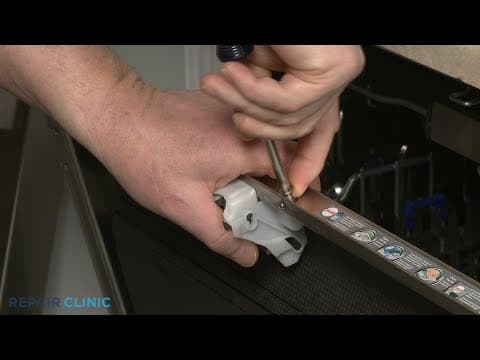
This video provides step-by-step instructions for replacing the top rack rail rollers on Electrolux dishwashers.
All of the information in this video is applicable to the following brands: Electrolux
All of the information in this video is applicable to the following brands: Electrolux
Step By Step Instructions
1
To replace a pair of top rack rail rollers in your dishwasher,
2
You will need to fully uninstall the appliance before you attempt this.
3
Be sure to turn off the power to the dishwasher and shut off the water supply valve.
4
Using a Phillips head screwdriver, unthread the two mounting screws securing the lower access panel.
5
Set the panel aside.
6
Use channel lock pliers to loosen the elbow fitting securing the water supply line to the inlet valve.
7
Fully unthread the elbow fitting.
8
Be prepared for some water to spill.
9
Next, disconnect the drain hose from the sink drain or garbage disposer and feed it through the cabinet.
10
Open the dishwasher door and unthread the two screws securing the dishwasher mounting brackets to the cabinet or countertop.
11
To move the dishwasher, you may need to adjust the legs to lower the appliance.
12
Rotate the front legs clockwise to lower the front using the Phillips head screwdriver.
13
Rotate the rear leg adjusting rod counterclockwise to lower the rear of the dishwasher.
14
Now, gently pull the dishwasher away from the cabinet.
15
Place a weight on top of the dishwasher to help stabilize it.
16
Pull the top rack out.
17
Release the retaining tabs to remove the front stop clips.
18
Slide the rack off of the rails.
19
Release the retaining tabs to remove the appropriate rear stop clip and you can sight out the rail.
20
Lift up the insulation and unthread the two screws securing the rollers and support.
21
Install the new top rack rail rollers by aligning the component on the inside of the side panel and the support on the outside of the panel.
22
Then, thread the screws to secure.
23
Keeping the stop tab at the front aligned, the rail on the new rollers.
24
Snap the rear stop clip into place.
25
Align the utensil trays support brackets on the rails and slide the rack in.
26
Realign the two front stop clips on the rails and snap them into place.
27
Realign the insulation and remove the weight.
28
Confirmed at the end of the drain hose is accessible through the cabinet wall.
29
Then, gently slide the dishwasher back into the cabinet.
30
Extend the front leveling legs if necessary.
31
Rotate the adjusting rod clockwise to extend the rear leg.
32
Rethread the screws to secure the mounting brackets to the cabinet or countertop.
33
Feed the drain hose through the cabinet and connect it to the sink drain or garbage disposer.
34
Make sure the hose is elevated above the connection point.
35
Thread the water supply line elbow fitting onto the inlet valve port and tighten.
36
Realign the lower access panel and rethread the screws to secure.
37
Turn the water supply back on as well as the power and your dishwasher should be ready for use.
Description
This video provides step-by-step instructions for replacing the top rack rail rollers on Electrolux dishwashers.
All of the information in this video is applicable to the following brands: Electrolux
All of the information in this video is applicable to the following brands: Electrolux
Step-By-Step Instructions
1
To replace a pair of top rack rail rollers in your dishwasher,
2
You will need to fully uninstall the appliance before you attempt this.
3
Be sure to turn off the power to the dishwasher and shut off the water supply valve.
4
Using a Phillips head screwdriver, unthread the two mounting screws securing the lower access panel.
5
Set the panel aside.
6
Use channel lock pliers to loosen the elbow fitting securing the water supply line to the inlet valve.
7
Fully unthread the elbow fitting.
8
Be prepared for some water to spill.
9
Next, disconnect the drain hose from the sink drain or garbage disposer and feed it through the cabinet.
10
Open the dishwasher door and unthread the two screws securing the dishwasher mounting brackets to the cabinet or countertop.
11
To move the dishwasher, you may need to adjust the legs to lower the appliance.
12
Rotate the front legs clockwise to lower the front using the Phillips head screwdriver.
13
Rotate the rear leg adjusting rod counterclockwise to lower the rear of the dishwasher.
14
Now, gently pull the dishwasher away from the cabinet.
15
Place a weight on top of the dishwasher to help stabilize it.
16
Pull the top rack out.
17
Release the retaining tabs to remove the front stop clips.
18
Slide the rack off of the rails.
19
Release the retaining tabs to remove the appropriate rear stop clip and you can sight out the rail.
20
Lift up the insulation and unthread the two screws securing the rollers and support.
21
Install the new top rack rail rollers by aligning the component on the inside of the side panel and the support on the outside of the panel.
22
Then, thread the screws to secure.
23
Keeping the stop tab at the front aligned, the rail on the new rollers.
24
Snap the rear stop clip into place.
25
Align the utensil trays support brackets on the rails and slide the rack in.
26
Realign the two front stop clips on the rails and snap them into place.
27
Realign the insulation and remove the weight.
28
Confirmed at the end of the drain hose is accessible through the cabinet wall.
29
Then, gently slide the dishwasher back into the cabinet.
30
Extend the front leveling legs if necessary.
31
Rotate the adjusting rod clockwise to extend the rear leg.
32
Rethread the screws to secure the mounting brackets to the cabinet or countertop.
33
Feed the drain hose through the cabinet and connect it to the sink drain or garbage disposer.
34
Make sure the hose is elevated above the connection point.
35
Thread the water supply line elbow fitting onto the inlet valve port and tighten.
36
Realign the lower access panel and rethread the screws to secure.
37
Turn the water supply back on as well as the power and your dishwasher should be ready for use.
Applicable Product Model
Related Articles & Videos




Our Story
Family-owned and operated since 1912, Burke America Parts Group is the longest-running genuine appliance, HVAC, and outdoor power equipment parts solution in North America. At Repair Clinic, we're proud to be an international brand trusted by the pros as well as the DIY community.
About Repair Clinic
© 2026 RepairClinic.com