

Price Match Guarantee

In-stock parts ship the same day

365-Day Return Policy
Price Match GuaranteeGET PRO PRICING
Video & Articles: Appliance & Equipment RepairWhirlpool Alpha Front-Load Washer Vent Pipe Assembly Replacement #WPW10261582


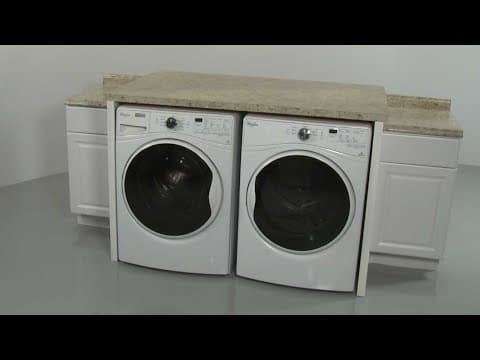
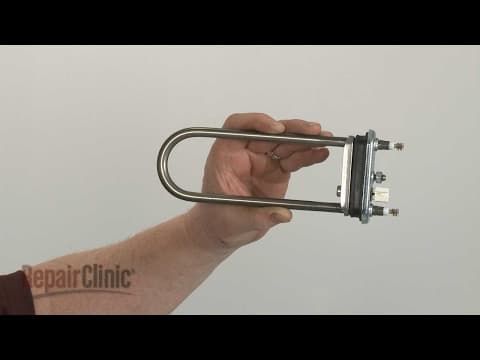
Whirlpool Alpha Front-Load Washer Vent Pipe Assembly Replacement #WPW10261582
Skill Level
Total Parts Cost
$41.40Estimated Savings
$112.5005:03
- Description
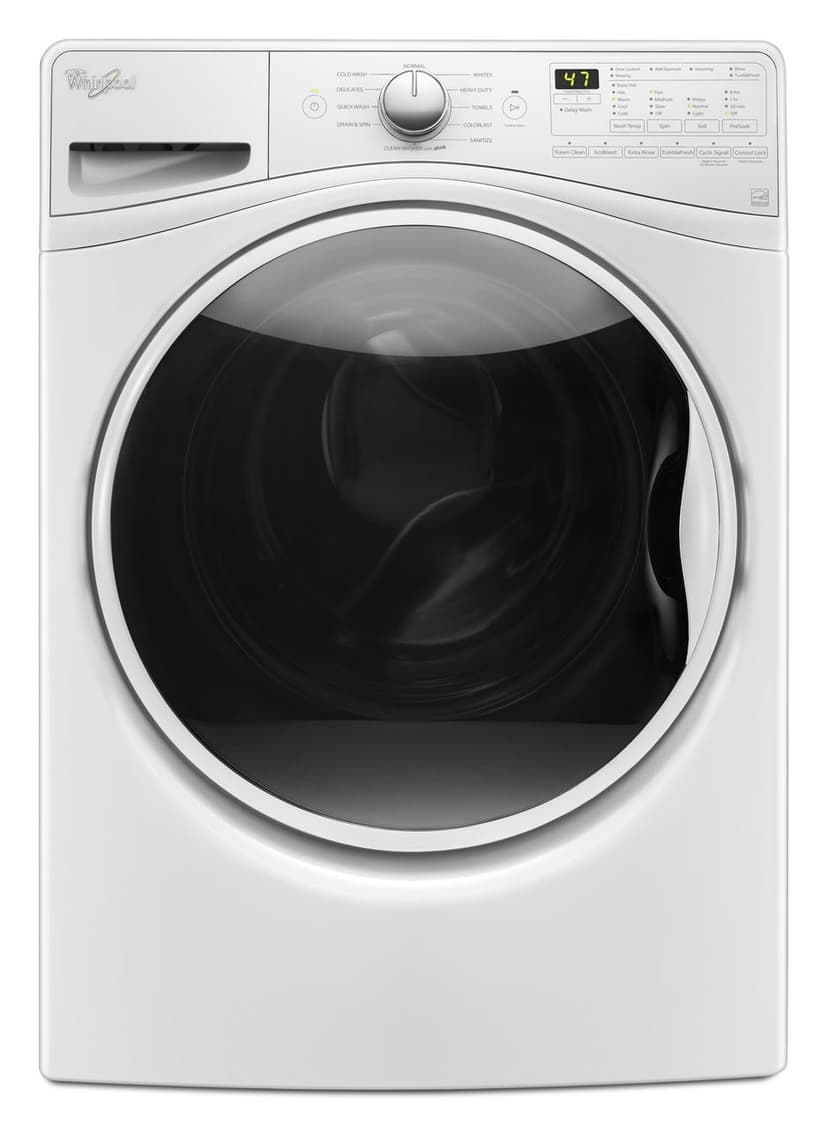
This video provides step-by-step instructions for replacing the vent hose on a Whirlpool front loading washing machine, model #WFW85HEFW0. The most common reason for replacing the vent hose is if the steam is not venting properly.
All of the information in this vent hose replacement video is applicable to the following brands: Whirlpool
Tools used: pliers, T-20 Torx bit, 1/4" socket
All of the information in this vent hose replacement video is applicable to the following brands: Whirlpool
Tools used: pliers, T-20 Torx bit, 1/4" socket
Step By Step Instructions
1
Anncr: repairclinic makes fixing things easy…
2
…with millions of replacement parts available on our website…
3
…and the help you need to do the repair yourself.
4
Since we encourage you to perform this repair safely, a warning icon will appear when you should use caution.
5
Before you replace the vent pipe assembly in your washer…
6
…be sure to unplug the power cord.
7
Using a t-20 torx bit or a quarter-inch socket or nut driver, unthread the screws securing the rear access panel.
8
Loosen the center top screw, but don’t remove it.
9
Now slide the panel to the right to remove and set it aside.
10
Next, unthread the rear screws securing the top panel.
11
Slide the top panel back and lift up to remove.
12
Pull the vent hose off of the vent housing…
13
…then use a t-20 torx bit to unthread the screws securing the vent housing.
14
Lift the housing up to remove.
15
Unthread the lower screw securing the vent pipe assembly.
16
Loosen the upper screw.
17
Use a flat-head screwdriver to help pry the pipe assembly free of the tub.
18
Release the clamp securing the steam hose and pull the steam hose off to fully release the old pipe assembly.
19
Prepare the new vent pipe assembly for installation…
20
…by transferring the mounting bracket from the old pipe to the new one.
21
Attach the steam hose to the new pipe and secure it with the clamp.
22
Align the pipe on the upper screw…
23
…as you insert the pipe into the tub port.
24
Tighten the upper screw.
25
Replace the lower screw.
26
Replace the vent housing…
27
…and secure it with the screws.
28
Slide on the vent hose.
29
Realign the top panel and slide it into position.
30
Replace the screws in the rear.
31
Hook the rear access panel on the top screw and slide it to the left.
32
Tighten the screw.
33
Rethread and tighten the remaining mounting screws.
34
With the repair completed…
35
…plug the power cord back in…
36
…and your washer should be ready for use.
37
At repairclinic – we make fixing things easy.
38
Thank you for supporting the production of these videos by purchasing your parts from our website.
Description
This video provides step-by-step instructions for replacing the vent hose on a Whirlpool front loading washing machine, model #WFW85HEFW0. The most common reason for replacing the vent hose is if the steam is not venting properly.
All of the information in this vent hose replacement video is applicable to the following brands: Whirlpool
Tools used: pliers, T-20 Torx bit, 1/4" socket
All of the information in this vent hose replacement video is applicable to the following brands: Whirlpool
Tools used: pliers, T-20 Torx bit, 1/4" socket
Step-By-Step Instructions
1
Anncr: repairclinic makes fixing things easy…
2
…with millions of replacement parts available on our website…
3
…and the help you need to do the repair yourself.
4
Since we encourage you to perform this repair safely, a warning icon will appear when you should use caution.
5
Before you replace the vent pipe assembly in your washer…
6
…be sure to unplug the power cord.
7
Using a t-20 torx bit or a quarter-inch socket or nut driver, unthread the screws securing the rear access panel.
8
Loosen the center top screw, but don’t remove it.
9
Now slide the panel to the right to remove and set it aside.
10
Next, unthread the rear screws securing the top panel.
11
Slide the top panel back and lift up to remove.
12
Pull the vent hose off of the vent housing…
13
…then use a t-20 torx bit to unthread the screws securing the vent housing.
14
Lift the housing up to remove.
15
Unthread the lower screw securing the vent pipe assembly.
16
Loosen the upper screw.
17
Use a flat-head screwdriver to help pry the pipe assembly free of the tub.
18
Release the clamp securing the steam hose and pull the steam hose off to fully release the old pipe assembly.
19
Prepare the new vent pipe assembly for installation…
20
…by transferring the mounting bracket from the old pipe to the new one.
21
Attach the steam hose to the new pipe and secure it with the clamp.
22
Align the pipe on the upper screw…
23
…as you insert the pipe into the tub port.
24
Tighten the upper screw.
25
Replace the lower screw.
26
Replace the vent housing…
27
…and secure it with the screws.
28
Slide on the vent hose.
29
Realign the top panel and slide it into position.
30
Replace the screws in the rear.
31
Hook the rear access panel on the top screw and slide it to the left.
32
Tighten the screw.
33
Rethread and tighten the remaining mounting screws.
34
With the repair completed…
35
…plug the power cord back in…
36
…and your washer should be ready for use.
37
At repairclinic – we make fixing things easy.
38
Thank you for supporting the production of these videos by purchasing your parts from our website.
Applicable Product Model
Recommended Tools and Accessories
Cleaner
$7.62
Total$0.00
Related Articles & Videos
04:40
Part Replacement
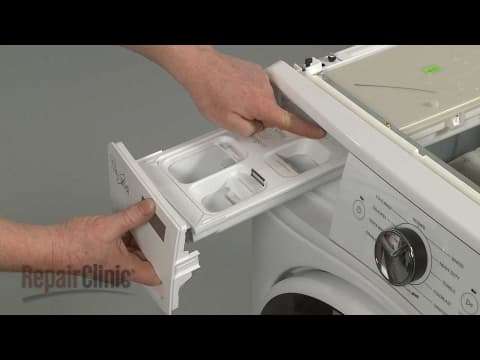
Whirlpool Alpha Front-Load Washer Detergent Dispenser Replacement #W10575334
03:36
Part Replacement
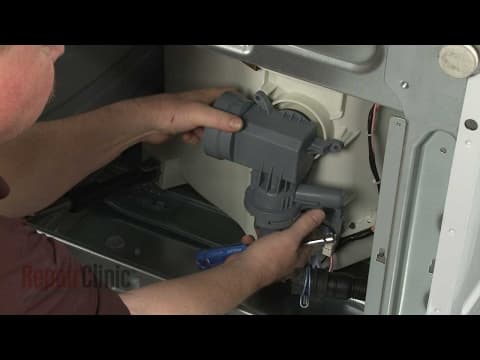
Whirlpool Alpha Front-Load Washer Drain Pump Replacement #WPW10425238
04:00
Part Replacement
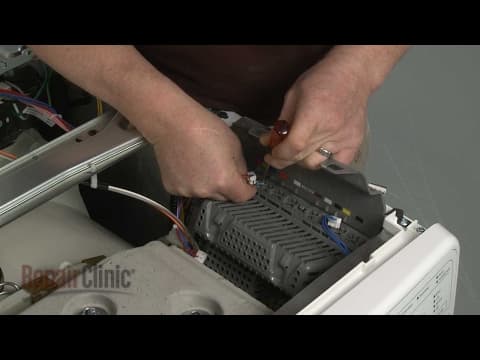
Whirlpool Alpha Front-Load Washer Control Board Replacement #W10920600
03:37
Part Replacement
Whirlpool Alpha Front-Load Washer Heating Element Replacement #W10576399




Our Story
Family-owned and operated since 1912, Burke America Parts Group is the longest-running genuine appliance, HVAC, and outdoor power equipment parts solution in North America. At Repair Clinic, we're proud to be an international brand trusted by the pros as well as the DIY community.
About Repair Clinic
© 2026 RepairClinic.com