

Price Match Guarantee

In-stock parts ship the same day

365-Day Return Policy
Price Match GuaranteeGET PRO PRICING
Video & Articles: Appliance & Equipment RepairWhirlpool Microwave Oven/Hood Combo Air Damper Installation W10843943 

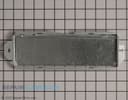
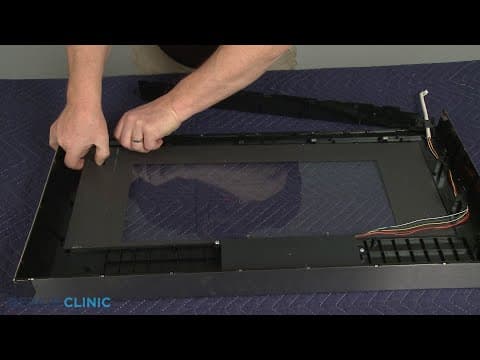
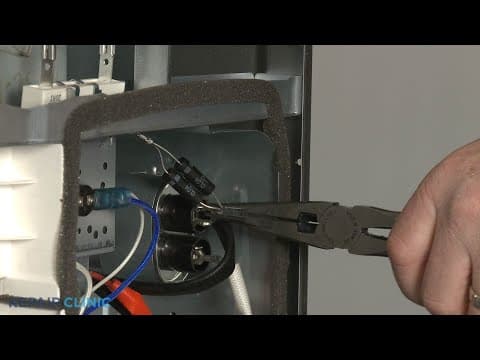
Whirlpool Microwave Oven/Hood Combo Air Damper Installation W10843943
Skill Level
Total Parts Cost
$60.51Estimated Savings
$112.5002:13
- Description
This video provides tips for installing an air damper on a Whirlpool microwave oven/hood combo (Model #WMH73521CS6).
All of the information for this video is applicable to the following brands:
Whirlpool
All of the information for this video is applicable to the following brands:
Whirlpool
Step By Step Instructions
1
Whirlpool Microwave Oven/Hood Combo - WMH73521CS6
2
Microwave Oven Air Damper Installation Tips
3
Tools needed: Phillips-head screwdriver
4
First determine if the appliance is to be vented through the wall or roof.
5
Direct from the factory, the microwave oven blower system is set up for a recirculation installation.
6
For wall or roof venting, you will need to rotate the blower motor.
7
To do this, use a Phillips-head screwdriver to unthread the screws securing the damper plate to the top of the microwave oven exterior.
8
Slide the damper plate toward the front of the appliance to remove.
9
Next, unthread the two screws securing the blower motor to the back of the microwave oven.
10
Lift out the blower motor and rotate it so the vent ports face up to allow for roof venting or rotate the blower to position the ports towards the rear of the appliance for wall venting ? you will need to disconnect the wire connecter to do this then reconnect the connecter once the blower is in place.
11
Be aware, you will need to use wire cutting pliers to snip out the damper vent covers on the rear of the microwave when preparing the appliance for wall venting or snip out the vent covers on the damper plate for roof venting.
12
With the blower motor properly positioned, rethread and tighten the two screws to secure the motor.
13
Reattach the damper plate, making sure the tabs are inserted into the slots in the top of the appliance.
14
Secure it with the screws.
15
If you?re preparing the appliance for wall venting, you can now install the damper assembly on the back so the blade hinges at the top and opens outward.
16
When roof venting, wait until the microwave oven is mounted before attaching the damper assembly to the damper plate.
Description
This video provides tips for installing an air damper on a Whirlpool microwave oven/hood combo (Model #WMH73521CS6).
All of the information for this video is applicable to the following brands:
Whirlpool
All of the information for this video is applicable to the following brands:
Whirlpool
Step-By-Step Instructions
1
Whirlpool Microwave Oven/Hood Combo - WMH73521CS6
2
Microwave Oven Air Damper Installation Tips
3
Tools needed: Phillips-head screwdriver
4
First determine if the appliance is to be vented through the wall or roof.
5
Direct from the factory, the microwave oven blower system is set up for a recirculation installation.
6
For wall or roof venting, you will need to rotate the blower motor.
7
To do this, use a Phillips-head screwdriver to unthread the screws securing the damper plate to the top of the microwave oven exterior.
8
Slide the damper plate toward the front of the appliance to remove.
9
Next, unthread the two screws securing the blower motor to the back of the microwave oven.
10
Lift out the blower motor and rotate it so the vent ports face up to allow for roof venting or rotate the blower to position the ports towards the rear of the appliance for wall venting ? you will need to disconnect the wire connecter to do this then reconnect the connecter once the blower is in place.
11
Be aware, you will need to use wire cutting pliers to snip out the damper vent covers on the rear of the microwave when preparing the appliance for wall venting or snip out the vent covers on the damper plate for roof venting.
12
With the blower motor properly positioned, rethread and tighten the two screws to secure the motor.
13
Reattach the damper plate, making sure the tabs are inserted into the slots in the top of the appliance.
14
Secure it with the screws.
15
If you?re preparing the appliance for wall venting, you can now install the damper assembly on the back so the blade hinges at the top and opens outward.
16
When roof venting, wait until the microwave oven is mounted before attaching the damper assembly to the damper plate.
Applicable Product Model
Parts Needed
Air Baffle
$60.51
Total$0.00
Related Articles & Videos
04:10
Part Replacement
Whirlpool Microwave Oven/Hood Combo Mounting Plate Replacement W11025649
02:58
Part Replacement
Whirlpool Microwave Oven/Hood Combo Control Board Assembly Replacement W10893407
02:37
Part Replacement
Whirlpool Microwave Oven/Hood Combo Line Fuse Replacement #W10138793
08:32
Part Replacement
Whirlpool Microwave Oven/Hood Combo Outer Door Glass Replacement WPW10478675




Our Story
Family-owned and operated since 1912, Burke America Parts Group is the longest-running genuine appliance, HVAC, and outdoor power equipment parts solution in North America. At Repair Clinic, we're proud to be an international brand trusted by the pros as well as the DIY community.
About Repair Clinic
© 2026 RepairClinic.com