

Price Match Guarantee

In-stock parts ship the same day

365-Day Return Policy
Price Match GuaranteeGET PRO PRICING
Video & Articles: Appliance & Equipment RepairWhirlpool Microwave Oven/Hood Combo Mounting Plate Replacement W11025649 

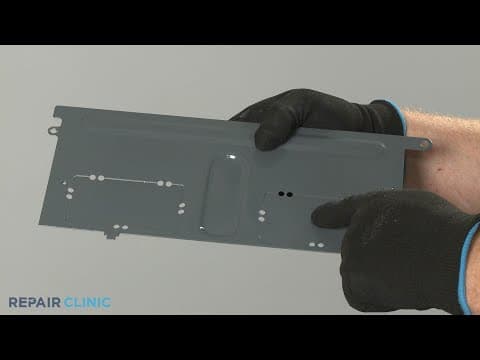
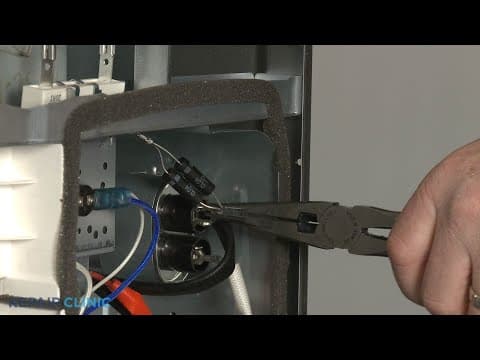
Whirlpool Microwave Oven/Hood Combo Mounting Plate Replacement W11025649
Skill Level
Total Parts Cost
$25.96Estimated Savings
$112.5004:10
- Description
This video provides step-by-step repair instructions for replacing the mounting plate on a Whirlpool microwave oven/hood combo (Model #WMH73521CS6). The most common reason for replacing this part is if the microwave is not mounted securely.
All of the information for this video is applicable to the following brands:
Whirlpool
All of the information for this video is applicable to the following brands:
Whirlpool
Step By Step Instructions
1
Whirlpool Microwave Oven/Hood Combo - WMH73521CS6
2
Microwave Oven Mounting Plate Installation
3
Tools needed: measuring tape, 5/8th inch diameter drill bit or 3/16th inch diameter drill bit
4
Before you install a mounting plate for your microwave oven, refer to the appliance?s installation manual for a list of recommended tools and parts you may need
5
The microwave oven must be installed on a least one wall stud using at least one lag screw, although two is prefered.
6
Determine the location of the wall stud or studs within the cabinet opening.
7
Refer to the manual diagrams for guidance on the best way to install the mounting plate.
8
Using measuring tape, determine where the center of the opening is and mark it.
9
We recommend using a designated wall template from the microwave oven?s manufacturer for better accuracy.
10
Align the center markers on the template with the center line on the wall making sure the template is level and positioned against the bottom edge of the upper cabinet.
11
Use tape to secure the template.
12
Mark both holes in the lower corners, then remove the template.
13
Now align the mounting plate using the markings and mark the hole or holes that align with the wall studs.
14
Using a 5/8th inch diameter drill bit, or a 3/16th inch diameter drill bit when drilling into a wall stud, drill the holes where marked.
15
If applicable, insert the round-head bolts through the end holes of the mounting plate and begin to thread on the toggle nuts.
16
Realign the mounting plate and use the round-head bolts and toggle nuts to secure the plate to the wall.
17
The quarter-inch lag screws should be used for the hole or holes drilled into the wall studs.
18
Confirm the mounting plate is level then tighten the screws and bolts.
19
Heavy
20
Have an assistant help you to lift up the microwave oven and align it on the mounting plate support tabs.
21
Feed the power cord through the hole in the cabinet, then fully position the microwave oven.
22
Have the assistant hold the microwave in place as you thread the mounting bolts through the upper cabinet and into the top of the appliance.
23
Tighten the bolts, but avoid over-tightening.
24
Plug the power cord in and the microwave oven should be ready for use.
Description
This video provides step-by-step repair instructions for replacing the mounting plate on a Whirlpool microwave oven/hood combo (Model #WMH73521CS6). The most common reason for replacing this part is if the microwave is not mounted securely.
All of the information for this video is applicable to the following brands:
Whirlpool
All of the information for this video is applicable to the following brands:
Whirlpool
Step-By-Step Instructions
1
Whirlpool Microwave Oven/Hood Combo - WMH73521CS6
2
Microwave Oven Mounting Plate Installation
3
Tools needed: measuring tape, 5/8th inch diameter drill bit or 3/16th inch diameter drill bit
4
Before you install a mounting plate for your microwave oven, refer to the appliance?s installation manual for a list of recommended tools and parts you may need
5
The microwave oven must be installed on a least one wall stud using at least one lag screw, although two is prefered.
6
Determine the location of the wall stud or studs within the cabinet opening.
7
Refer to the manual diagrams for guidance on the best way to install the mounting plate.
8
Using measuring tape, determine where the center of the opening is and mark it.
9
We recommend using a designated wall template from the microwave oven?s manufacturer for better accuracy.
10
Align the center markers on the template with the center line on the wall making sure the template is level and positioned against the bottom edge of the upper cabinet.
11
Use tape to secure the template.
12
Mark both holes in the lower corners, then remove the template.
13
Now align the mounting plate using the markings and mark the hole or holes that align with the wall studs.
14
Using a 5/8th inch diameter drill bit, or a 3/16th inch diameter drill bit when drilling into a wall stud, drill the holes where marked.
15
If applicable, insert the round-head bolts through the end holes of the mounting plate and begin to thread on the toggle nuts.
16
Realign the mounting plate and use the round-head bolts and toggle nuts to secure the plate to the wall.
17
The quarter-inch lag screws should be used for the hole or holes drilled into the wall studs.
18
Confirm the mounting plate is level then tighten the screws and bolts.
19
Heavy
20
Have an assistant help you to lift up the microwave oven and align it on the mounting plate support tabs.
21
Feed the power cord through the hole in the cabinet, then fully position the microwave oven.
22
Have the assistant hold the microwave in place as you thread the mounting bolts through the upper cabinet and into the top of the appliance.
23
Tighten the bolts, but avoid over-tightening.
24
Plug the power cord in and the microwave oven should be ready for use.
Applicable Product Model
Related Articles & Videos
02:13
Part Replacement
Whirlpool Microwave Oven/Hood Combo Air Damper Installation W10843943
02:58
Part Replacement
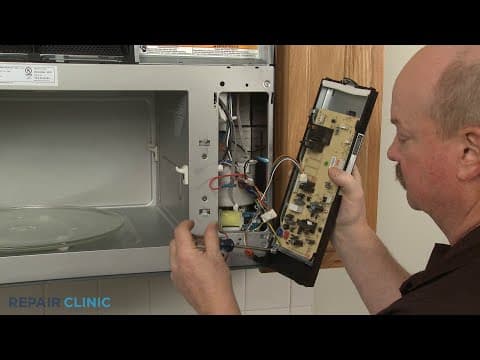
Whirlpool Microwave Oven/Hood Combo Control Board Assembly Replacement W10893407
02:37
Part Replacement
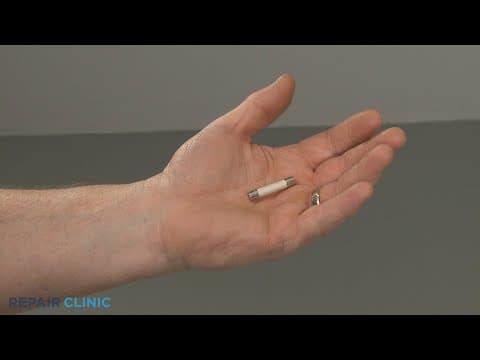
Whirlpool Microwave Oven/Hood Combo Line Fuse Replacement #W10138793
08:32
Part Replacement
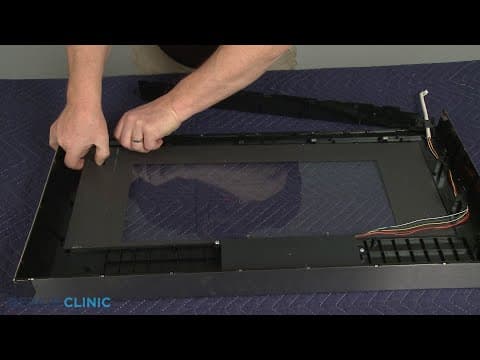
Whirlpool Microwave Oven/Hood Combo Outer Door Glass Replacement WPW10478675




Our Story
Family-owned and operated since 1912, Burke America Parts Group is the longest-running genuine appliance, HVAC, and outdoor power equipment parts solution in North America. At Repair Clinic, we're proud to be an international brand trusted by the pros as well as the DIY community.
About Repair Clinic
© 2026 RepairClinic.com