

Price Match Guarantee

In-stock parts ship the same day

365-Day Return Policy
Price Match GuaranteeGET PRO PRICING
Video & Articles: Appliance & Equipment RepairEcho Hedge Trimmer Replace Gear Case Felt Seal #61042606560

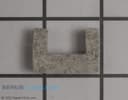
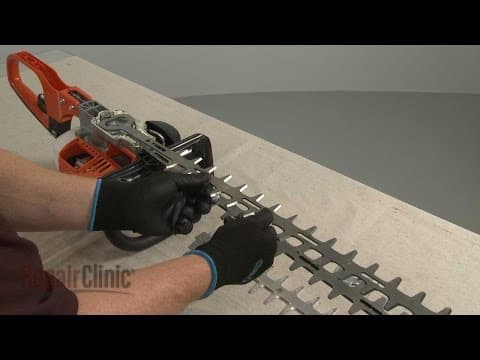
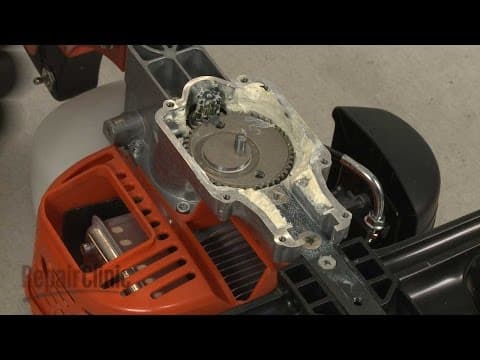
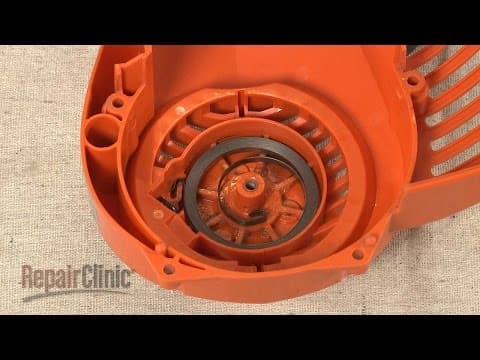
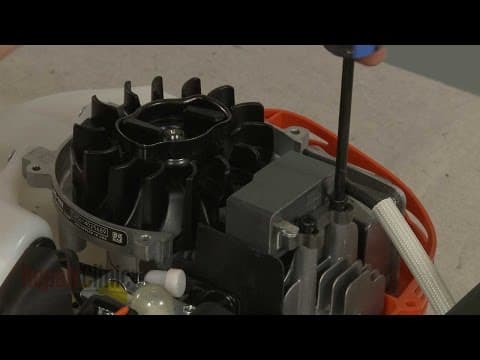
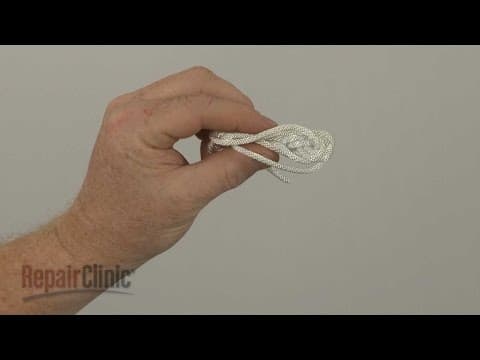
Echo Hedge Trimmer Replace Gear Case Felt Seal #61042606560
Skill Level
Total Parts Cost
$3.51Estimated Savings
$112.5002:28
- Description
This video provides step-by-step repair instructions for replacing the felt seal on an Echo hedge trimmer. The most common reasons for replacing the felt seal are when grease is leaking out of the gear box, or the seal is worn or damaged.
All of the information in this felt seal replacement video is applicable to the following brands: Echo
Tools used: T-27 Torx bit, pliers
All of the information in this felt seal replacement video is applicable to the following brands: Echo
Tools used: T-27 Torx bit, pliers
Step By Step Instructions
1
Before you replace the gear case felt seal in your hedge trimmer make sure the engine has cooled.
2
Next, you should remove the wire and boot from the spark plug to prevent the engine from accidentally starting.
3
To reduce the chance of injury, we recommend keeping the blade cover on for this procedure.
4
We also recommend emptying the fuel tank.
5
Set the trimmer upside down and use a t-27 torx bit to unthread the screws securing the gear case cover.
6
With the screws unthreaded, lift off the cover.
7
You can use pliers to lift out the old felt seal.
8
Install the new felt seal by pushing it into place in the gear case.
9
Confirm that the gasket is in place on the gear case cover – then realign the cover and secure it with the screws.
10
With the repair completed reattach the wire and boot to the spark plug refill the fuel tank and your hedge trimmer should be ready for use.
Description
This video provides step-by-step repair instructions for replacing the felt seal on an Echo hedge trimmer. The most common reasons for replacing the felt seal are when grease is leaking out of the gear box, or the seal is worn or damaged.
All of the information in this felt seal replacement video is applicable to the following brands: Echo
Tools used: T-27 Torx bit, pliers
All of the information in this felt seal replacement video is applicable to the following brands: Echo
Tools used: T-27 Torx bit, pliers
Step-By-Step Instructions
1
Before you replace the gear case felt seal in your hedge trimmer make sure the engine has cooled.
2
Next, you should remove the wire and boot from the spark plug to prevent the engine from accidentally starting.
3
To reduce the chance of injury, we recommend keeping the blade cover on for this procedure.
4
We also recommend emptying the fuel tank.
5
Set the trimmer upside down and use a t-27 torx bit to unthread the screws securing the gear case cover.
6
With the screws unthreaded, lift off the cover.
7
You can use pliers to lift out the old felt seal.
8
Install the new felt seal by pushing it into place in the gear case.
9
Confirm that the gasket is in place on the gear case cover – then realign the cover and secure it with the screws.
10
With the repair completed reattach the wire and boot to the spark plug refill the fuel tank and your hedge trimmer should be ready for use.
Applicable Product Model
Parts Needed
Seal
$3.51
Total$0.00
Related Articles & Videos




Our Story
Family-owned and operated since 1912, Burke America Parts Group is the longest-running genuine appliance, HVAC, and outdoor power equipment parts solution in North America. At Repair Clinic, we're proud to be an international brand trusted by the pros as well as the DIY community.
About Repair Clinic
© 2026 RepairClinic.com