

Price Match Guarantee

In-stock parts ship the same day

365-Day Return Policy
Price Match GuaranteeGET PRO PRICING
Video & Articles: Appliance & Equipment RepairWhirlpool Front-Load Washer Shipping Bolt Kit #W10763470

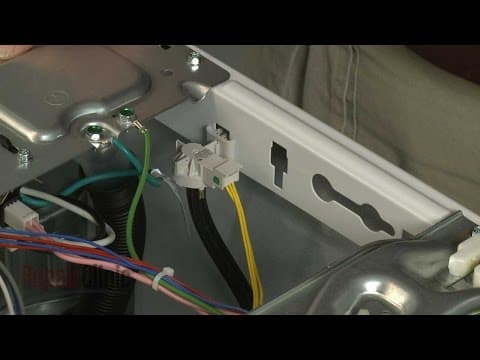
Whirlpool Front-Load Washer Shipping Bolt Kit #W10763470
Skill Level
Total Parts Cost
$56.67Estimated Savings
$112.5001:39
- Description
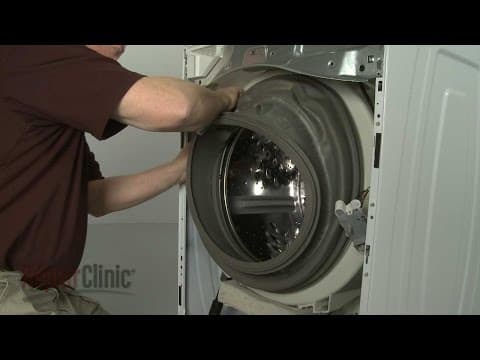
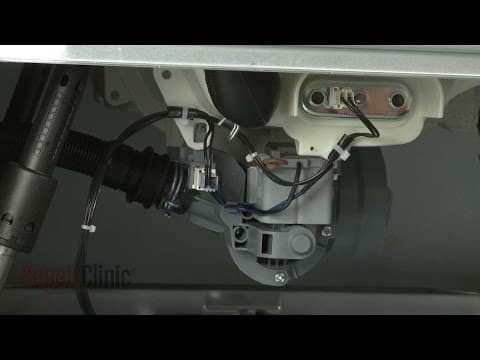
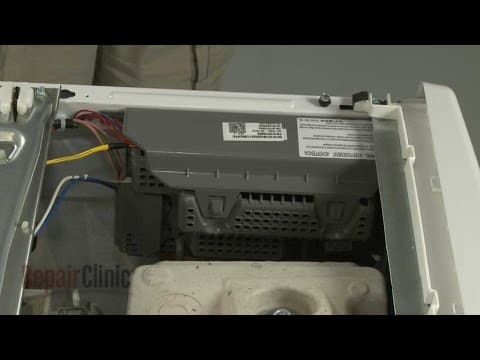
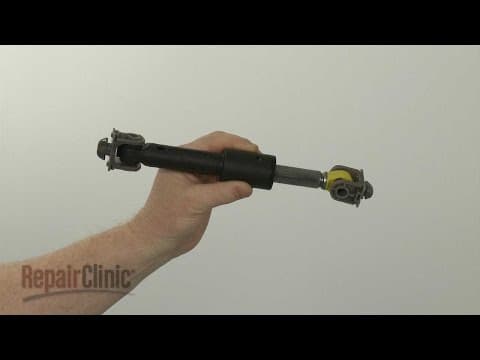
This video provides step-by-step repair instructions for installing the shipping bolt kit on a Whirlpool front-load washer. The most common reason for installing the shipping bolts is to stabilize the washer during transportation.
This shipping bolt replacement video is applicable to the following brands:
Whirlpool, Maytag
Tools needed: 13mm socket
This shipping bolt replacement video is applicable to the following brands:
Whirlpool, Maytag
Tools needed: 13mm socket
Step By Step Instructions
1
Your washer was delivered with shipping bolts installed to secure the tub during transportation.
2
These bolts should have been removed before operation.
3
If you plan to transport the washer to a new location you will need to install new shipping bolts.
4
If necessary, remove the four rear panel plugs by lifting and sliding them out.
5
Now use a long shipping bolt to secure the top of the tub by inserting it into one of the upper panel holes.
6
Use a 13mm or half-inch socket to tighten the bolt.
7
The washer tab should be secured in the bracket slot.
8
Use a short shipping bolt to secure the bottom of the tub.
9
Once the washer has been transported to its new location be sure to remove all of the shipping bolts.
10
If you prefer, you can reinstall the rear panel plugs.
Description
This video provides step-by-step repair instructions for installing the shipping bolt kit on a Whirlpool front-load washer. The most common reason for installing the shipping bolts is to stabilize the washer during transportation.
This shipping bolt replacement video is applicable to the following brands:
Whirlpool, Maytag
Tools needed: 13mm socket
This shipping bolt replacement video is applicable to the following brands:
Whirlpool, Maytag
Tools needed: 13mm socket
Step-By-Step Instructions
1
Your washer was delivered with shipping bolts installed to secure the tub during transportation.
2
These bolts should have been removed before operation.
3
If you plan to transport the washer to a new location you will need to install new shipping bolts.
4
If necessary, remove the four rear panel plugs by lifting and sliding them out.
5
Now use a long shipping bolt to secure the top of the tub by inserting it into one of the upper panel holes.
6
Use a 13mm or half-inch socket to tighten the bolt.
7
The washer tab should be secured in the bracket slot.
8
Use a short shipping bolt to secure the bottom of the tub.
9
Once the washer has been transported to its new location be sure to remove all of the shipping bolts.
10
If you prefer, you can reinstall the rear panel plugs.
Applicable Product Model

Related Articles & Videos




Our Story
Family-owned and operated since 1912, Burke America Parts Group is the longest-running genuine appliance, HVAC, and outdoor power equipment parts solution in North America. At Repair Clinic, we're proud to be an international brand trusted by the pros as well as the DIY community.
About Repair Clinic
© 2026 RepairClinic.com