

Price Match Guarantee

In-stock parts ship the same day

365-Day Return Policy
Price Match GuaranteeGET PRO PRICING
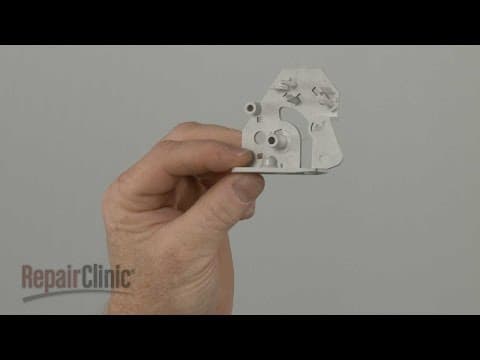
Video & Articles: Appliance & Equipment RepairWhirlpool Microwave Oven/Hood Combo Upper Switch Holder Replacement #WP8206419 

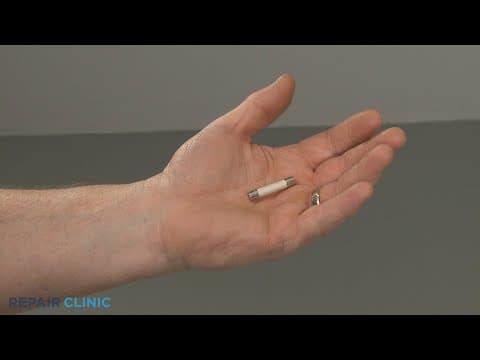
Whirlpool Microwave Oven/Hood Combo Upper Switch Holder Replacement #WP8206419
Skill Level
Total Parts Cost
$22.41Estimated Savings
$112.5004:06
- Description
This video provides step-by-step repair instructions for replacing the upper switch holder on a Whirlpool microwave oven/hood combo (Model #WMH73521CS6). The most common reason for replacing this part is if it is damaged or missing.
All of the information for this video is applicable to the following brands:
Whirlpool
All of the information for this video is applicable to the following brands:
Whirlpool
Step By Step Instructions
1
Whirlpool Microwave Oven/Hood Combo - WMH73521CS6
2
Microwave Oven Upper Switch Holder Replacement
3
Tools needed: Phillips-head screwdriver
4
Shock Hazard
5
Be sure to unplug the power cord or shut off the power supply.
6
Use a Phillips-head screwdriver to unthread the three screws securing the top grille.
7
Pull the grille down from the top to detach.
8
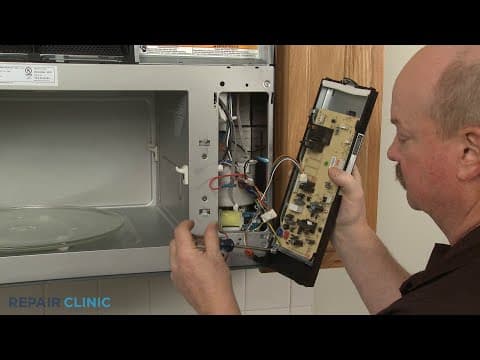
Next, unthread the screw securing the control board cover to the frame.
9
Lift the cover up to detach.
10
Disconnect the thermistor wire connecter to move the cover out of the way.
11
Use a T-10 Torx bit to unthread the screw securing the switch holder.
12
Insert a flat-head screwdriver to fully release the latch to detach the holder.
13
Use needle-nose pliers to remove the interlock spring.
14
You can now carefully detach the two switches to fully remove the old switch holder.
15
When preparing the new upper switch holder for installation we recommend aligning the newest version of the cam plate for better results.
16
Now snap the switches into the holder and position the interlock spring.
17
Align the holder assembly on the frame, then thread the screw to secure.
18
Flip the cam plate forward.
19
Reconnect the thermistor wire connecter to the control board, then insert the control board cover tabs into the slots in the frame.
20
Thread the screw to secure.
21
Now align the grille tabs with the slots in the frame and snap the grille into position.
22
Rethread the three screws.
23
Having a magnetized screwdriver will make it easier to rethread the screw on the right.
24
Plug the power cord back in or restore the power supply and the microwave oven should be ready for use.
Description
This video provides step-by-step repair instructions for replacing the upper switch holder on a Whirlpool microwave oven/hood combo (Model #WMH73521CS6). The most common reason for replacing this part is if it is damaged or missing.
All of the information for this video is applicable to the following brands:
Whirlpool
All of the information for this video is applicable to the following brands:
Whirlpool
Step-By-Step Instructions
1
Whirlpool Microwave Oven/Hood Combo - WMH73521CS6
2
Microwave Oven Upper Switch Holder Replacement
3
Tools needed: Phillips-head screwdriver
4
Shock Hazard
5
Be sure to unplug the power cord or shut off the power supply.
6
Use a Phillips-head screwdriver to unthread the three screws securing the top grille.
7
Pull the grille down from the top to detach.
8
Next, unthread the screw securing the control board cover to the frame.
9
Lift the cover up to detach.
10
Disconnect the thermistor wire connecter to move the cover out of the way.
11
Use a T-10 Torx bit to unthread the screw securing the switch holder.
12
Insert a flat-head screwdriver to fully release the latch to detach the holder.
13
Use needle-nose pliers to remove the interlock spring.
14
You can now carefully detach the two switches to fully remove the old switch holder.
15
When preparing the new upper switch holder for installation we recommend aligning the newest version of the cam plate for better results.
16
Now snap the switches into the holder and position the interlock spring.
17
Align the holder assembly on the frame, then thread the screw to secure.
18
Flip the cam plate forward.
19
Reconnect the thermistor wire connecter to the control board, then insert the control board cover tabs into the slots in the frame.
20
Thread the screw to secure.
21
Now align the grille tabs with the slots in the frame and snap the grille into position.
22
Rethread the three screws.
23
Having a magnetized screwdriver will make it easier to rethread the screw on the right.
24
Plug the power cord back in or restore the power supply and the microwave oven should be ready for use.
Applicable Product Model
Related Articles & Videos
02:13
Part Replacement
Whirlpool Microwave Oven/Hood Combo Air Damper Installation W10843943
04:10
Part Replacement
Whirlpool Microwave Oven/Hood Combo Mounting Plate Replacement W11025649
02:58
Part Replacement
Whirlpool Microwave Oven/Hood Combo Control Board Assembly Replacement W10893407
02:37
Part Replacement
Whirlpool Microwave Oven/Hood Combo Line Fuse Replacement #W10138793




Our Story
Family-owned and operated since 1912, Burke America Parts Group is the longest-running genuine appliance, HVAC, and outdoor power equipment parts solution in North America. At Repair Clinic, we're proud to be an international brand trusted by the pros as well as the DIY community.
About Repair Clinic
© 2026 RepairClinic.com